


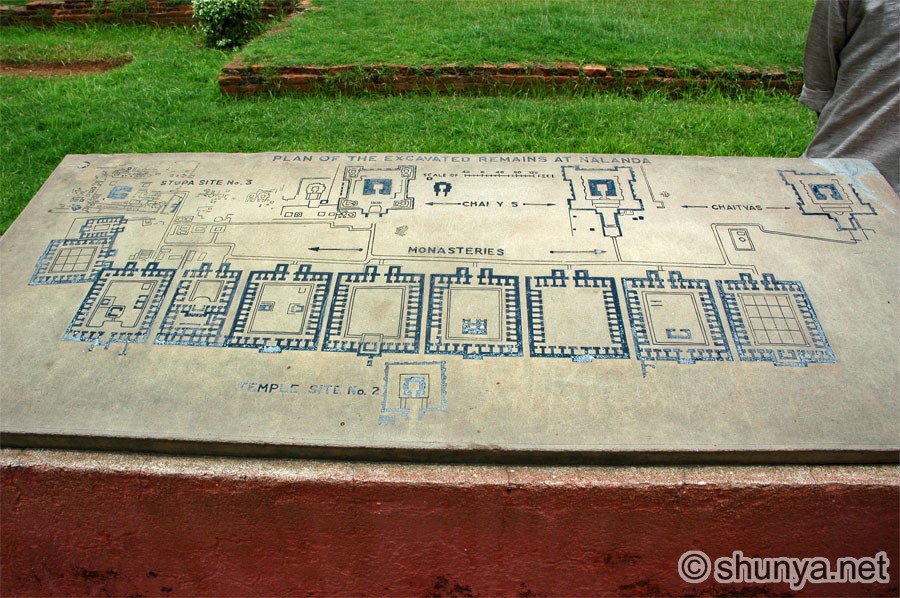
Nalanda, Bihar, India (Overview, site map)
"By the mid-first millennium CE, Chinese pilgrims began to arrive on perilous journeys to India. They came seeking Buddhist scholarship and authoritative texts. I present highlights from the surviving records of three of them—Faxian, Xuanzang, Yijing—that provide us vital portraits of Indian social and religious life between 400–700 CE. The 'first and chief difference between India and other nations', wrote Yijing, 'is the peculiar distinction between purity and impurity'. They described ongoing tussles between Brahmins and Bodhisattvas. These Chinese monks' records, translated in the nineteenth century, helped rediscover India's Buddhist antiquity (after Buddhism declined and vanished from India, its texts, monuments and even the Buddha himself were forgotten by the Indians).
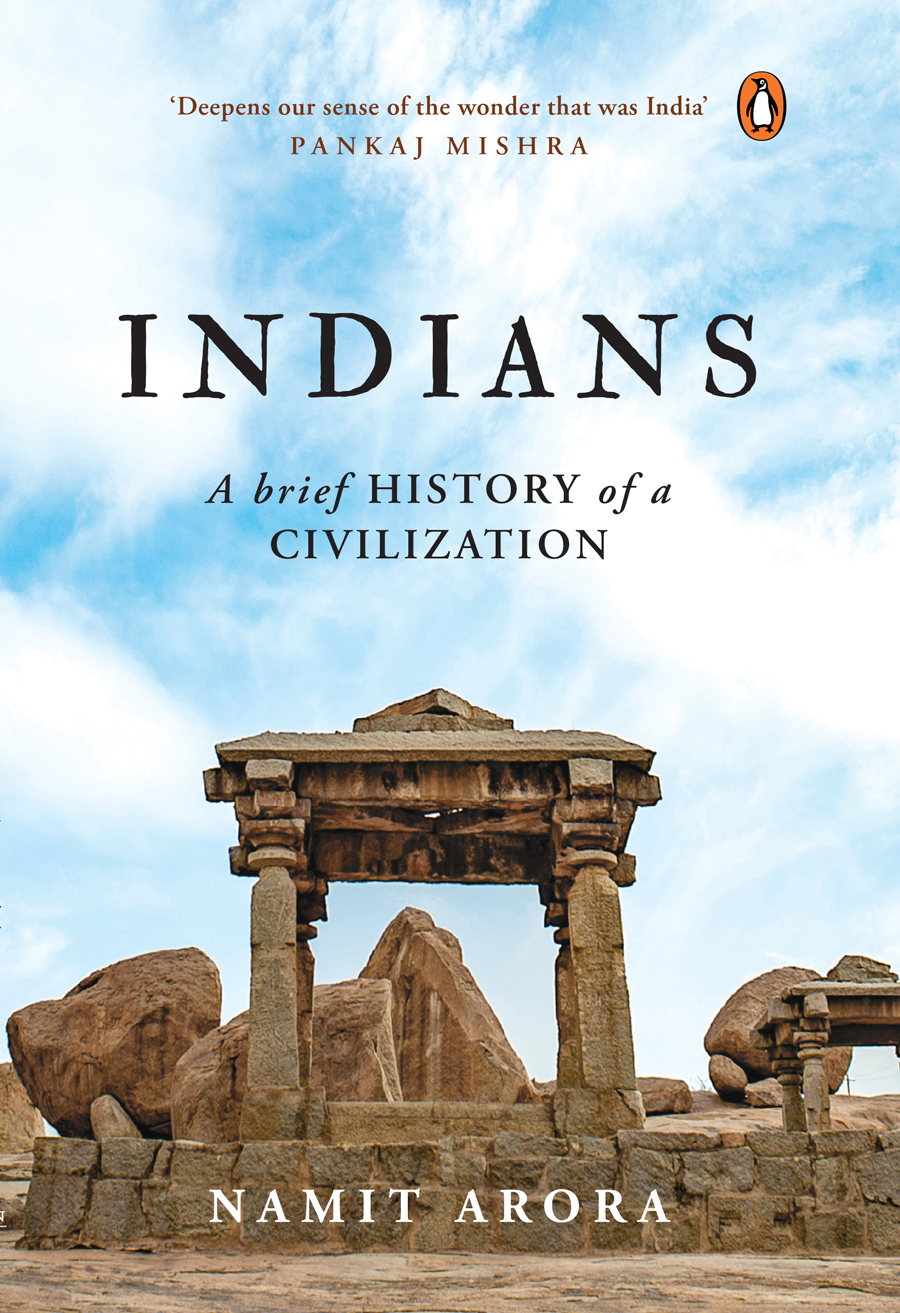
"One such rediscovery was Nalanda Mahavihara, a Buddhist monastery in Bihar often considered the first university in the world. Between the fifth and thirteenth centuries, monks from across Asia came here to learn grammar, logic, philosophy, theology, astronomy and medicine. I wander its tranquil ruins and attempt to conjure up the lives of its monks in the seventh century. I introduce their famous teachers and their notable theories, examine the university's financing and more. In the late first millennium, both Indian Buddhism and Nalanda declined for reasons surprisingly different from those peddled in popular histories. I reflect on the stark contrast between Bihar's illustrious past and its dismal present."
—From the Introduction of Namit Arora's Indians: A Brief History of a Civilization.
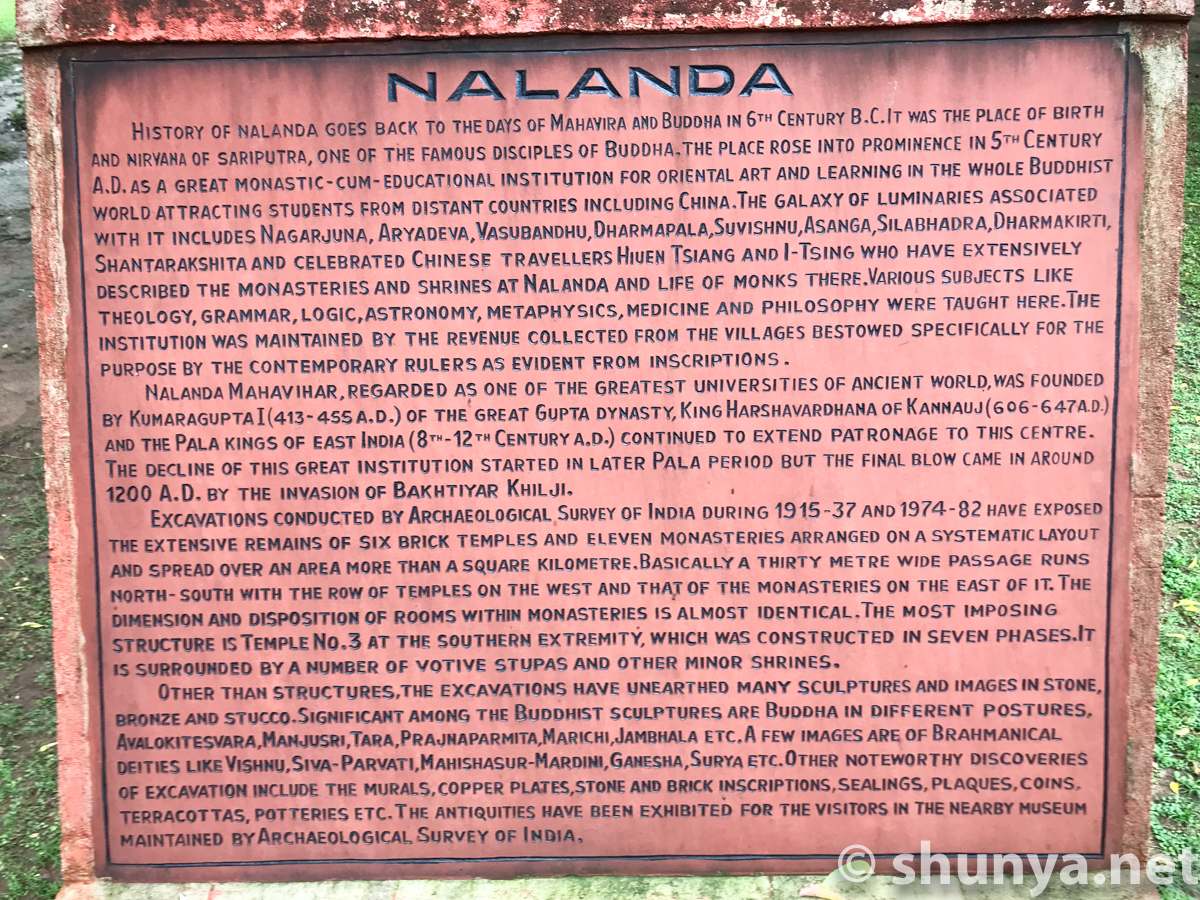
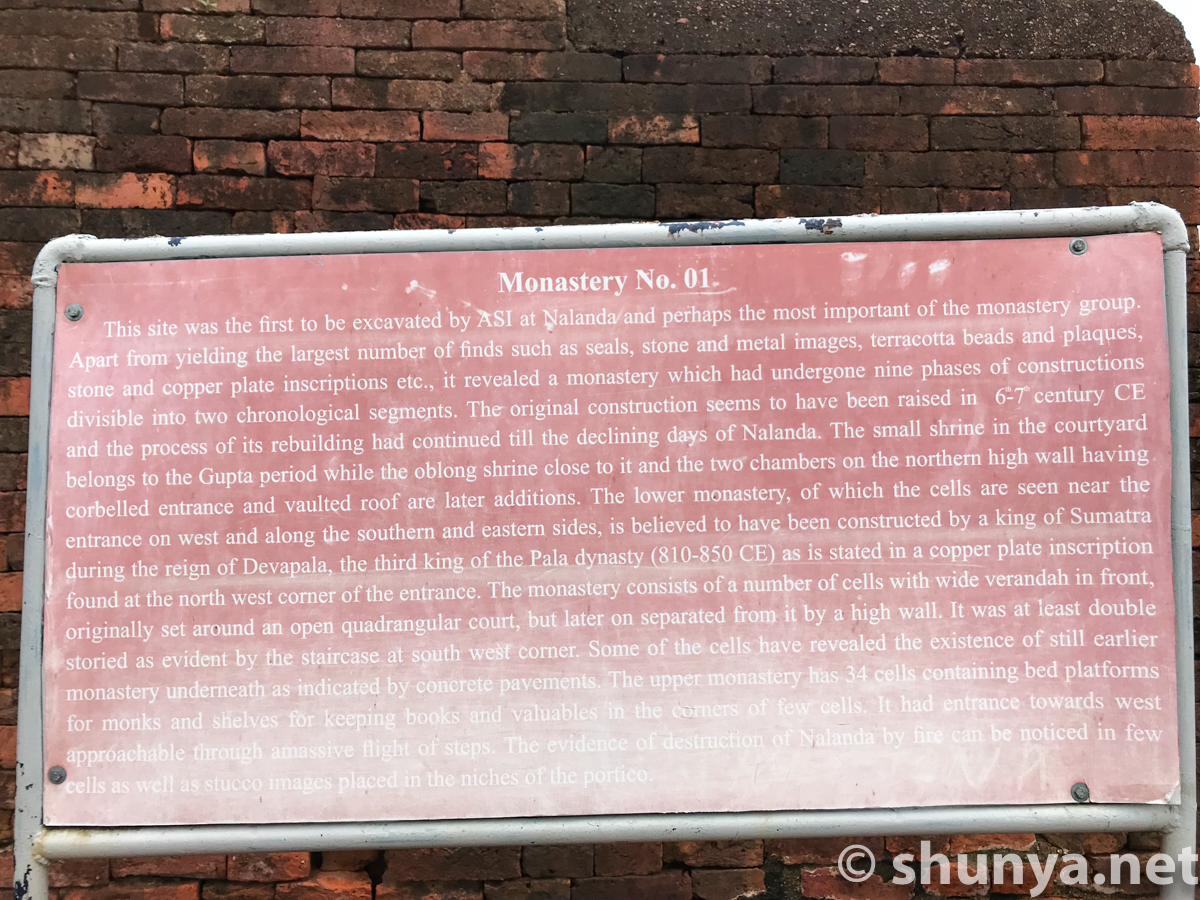
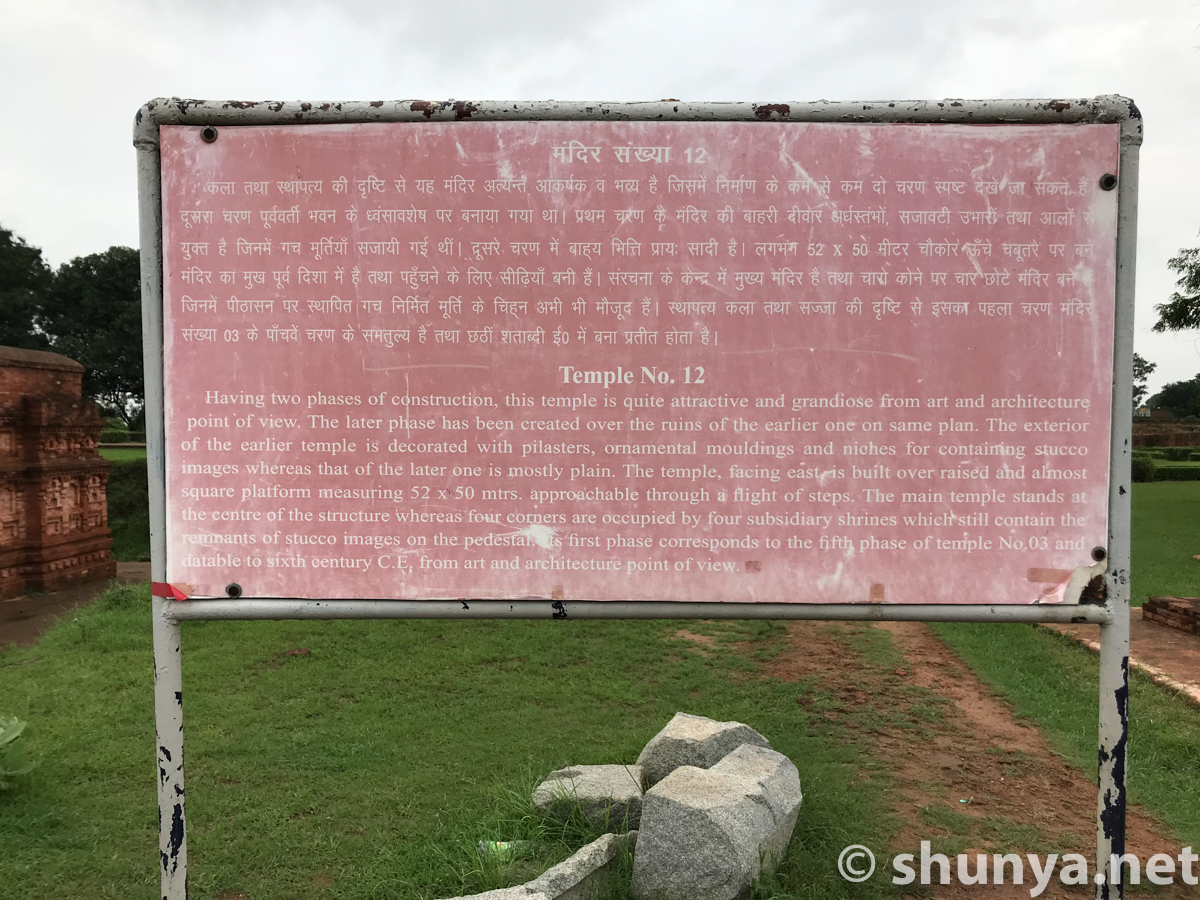
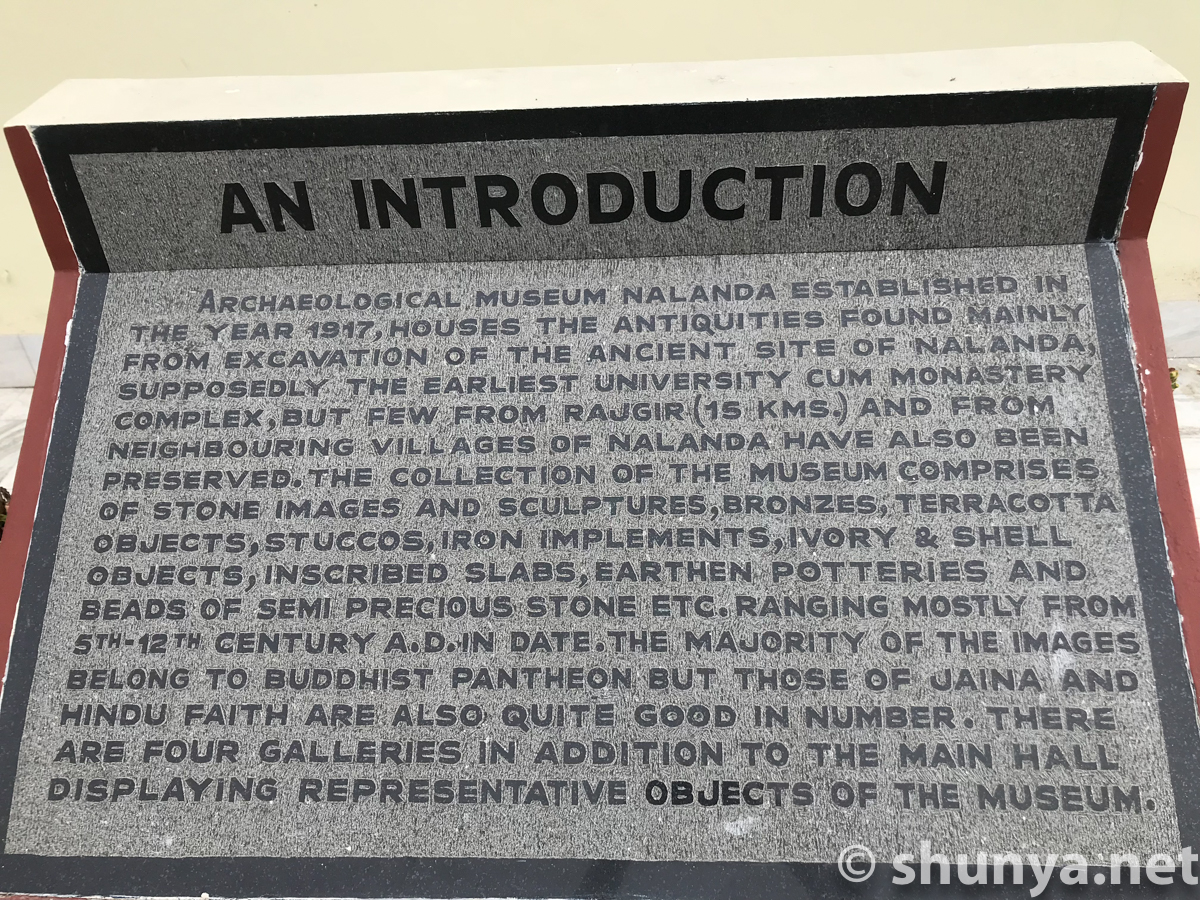
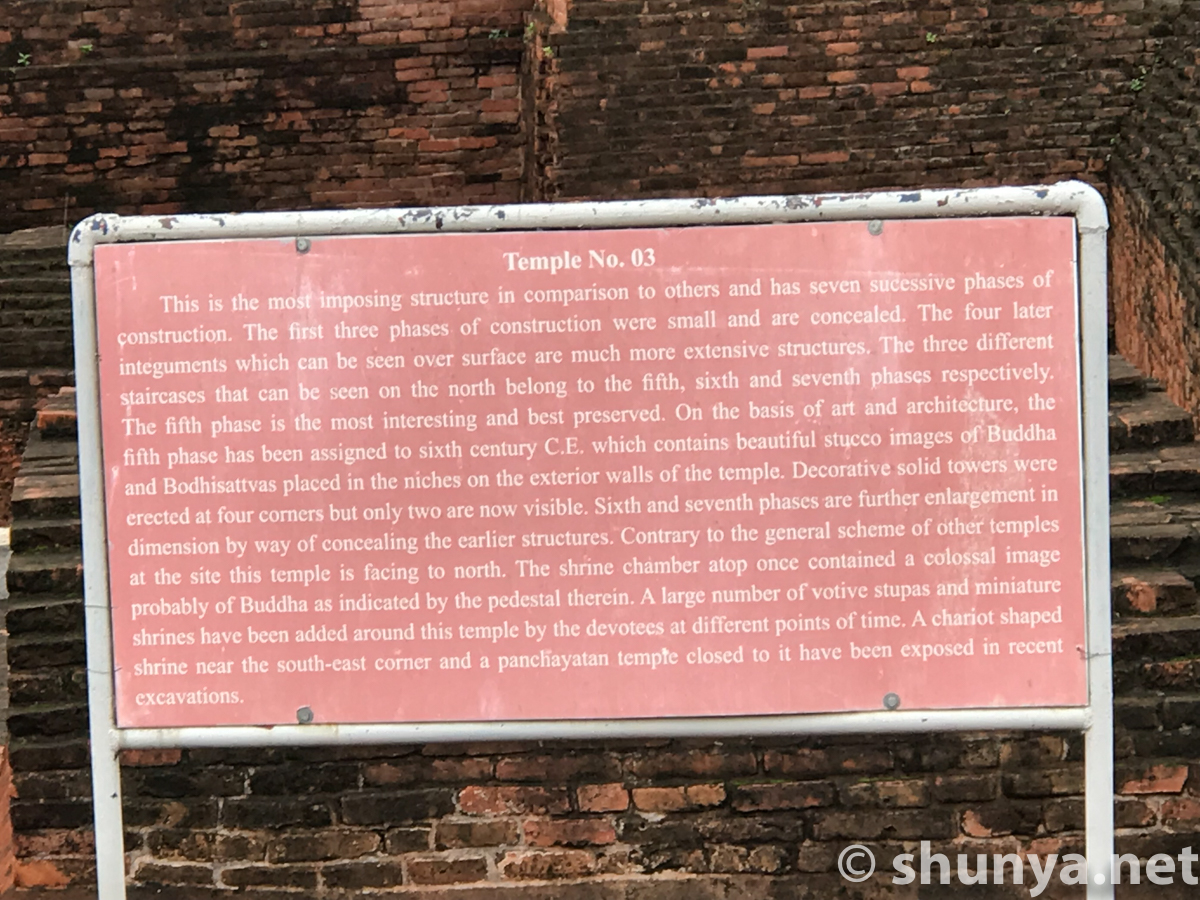
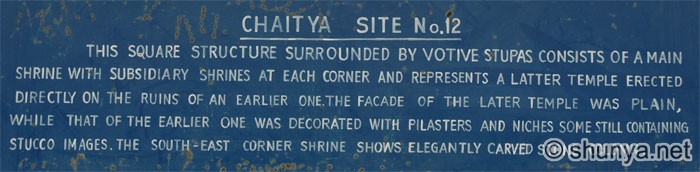
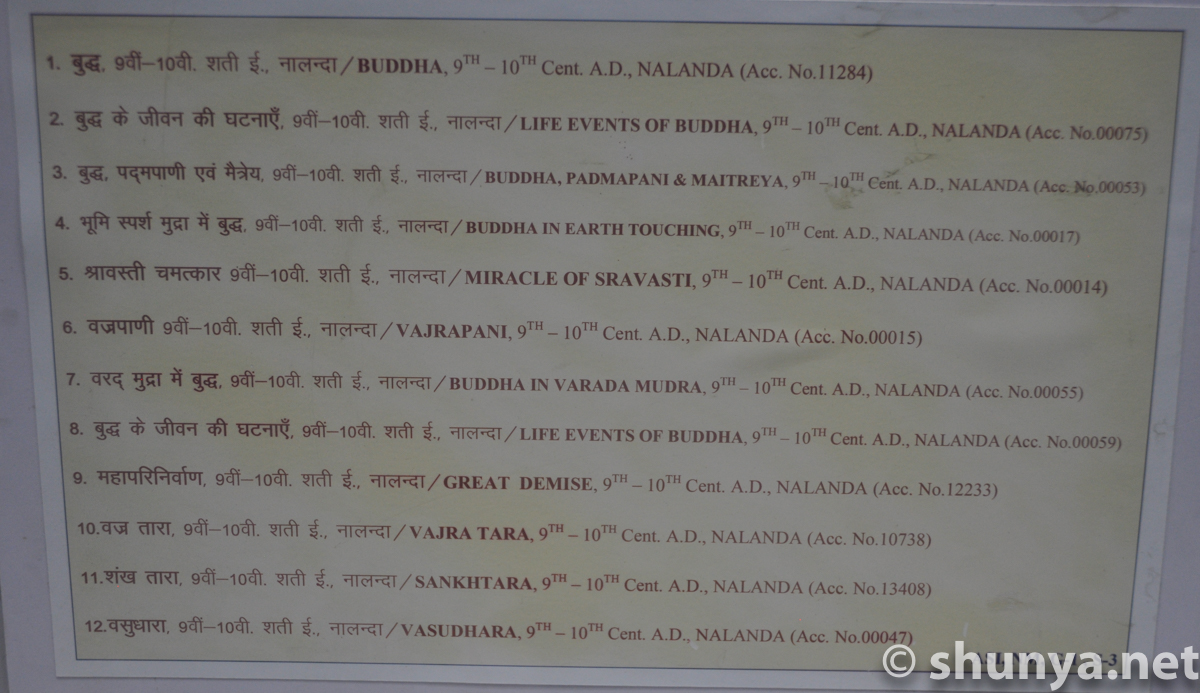
Official ASI info panel
|
|
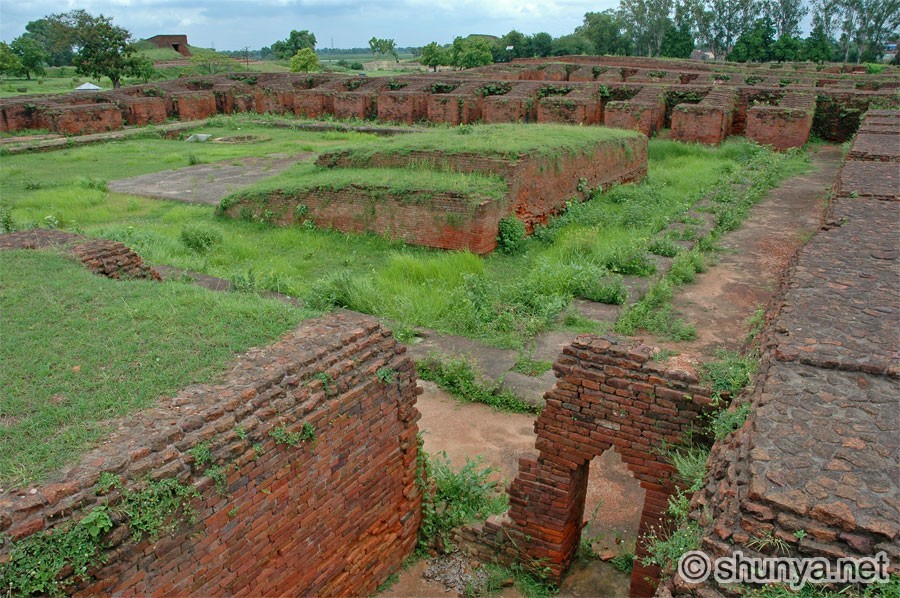
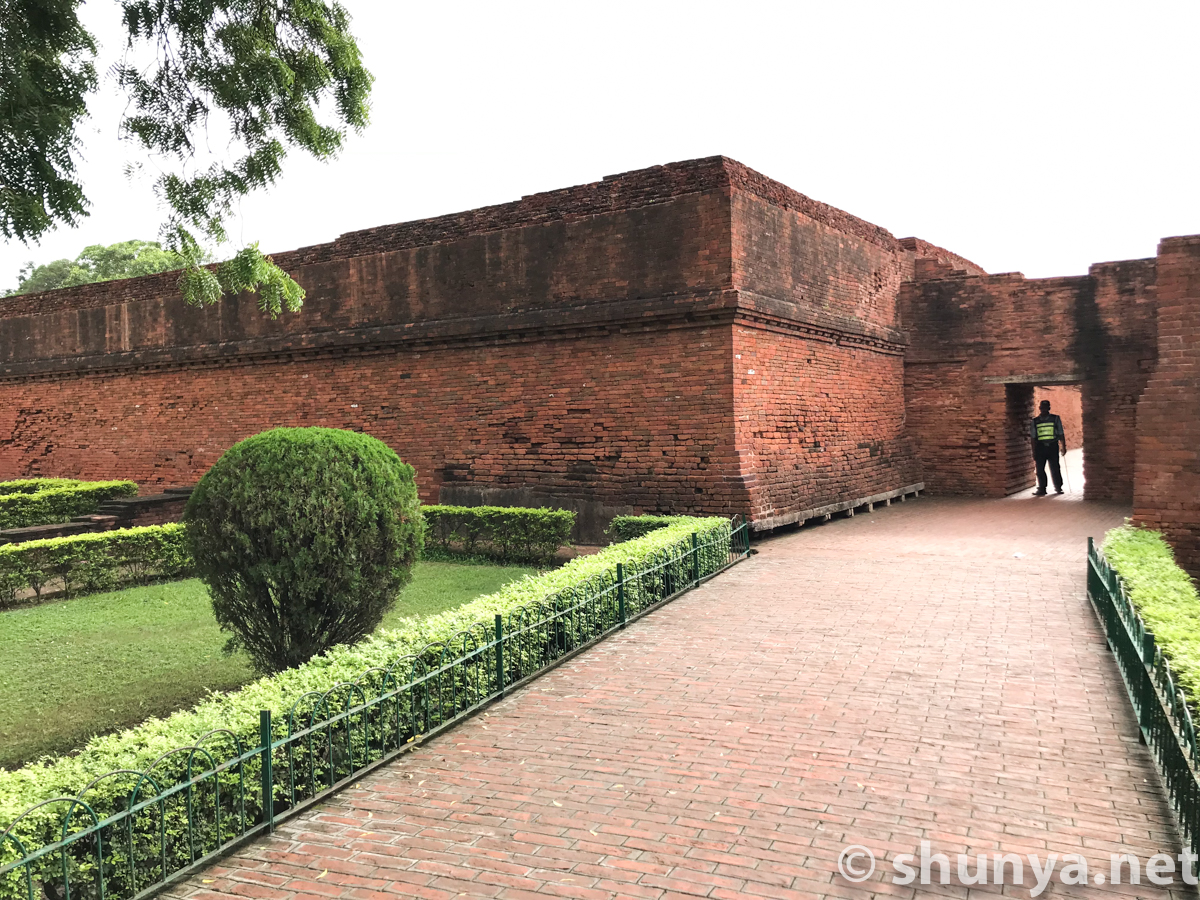
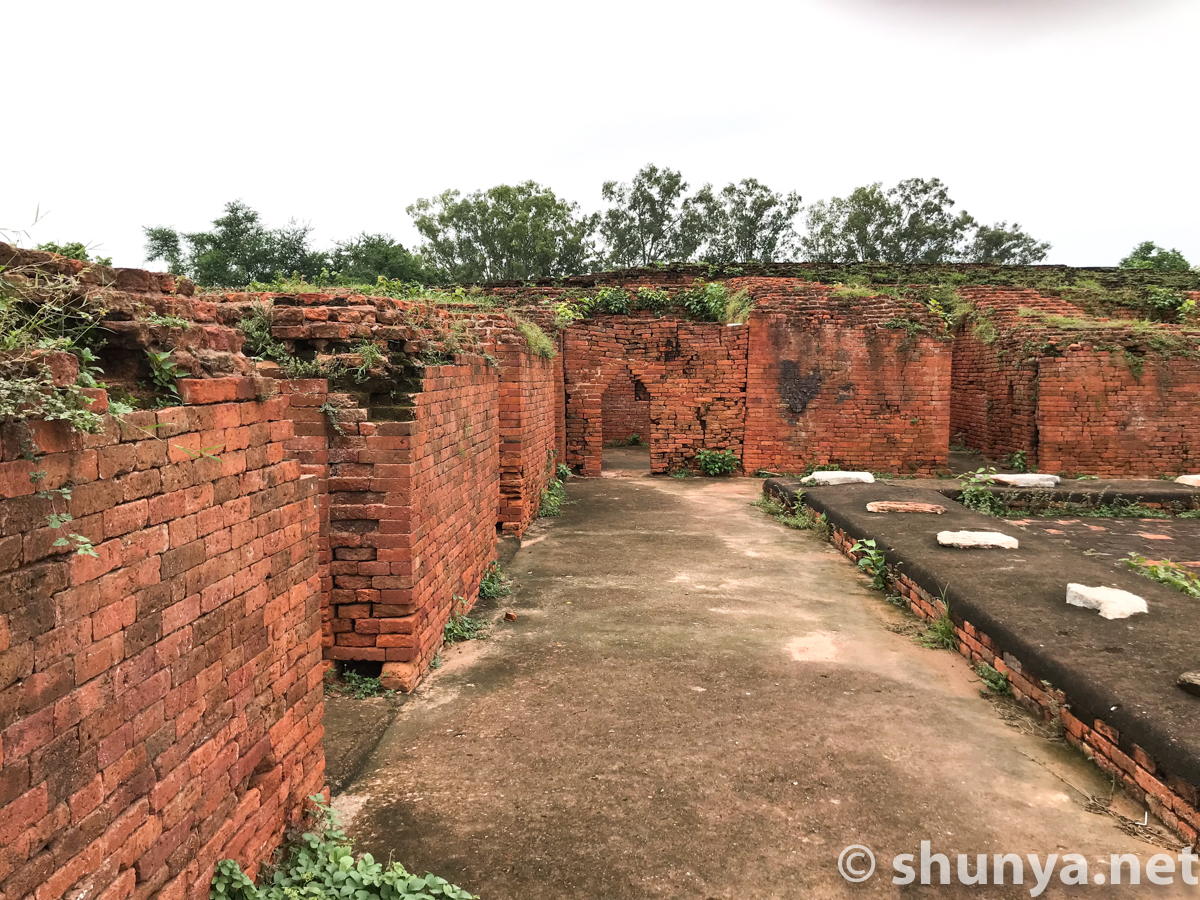
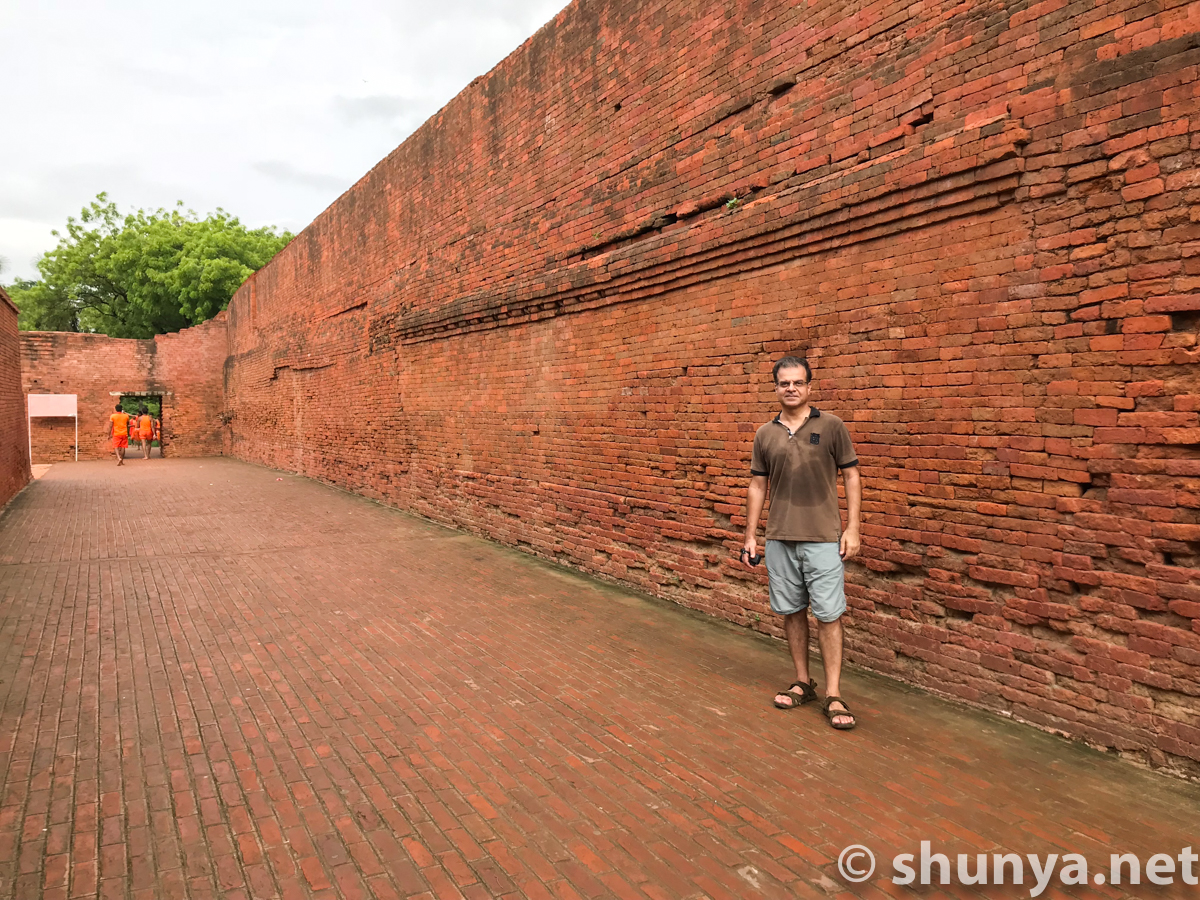
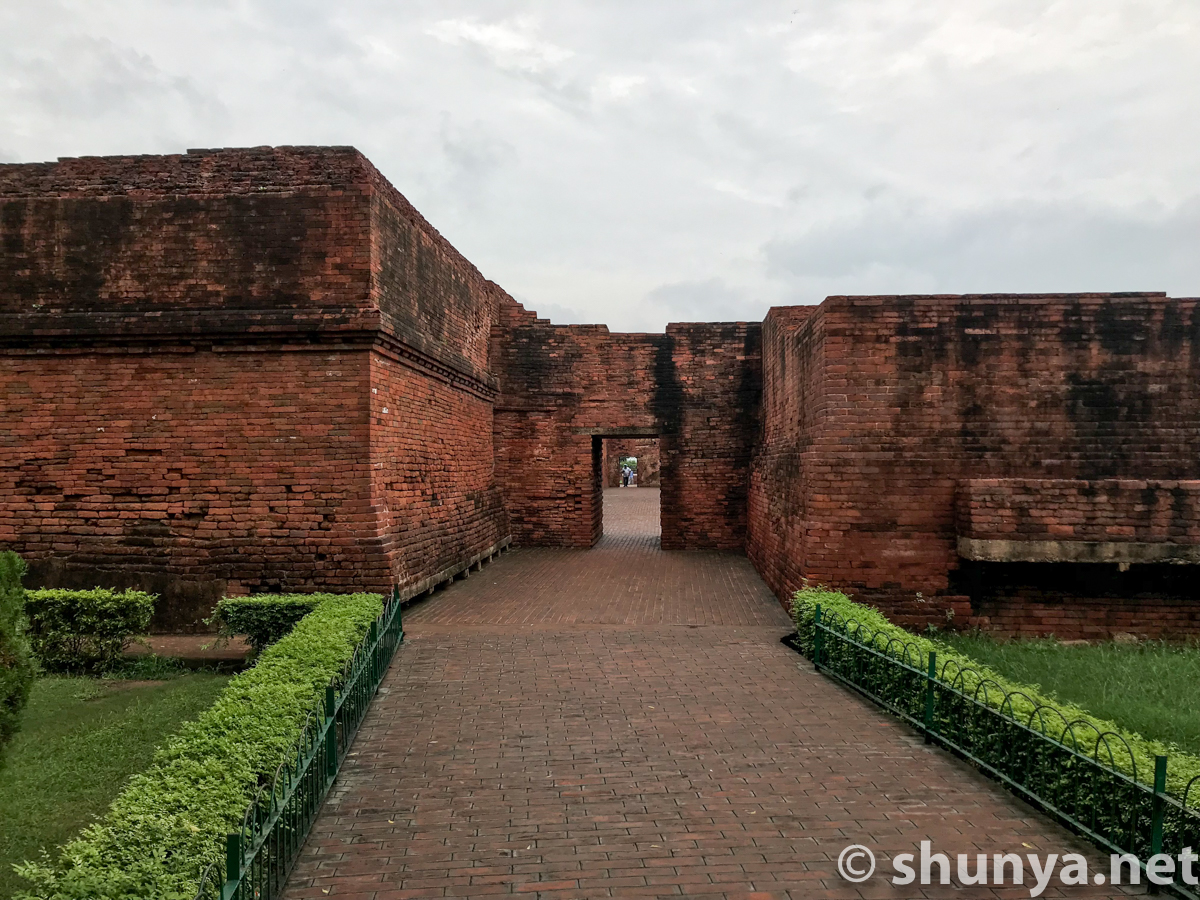
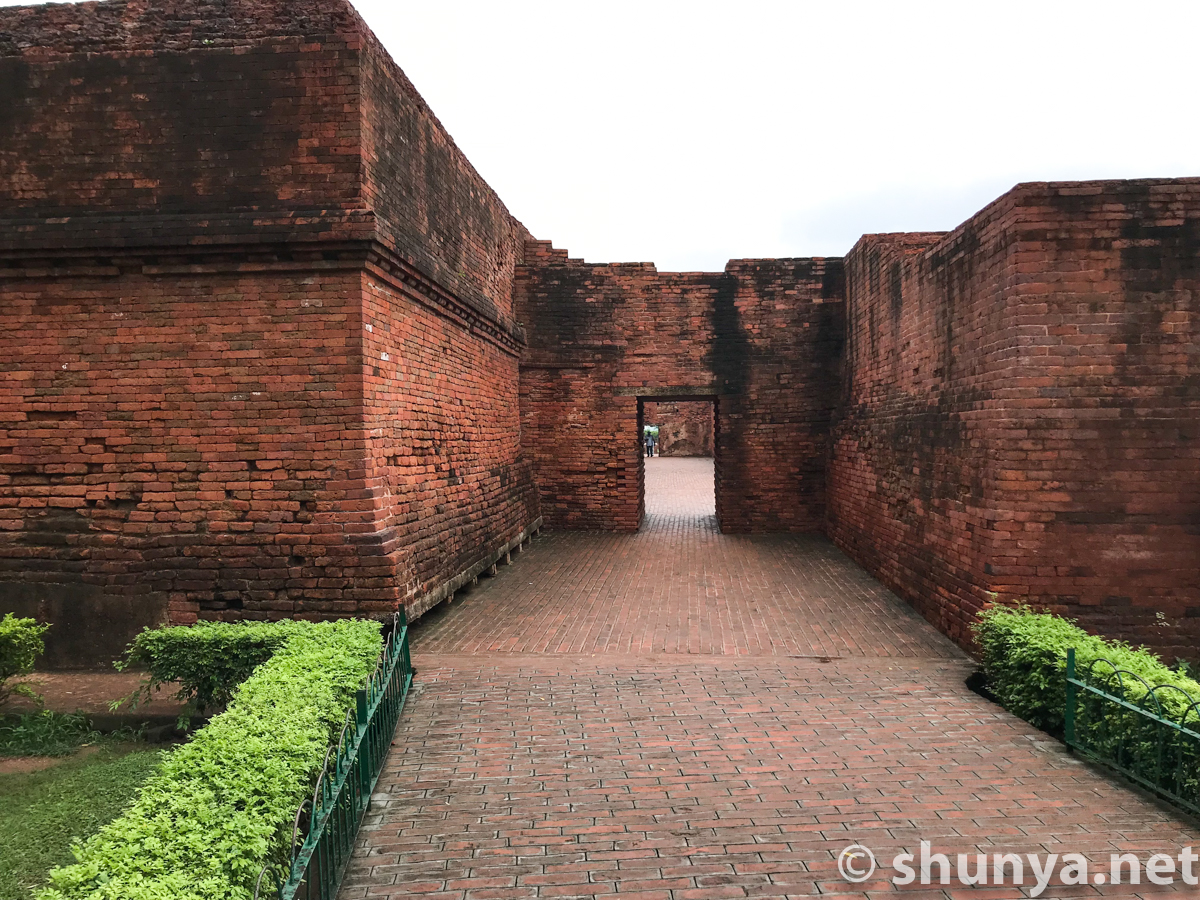
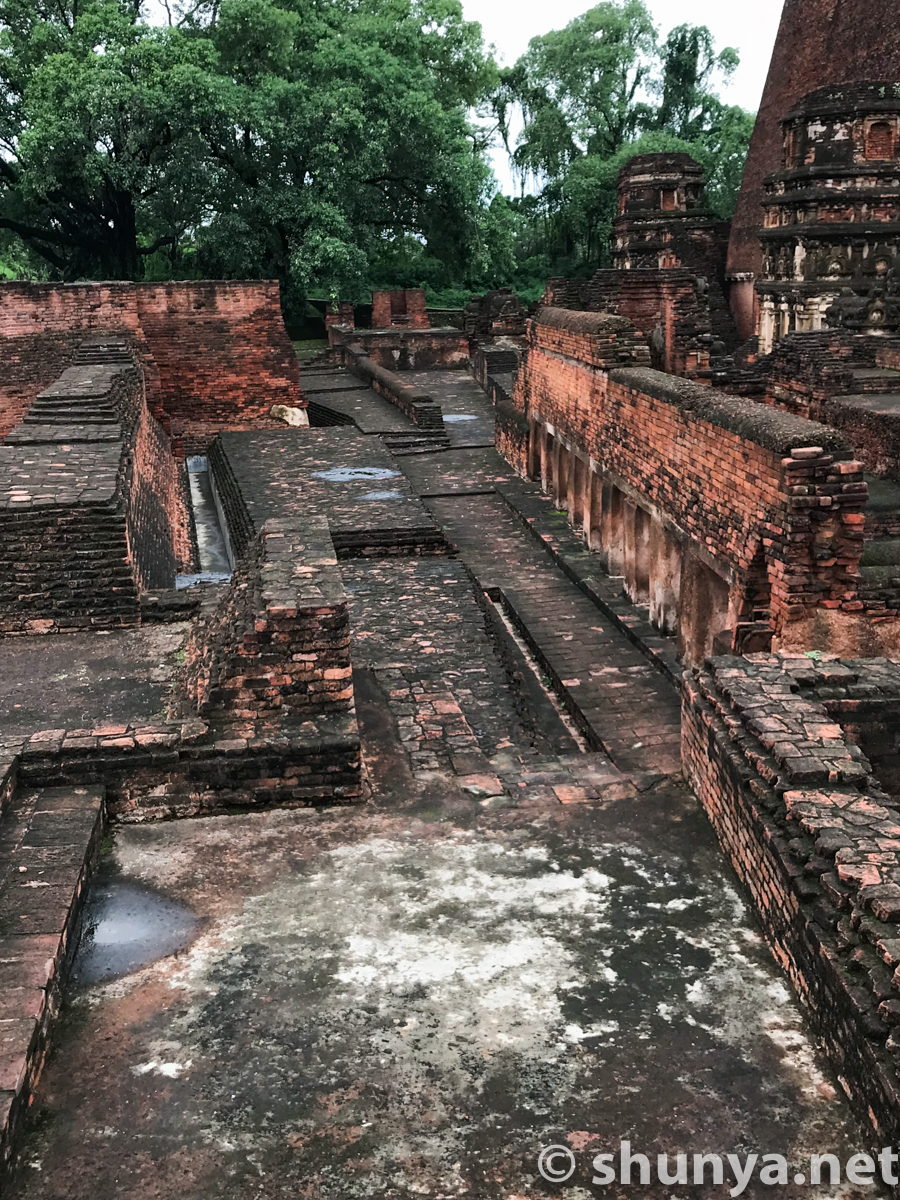
Entering the Mahavihara
|
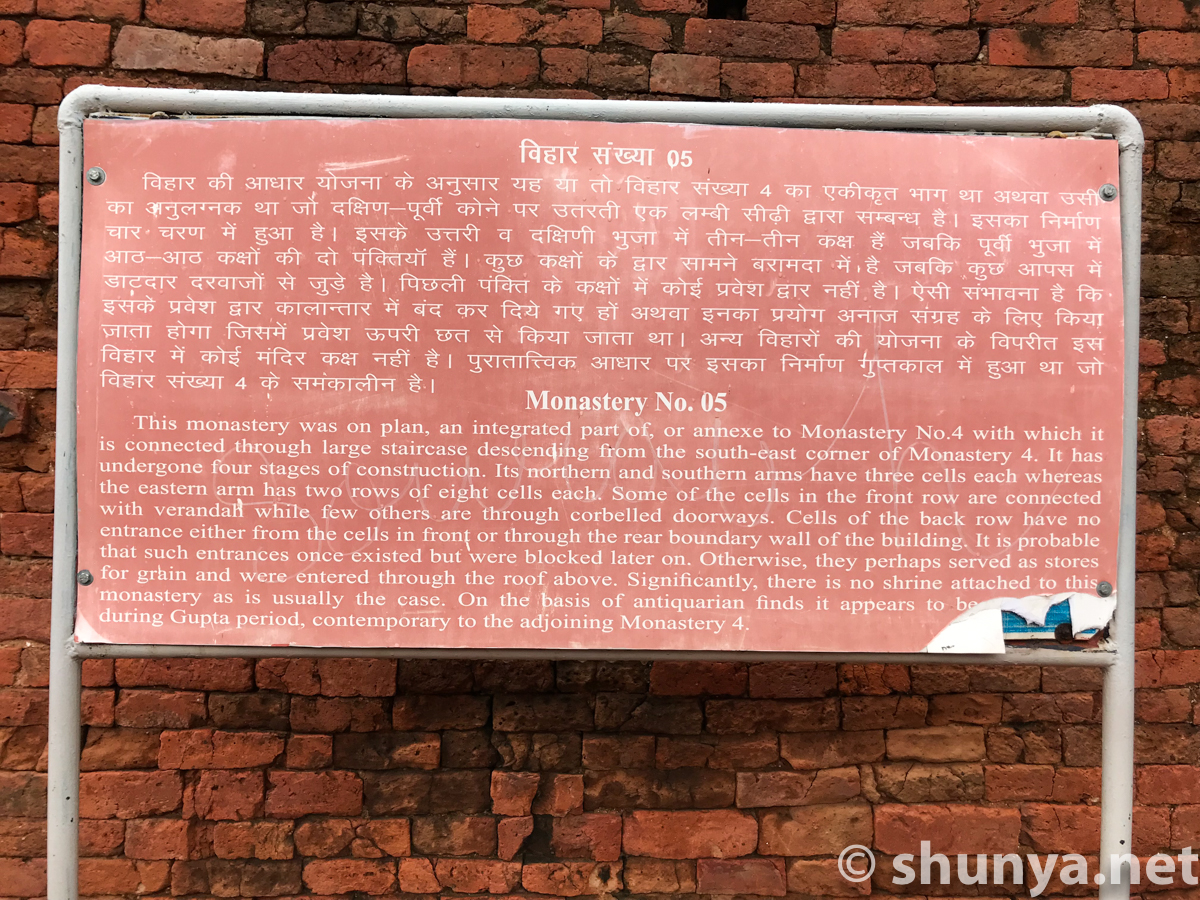
Monastery 5 (info)
|
Monastery 5 (more)
|
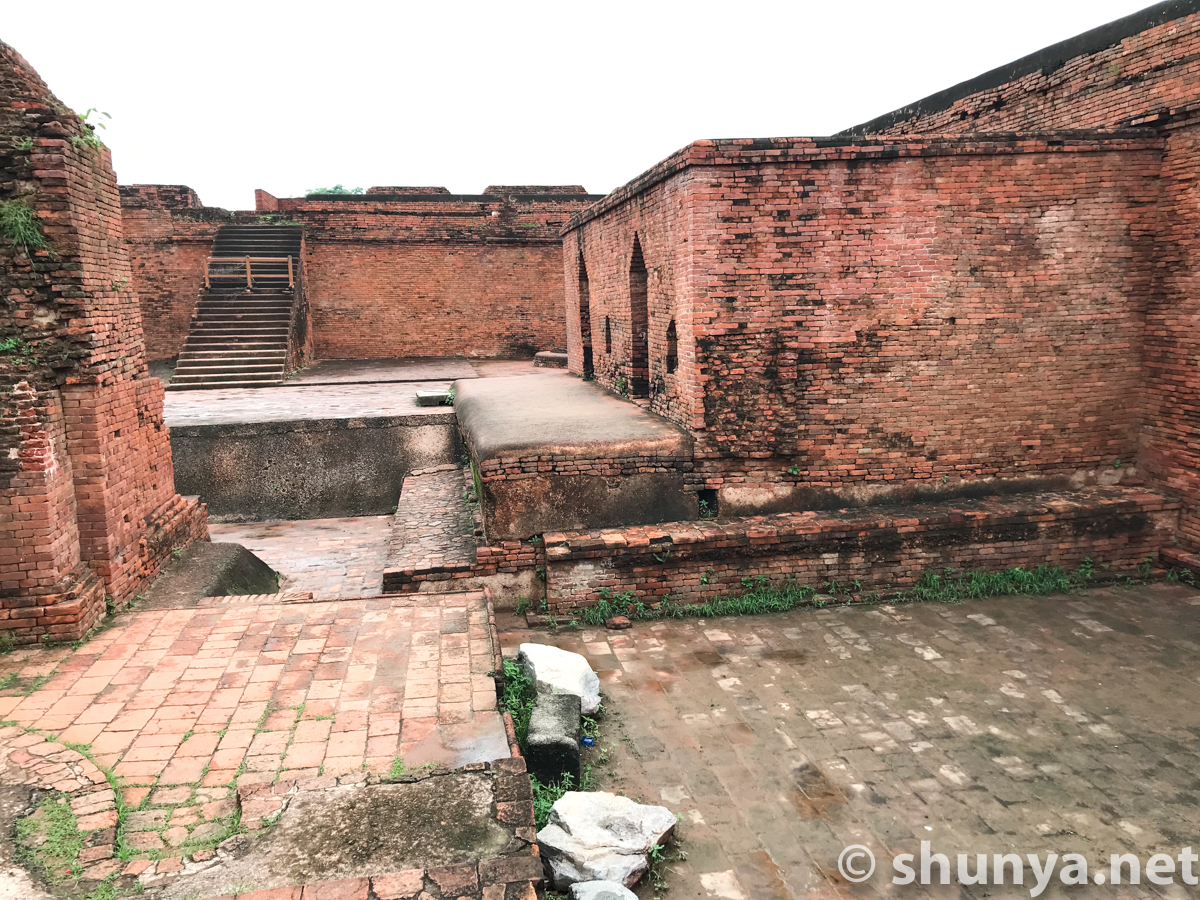
To inner courtyard (info)
|
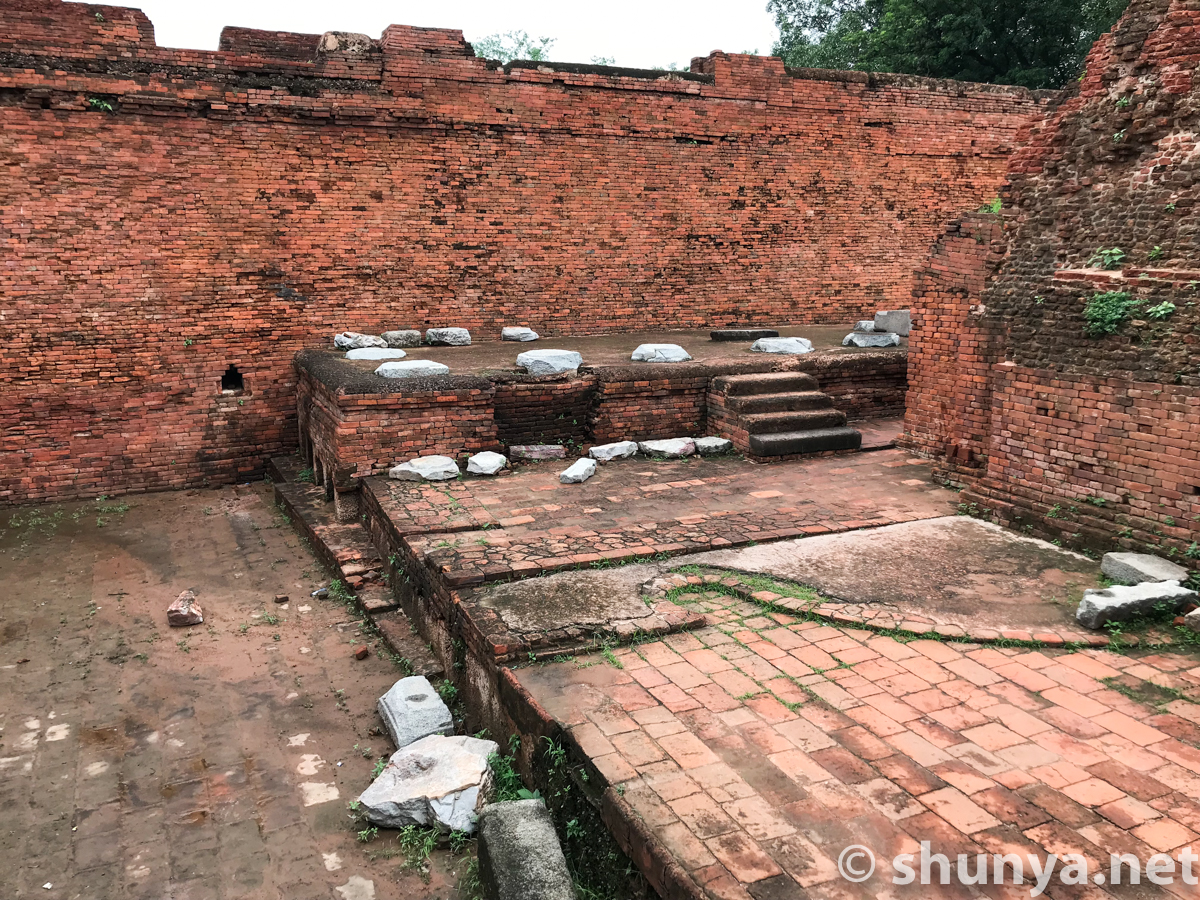
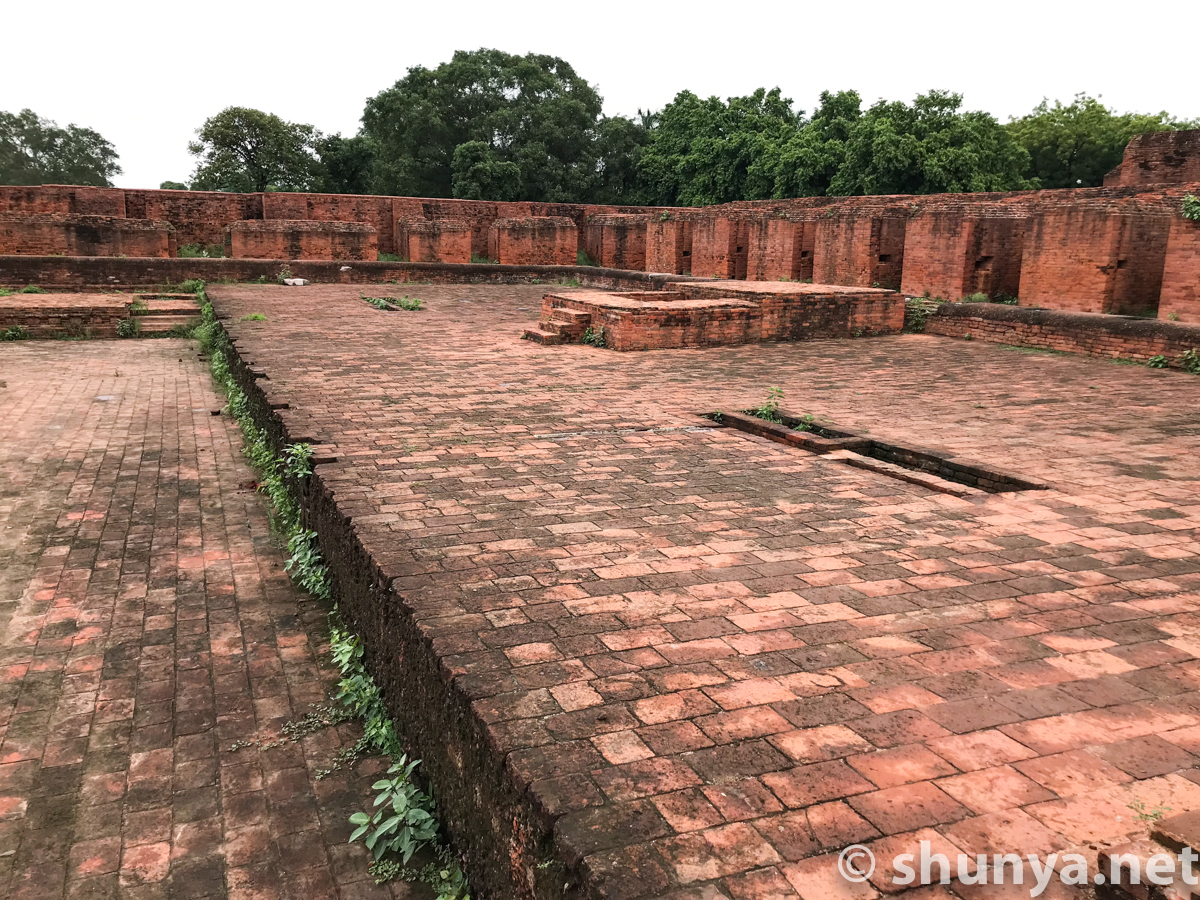
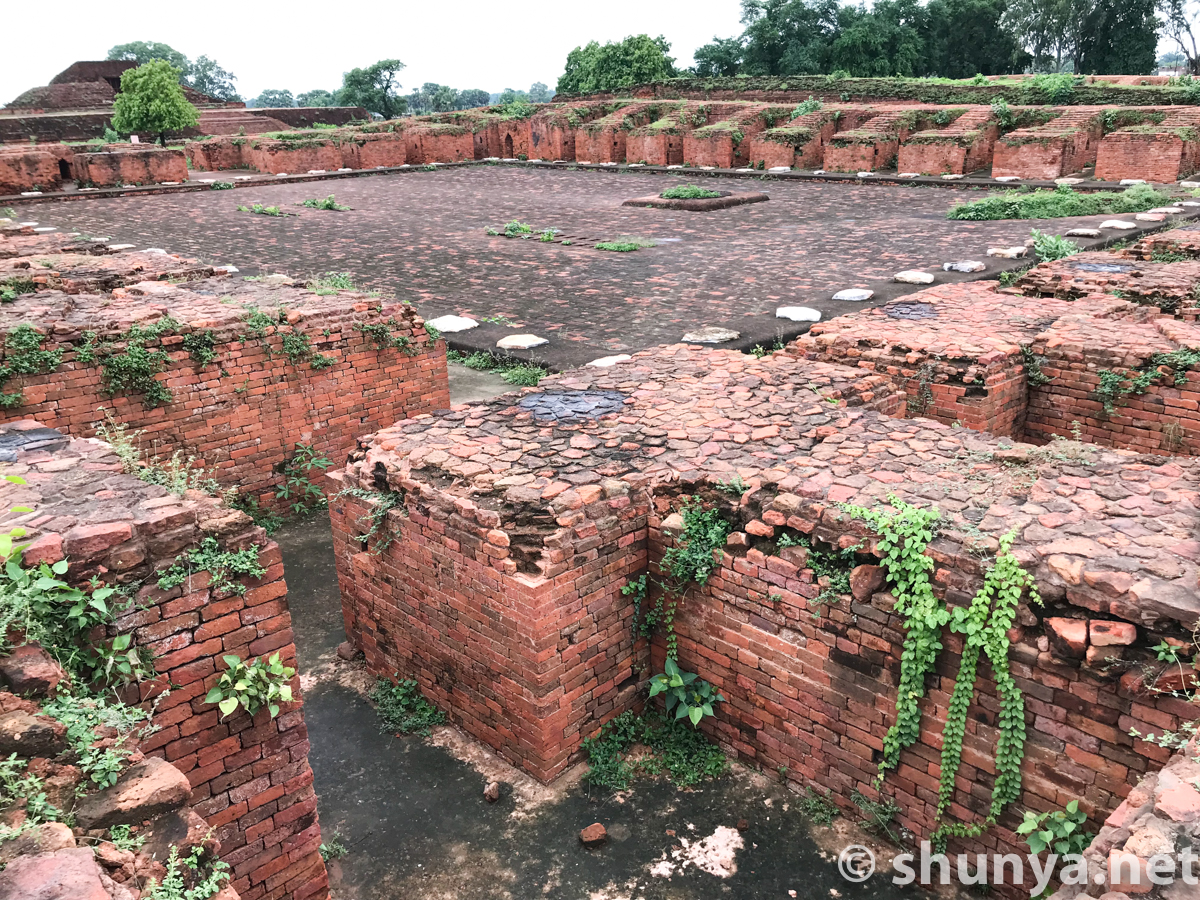
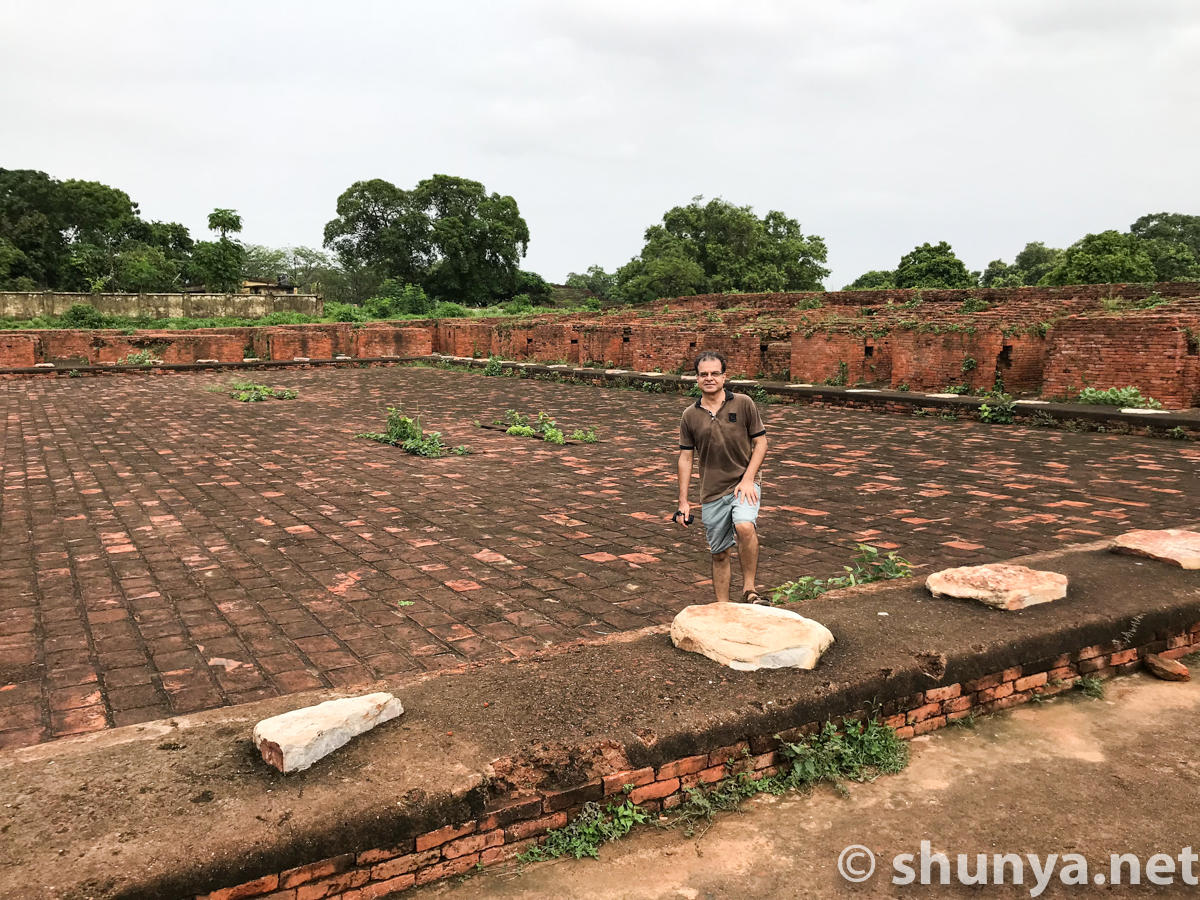
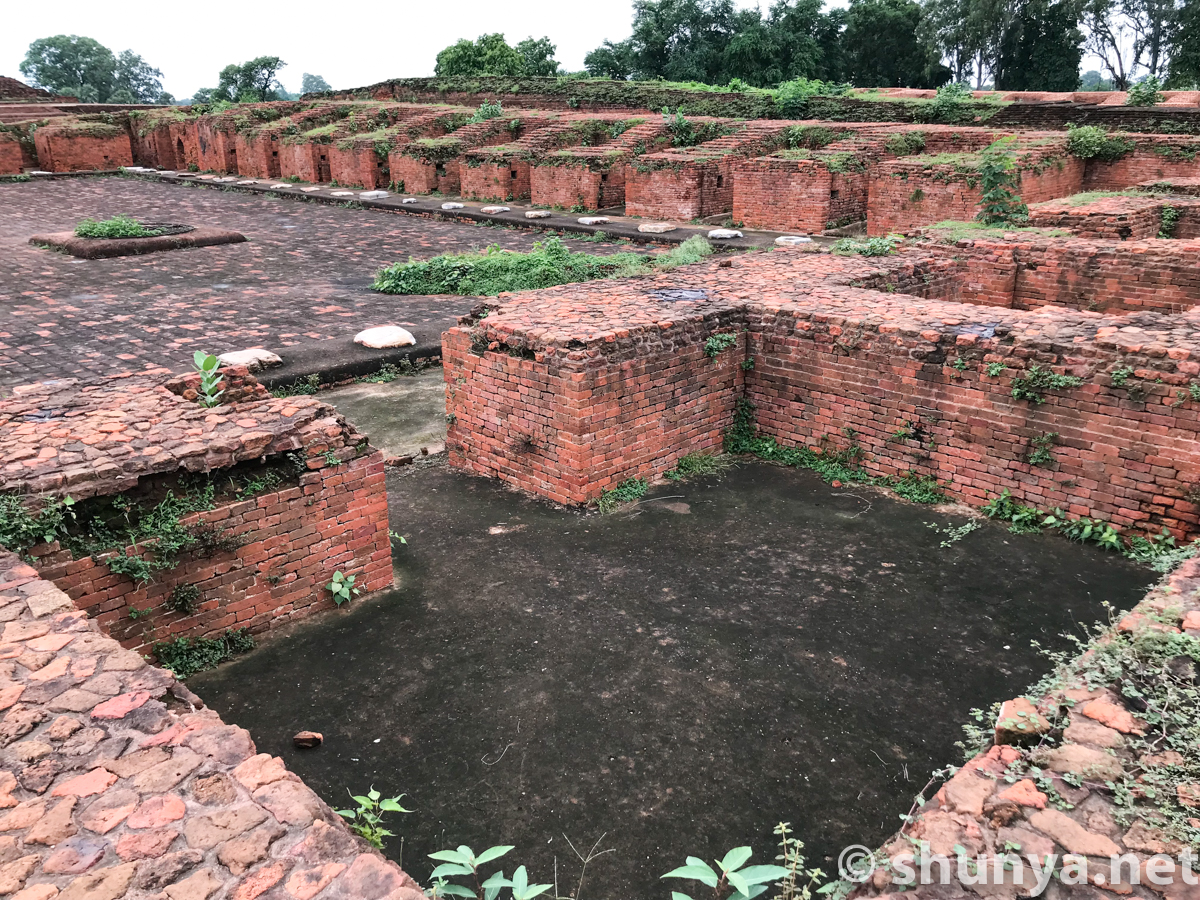
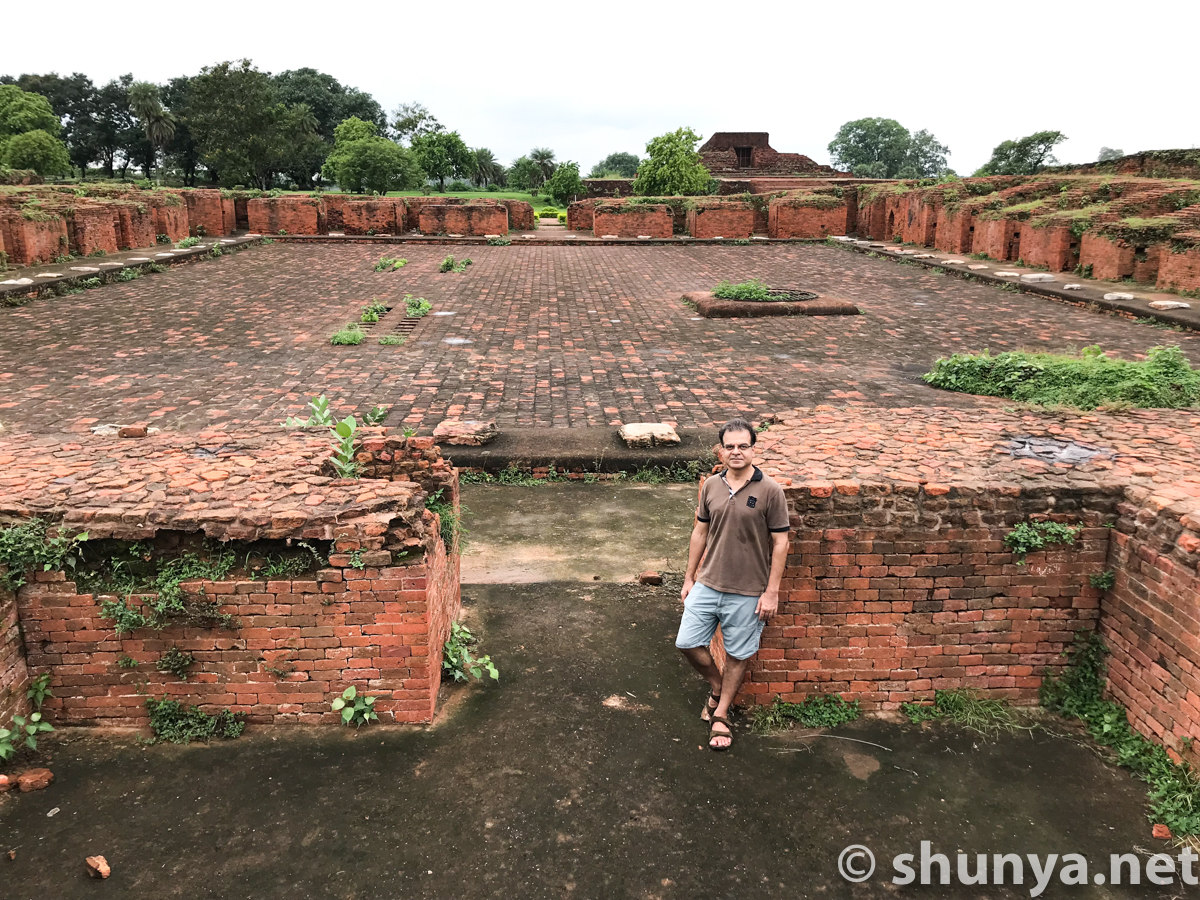
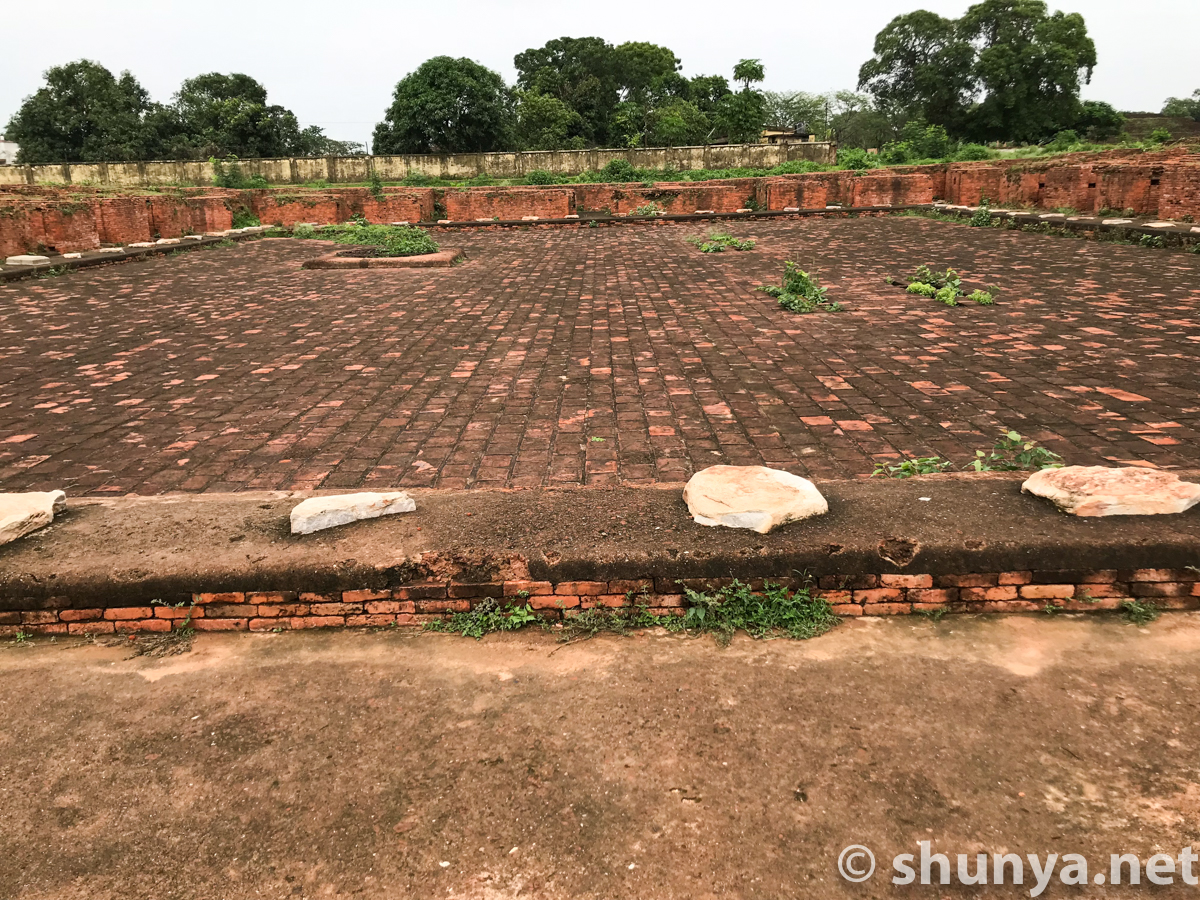
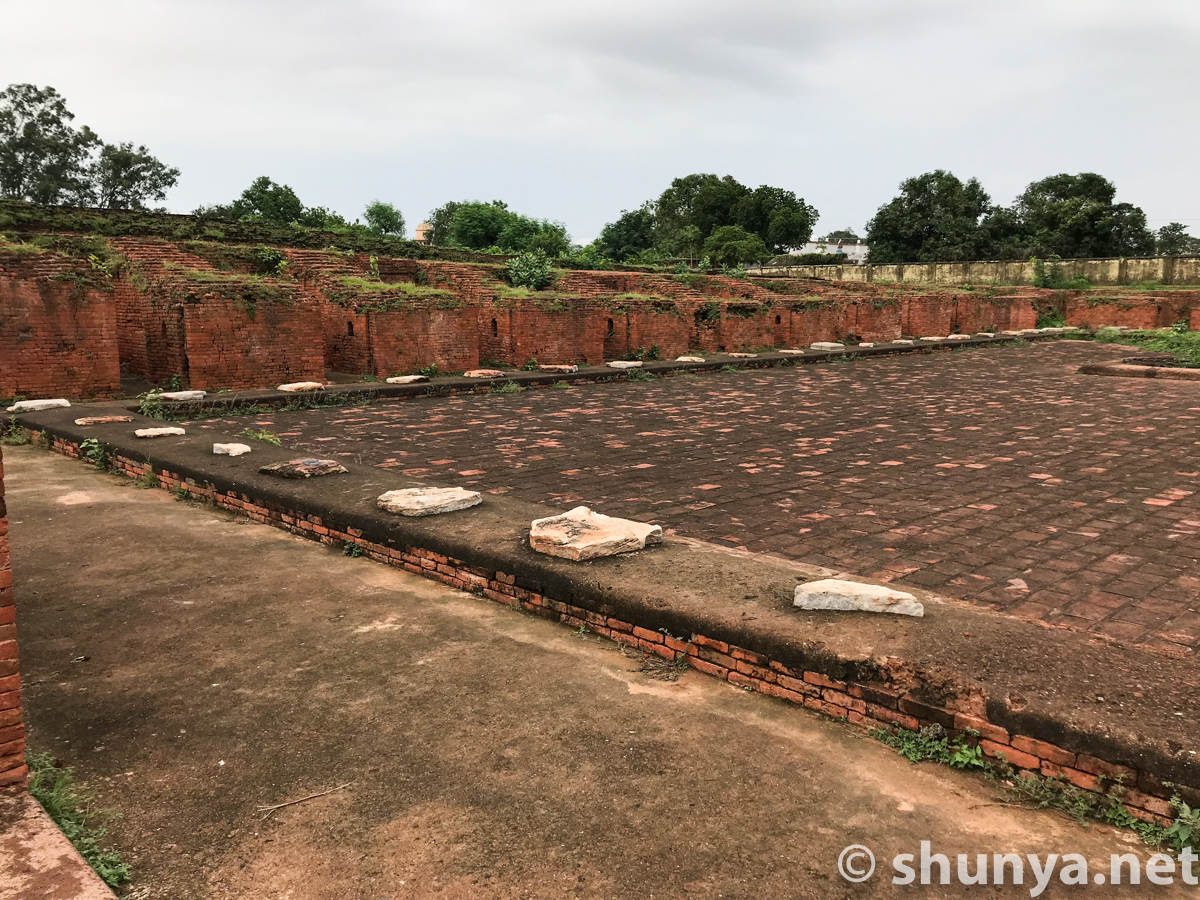
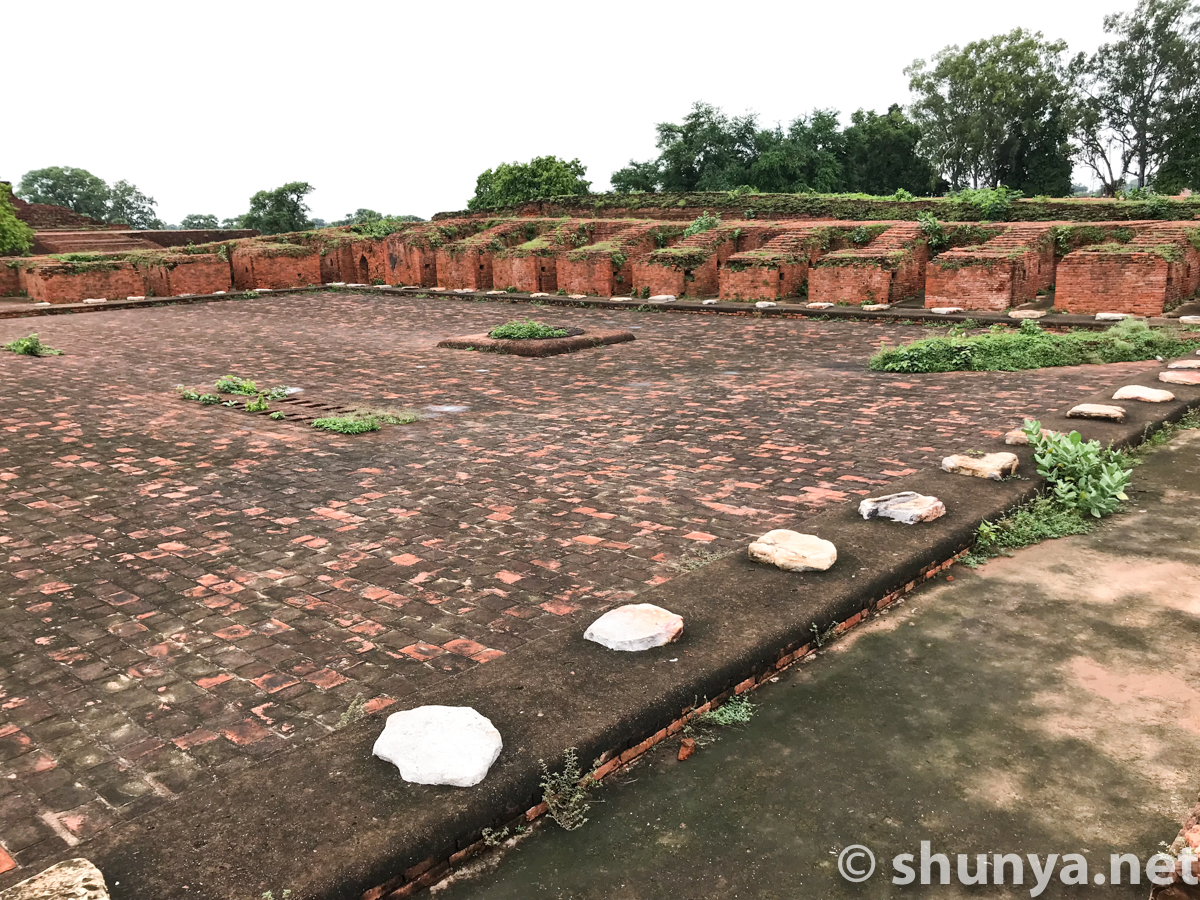
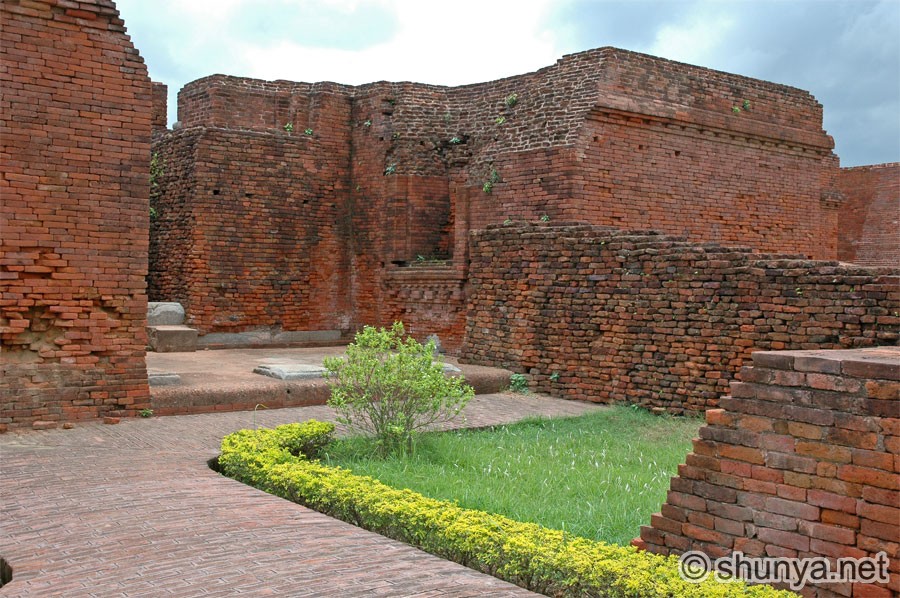
Inner courtyard
|
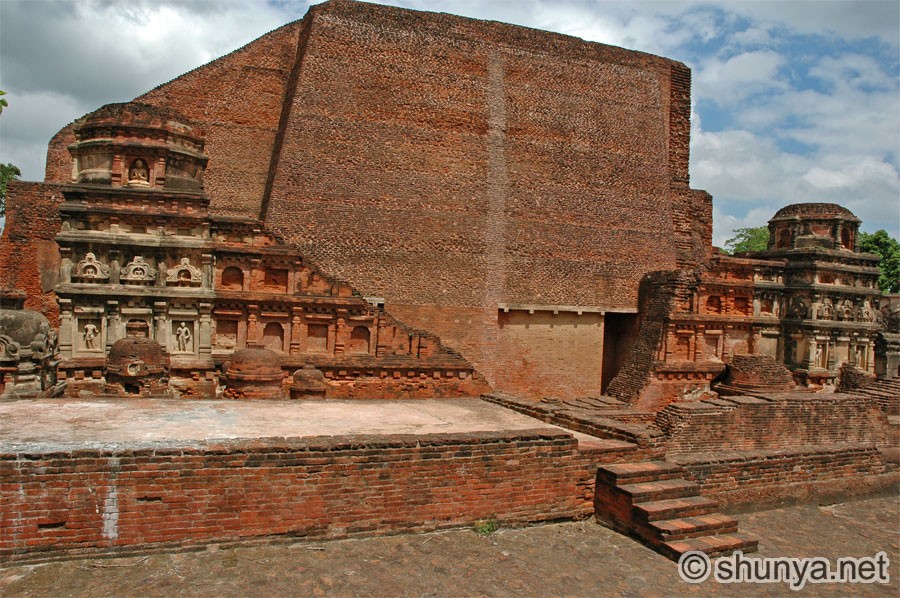
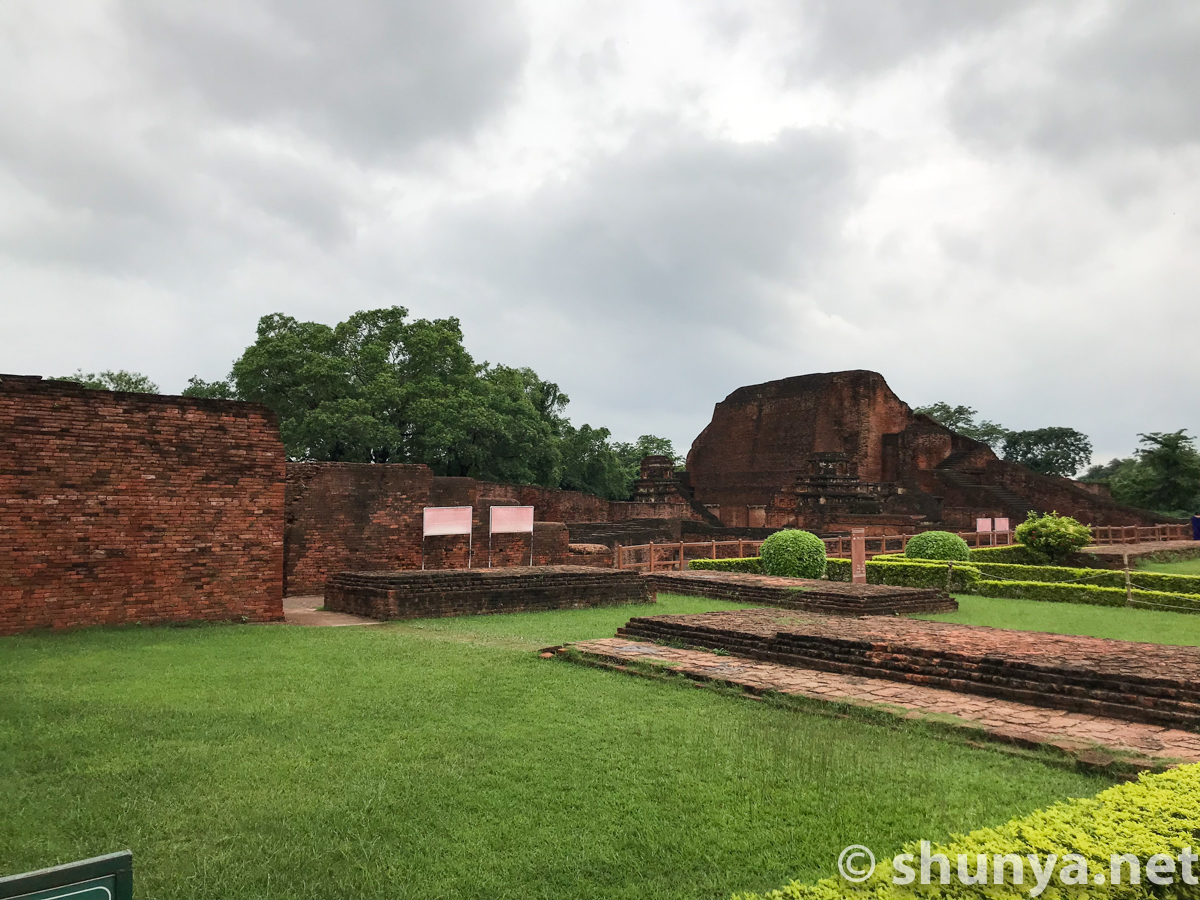
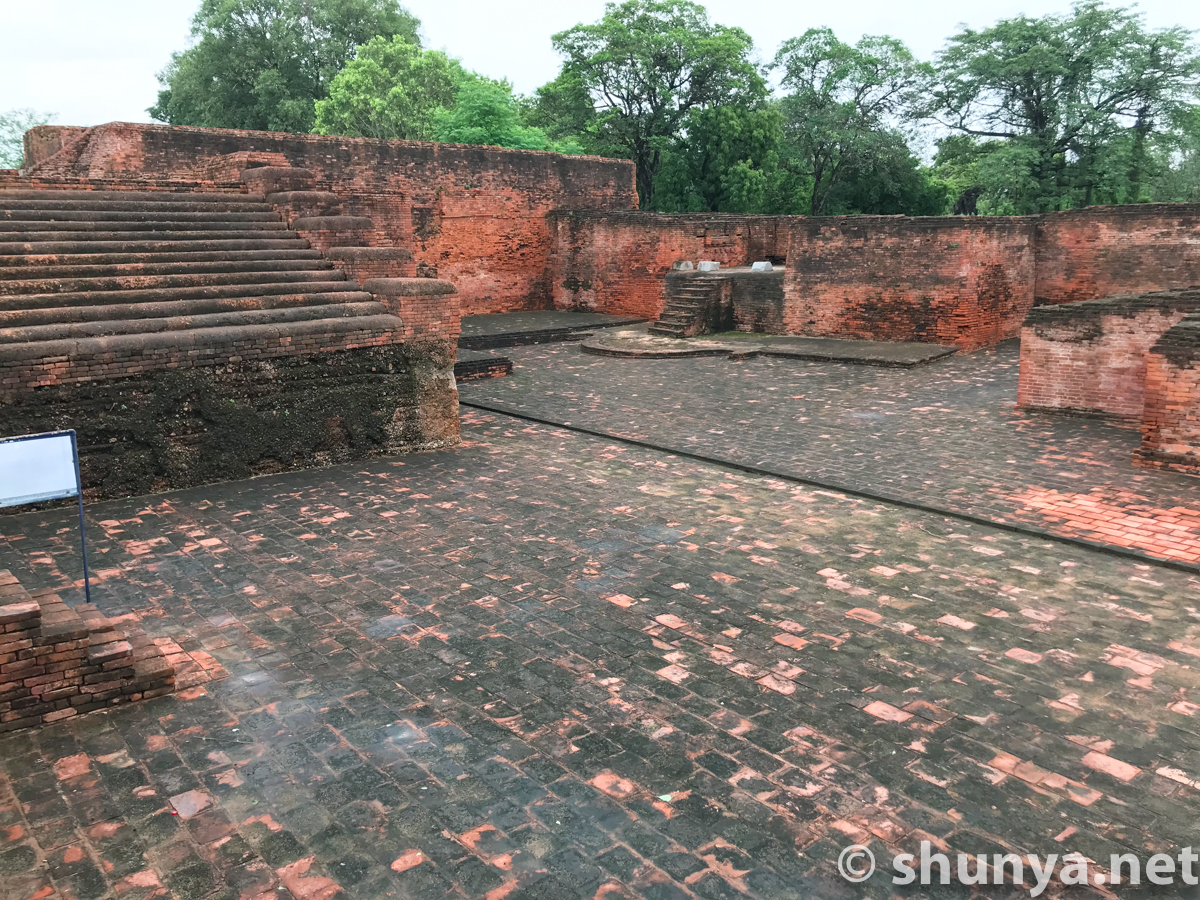
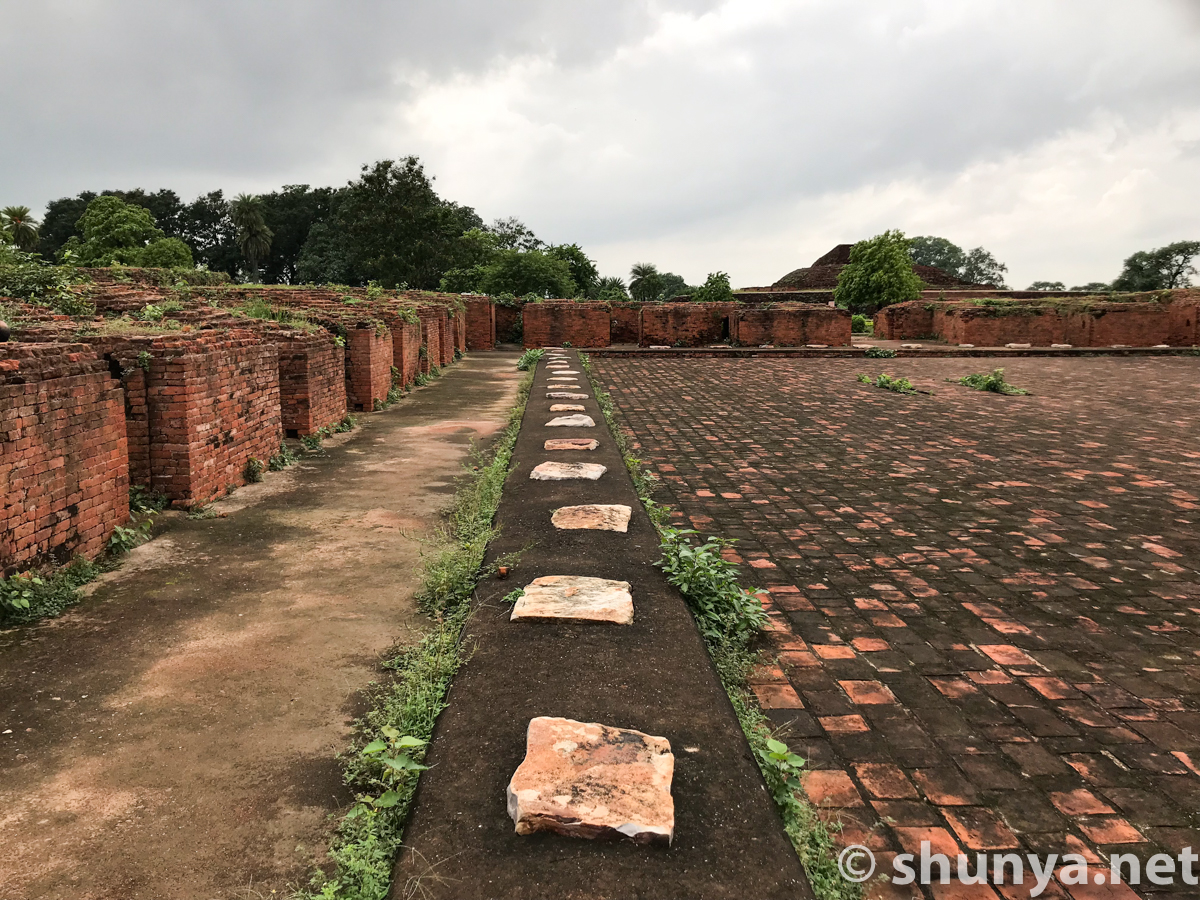
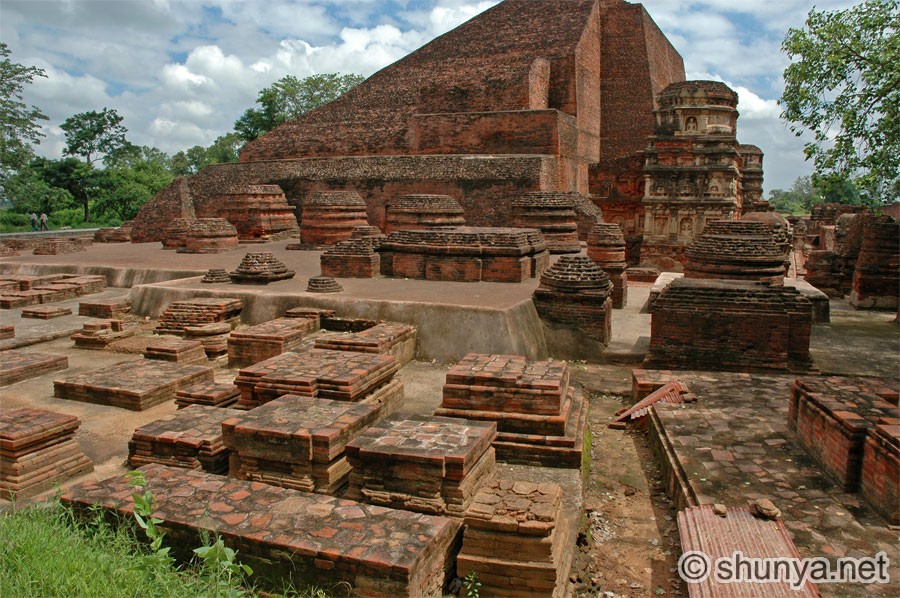
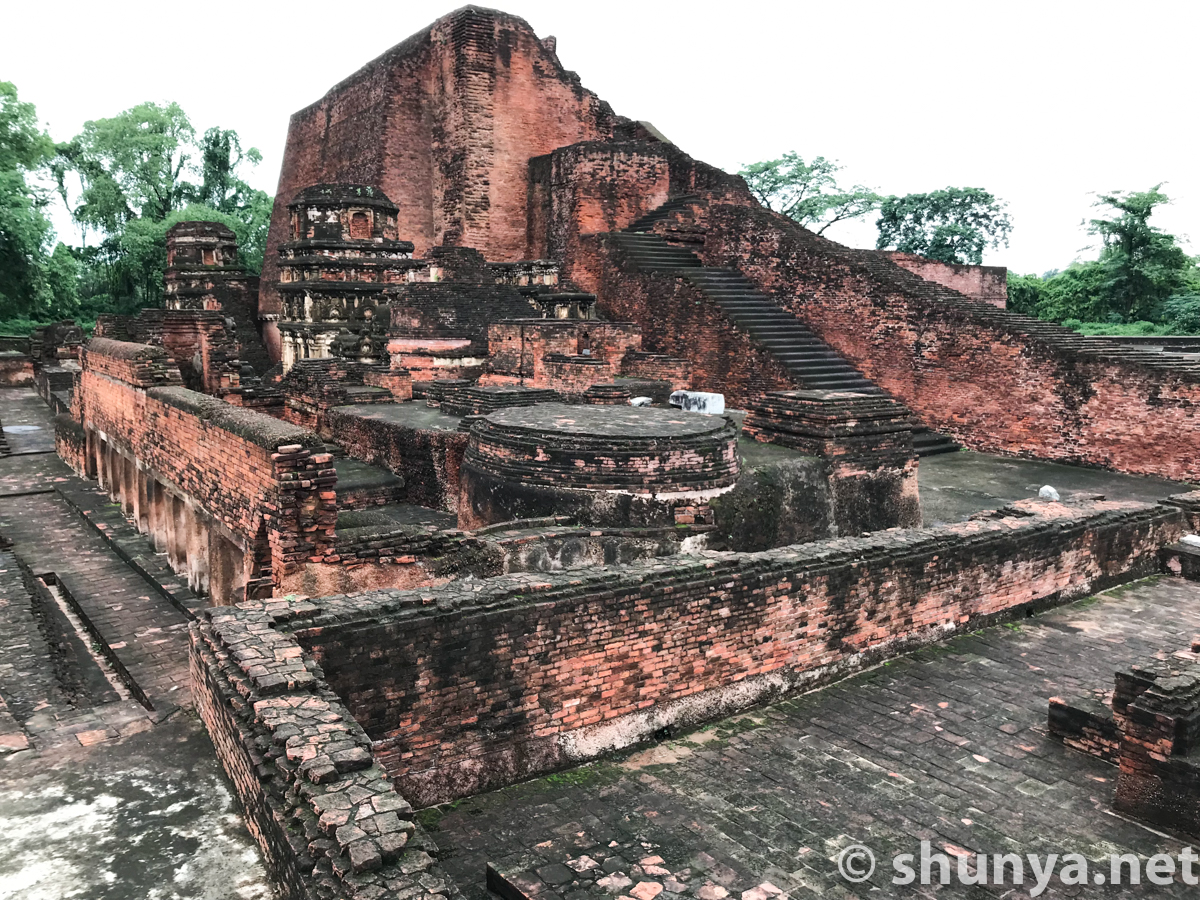
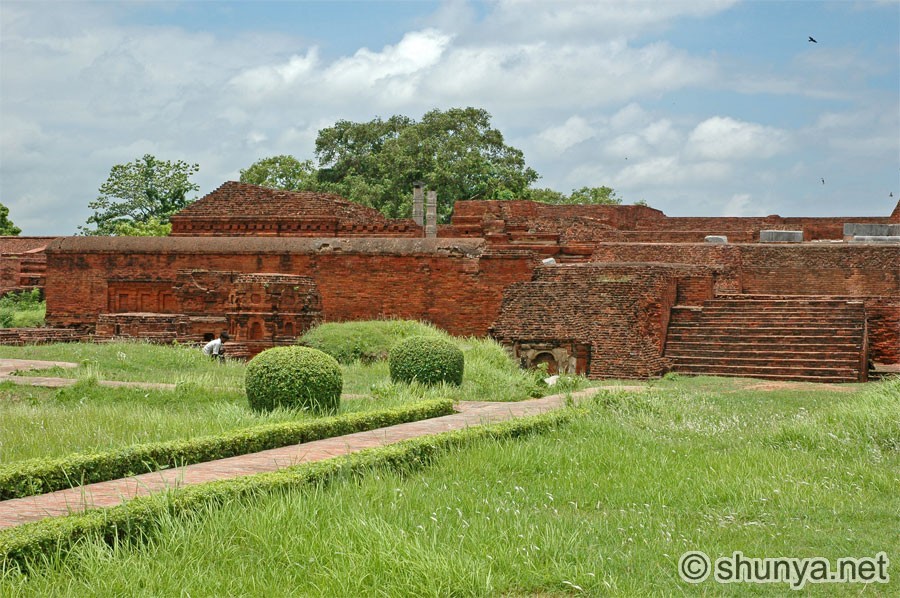
Great Monument area
|
Great Monument / Temple
|
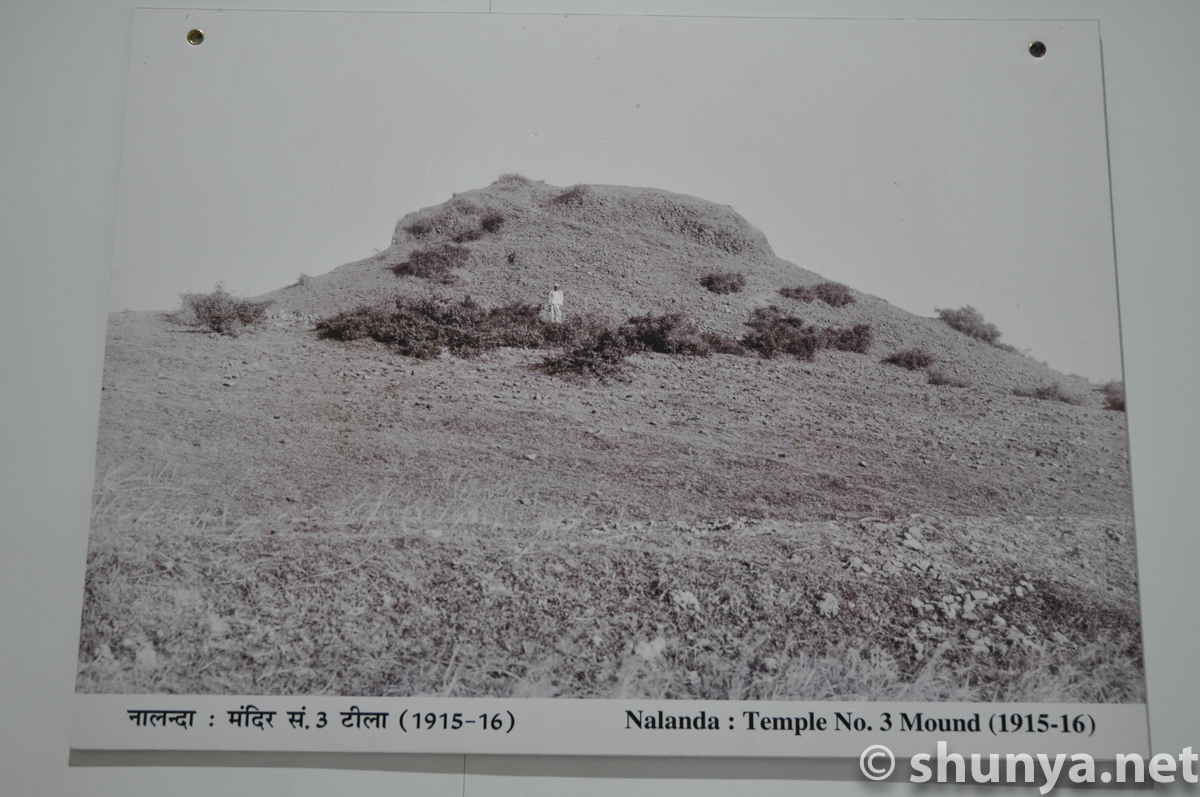
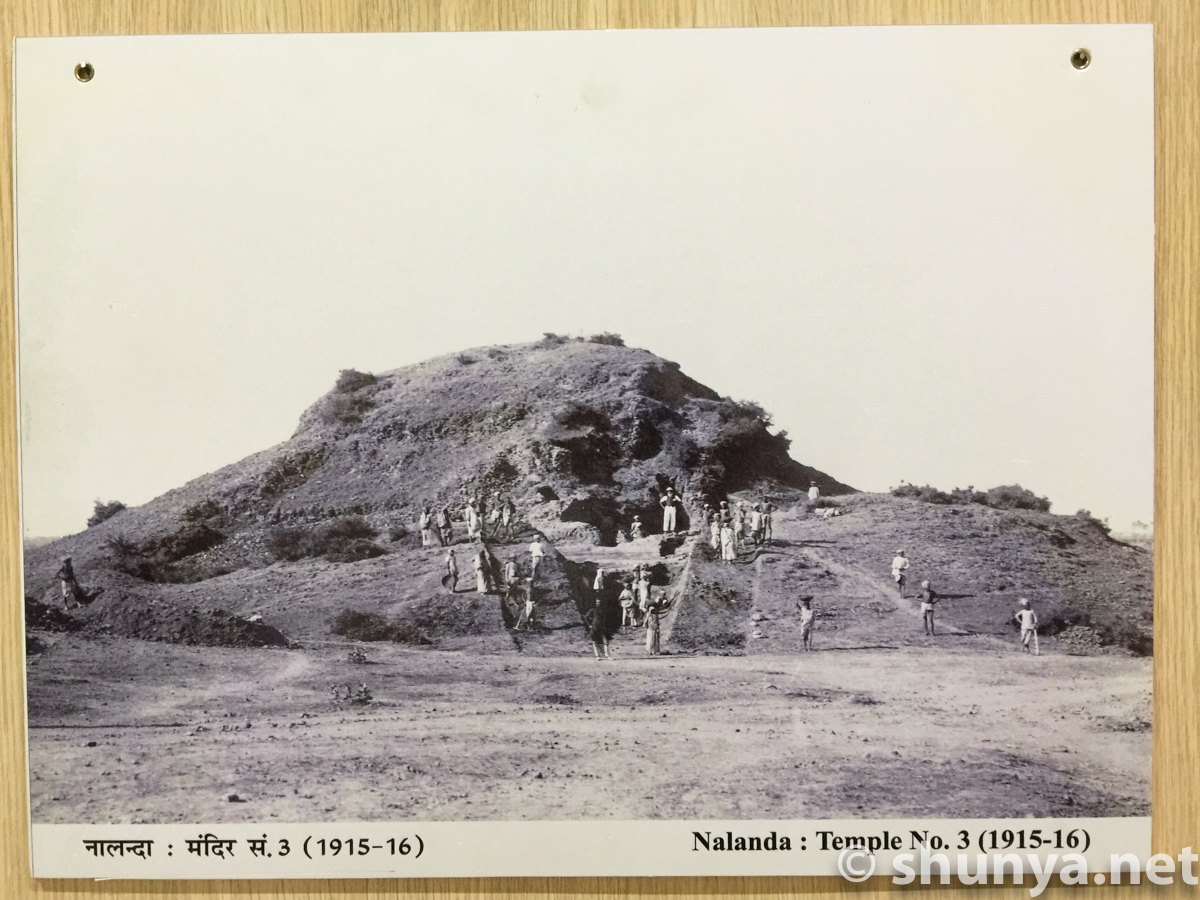
Temple 3 (1915�16)
|
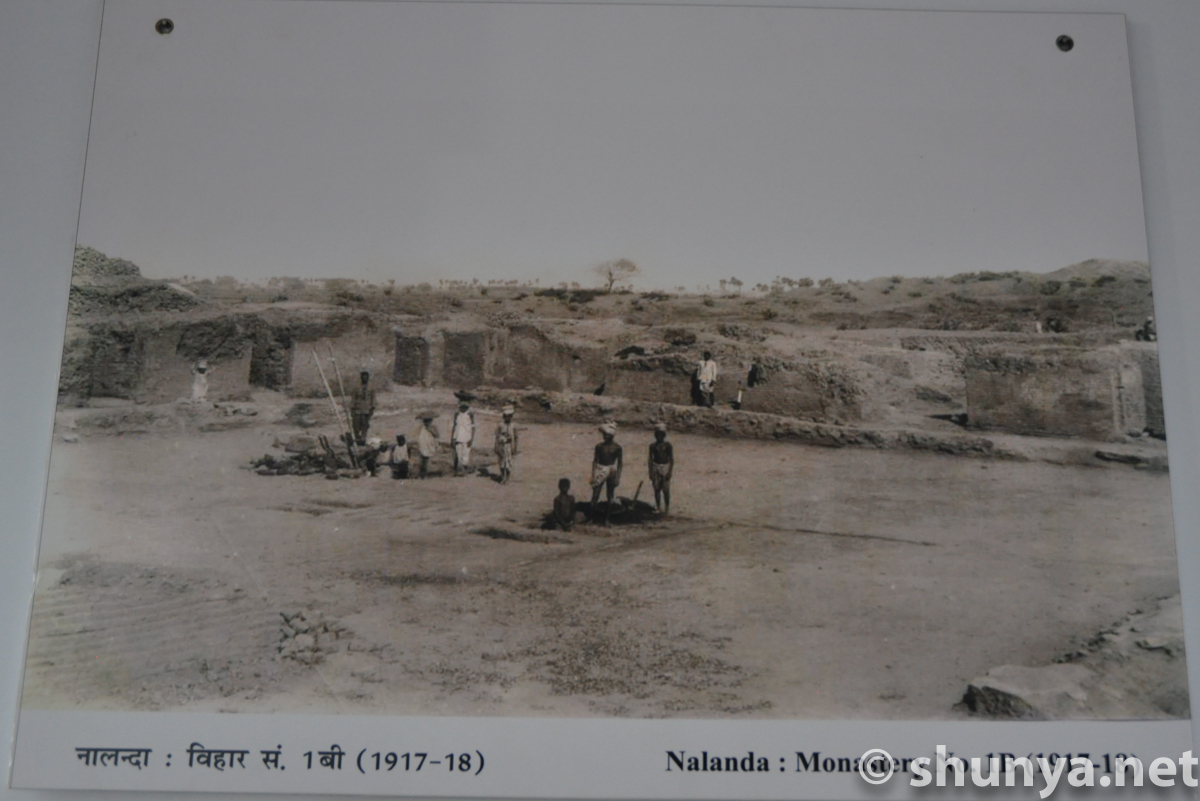
Monastery 1B (1917�18)
|
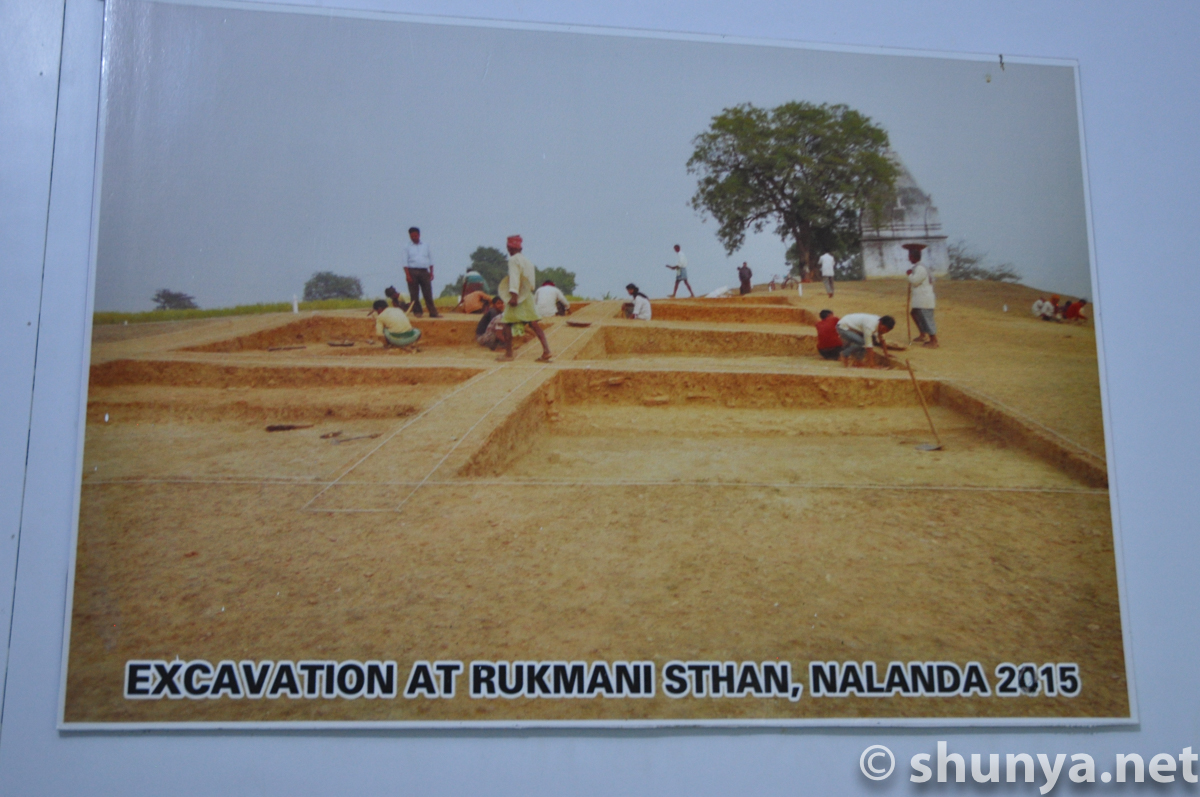
A recent dig (2015)
|
M numbers indicate monasteries, T numbers indicate temples (Map Source: Wikipedia)
|
|||
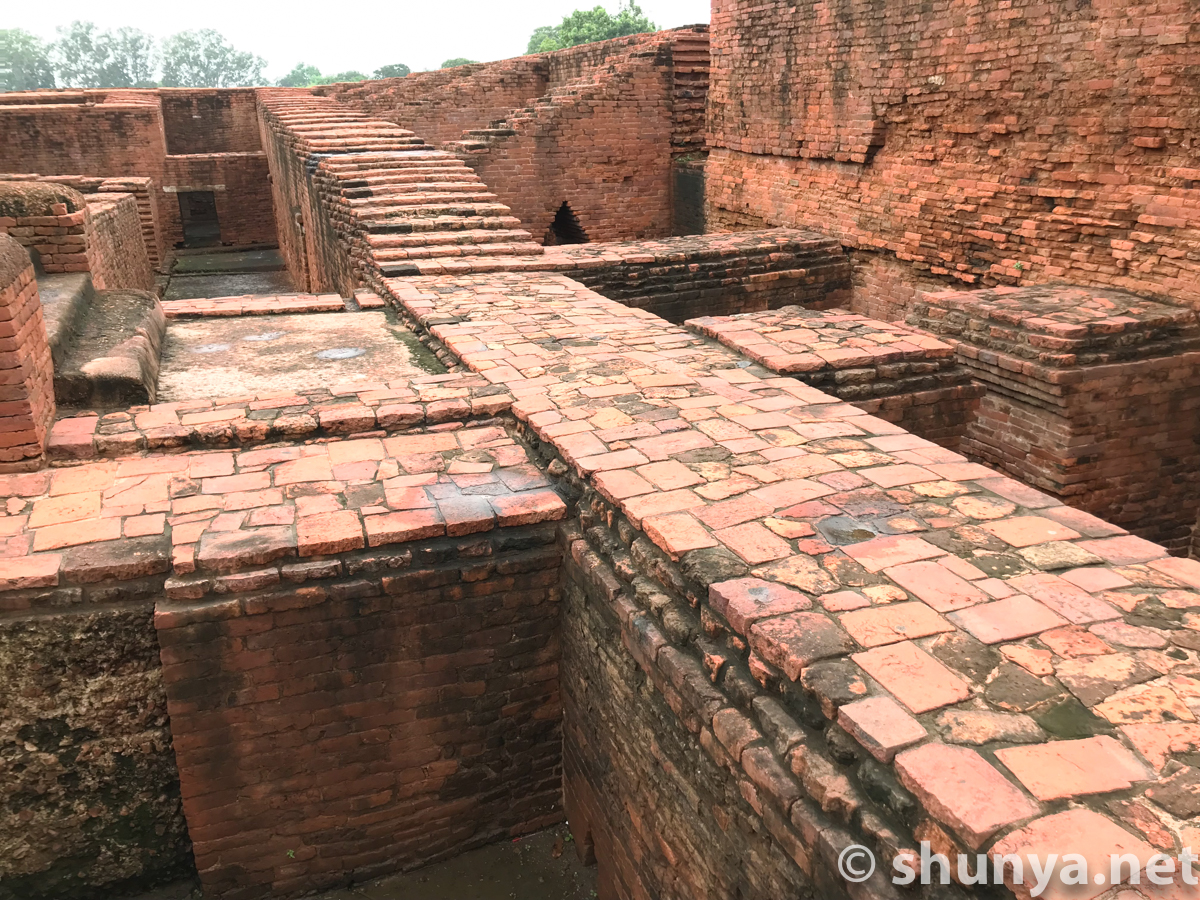
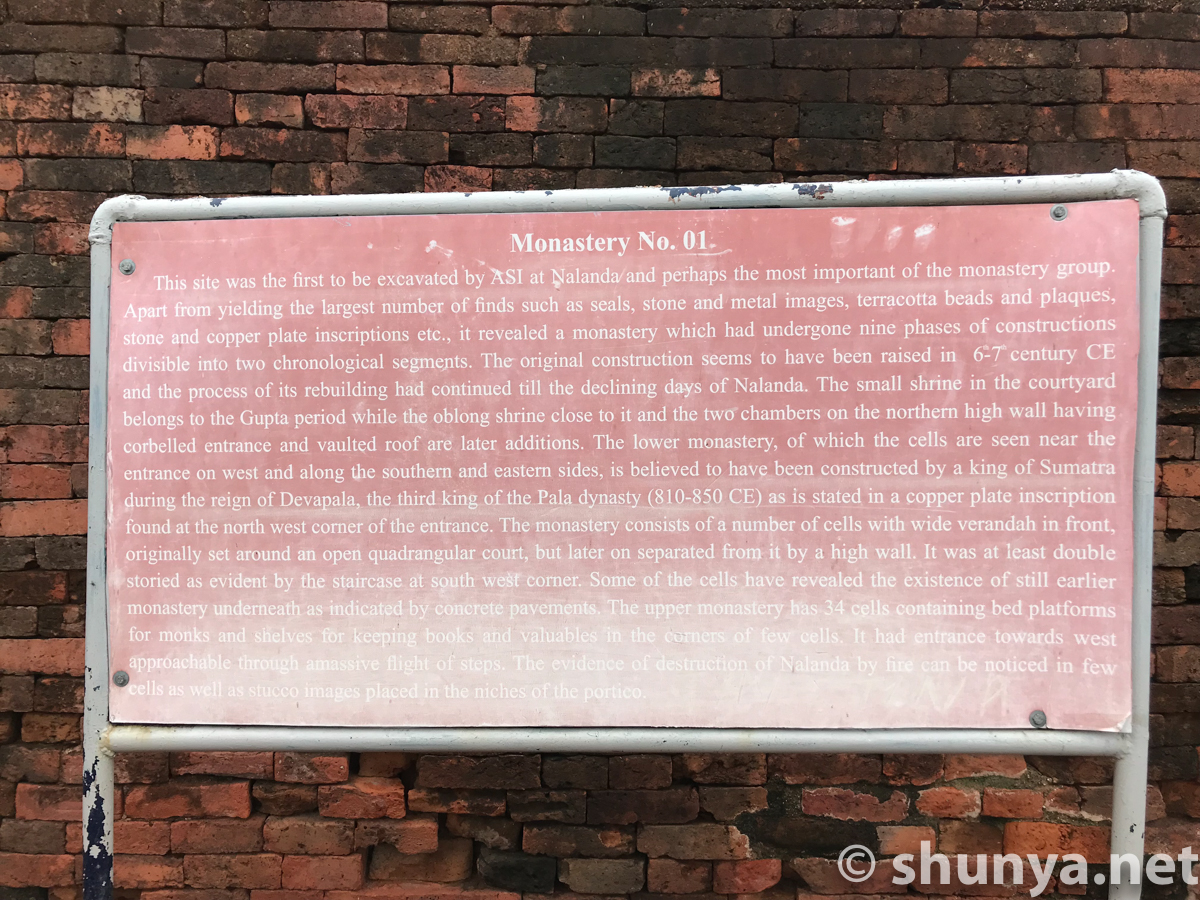
Monastery 1 (info)
|
Sunrise facing
|
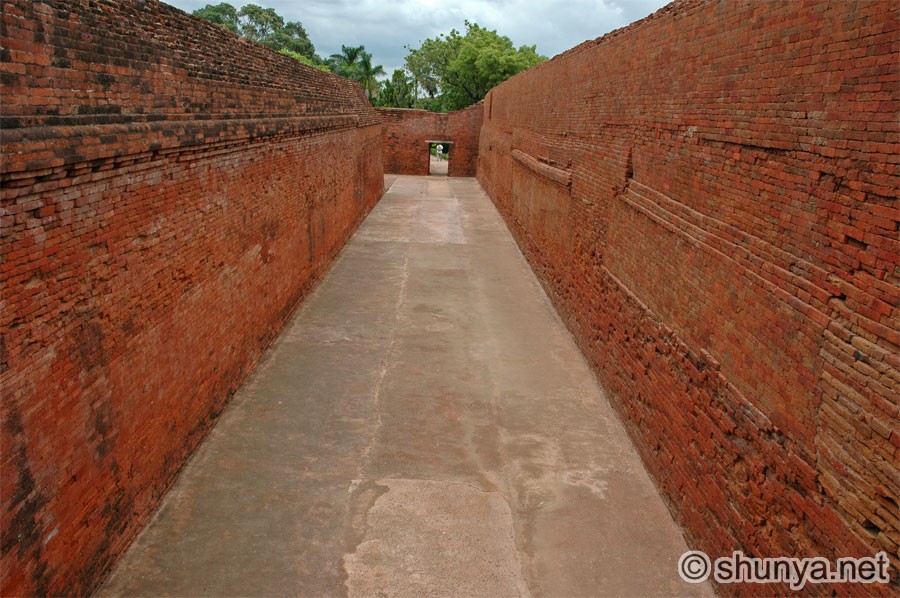
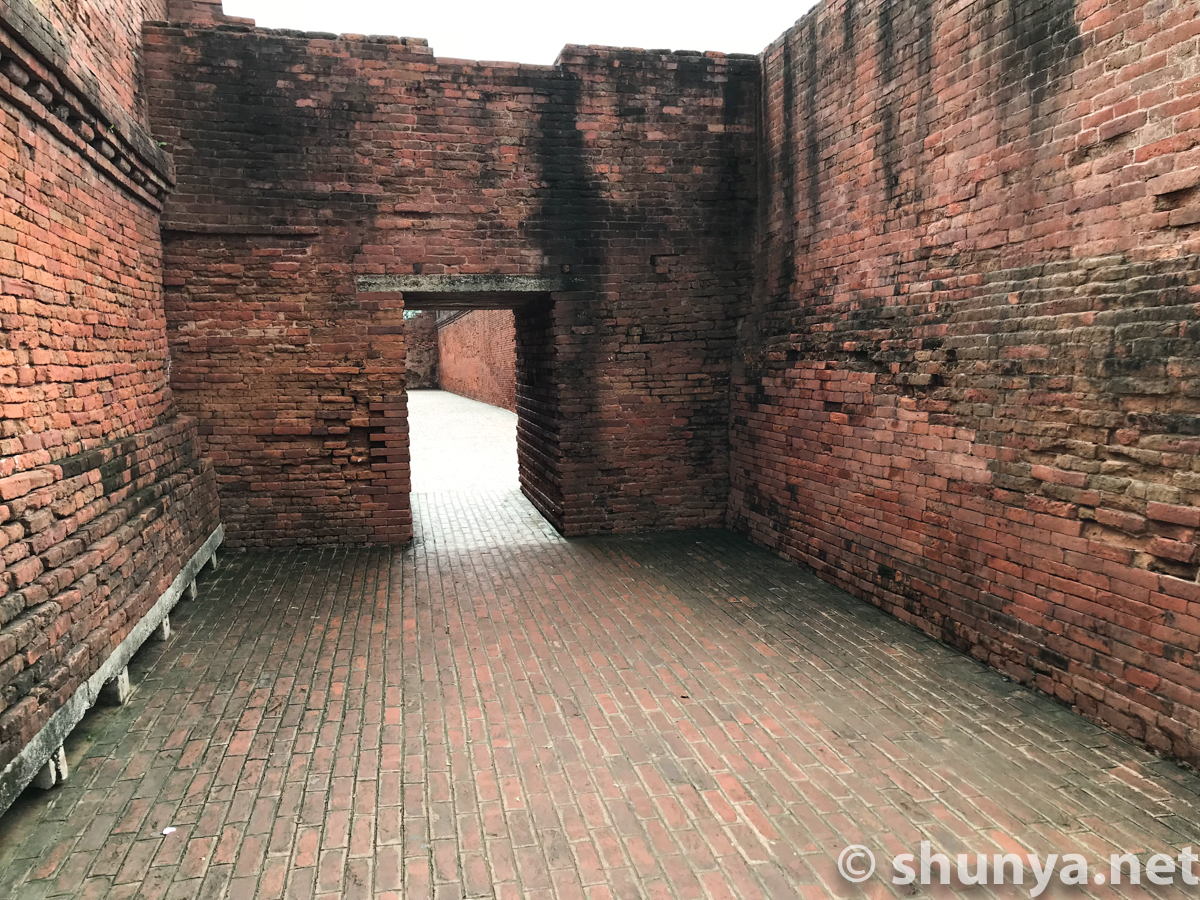
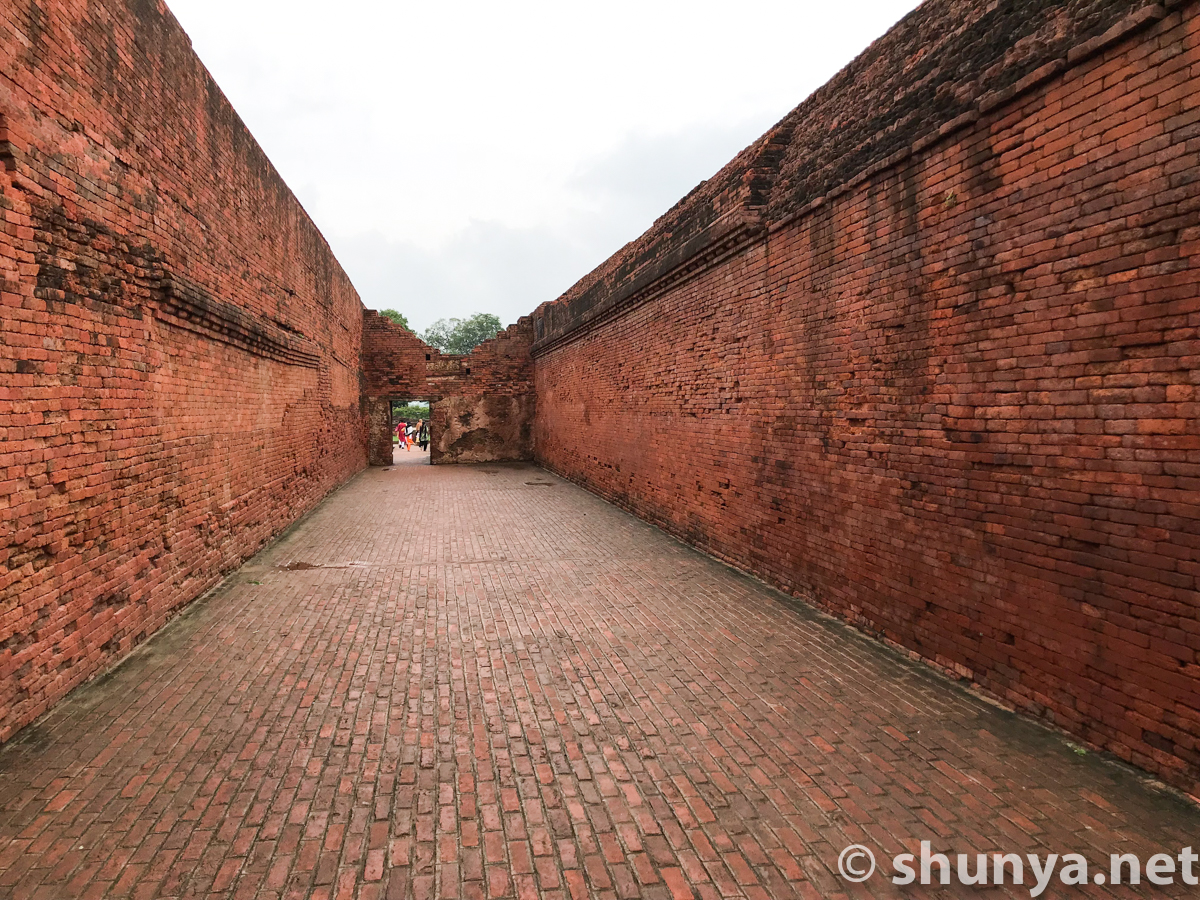
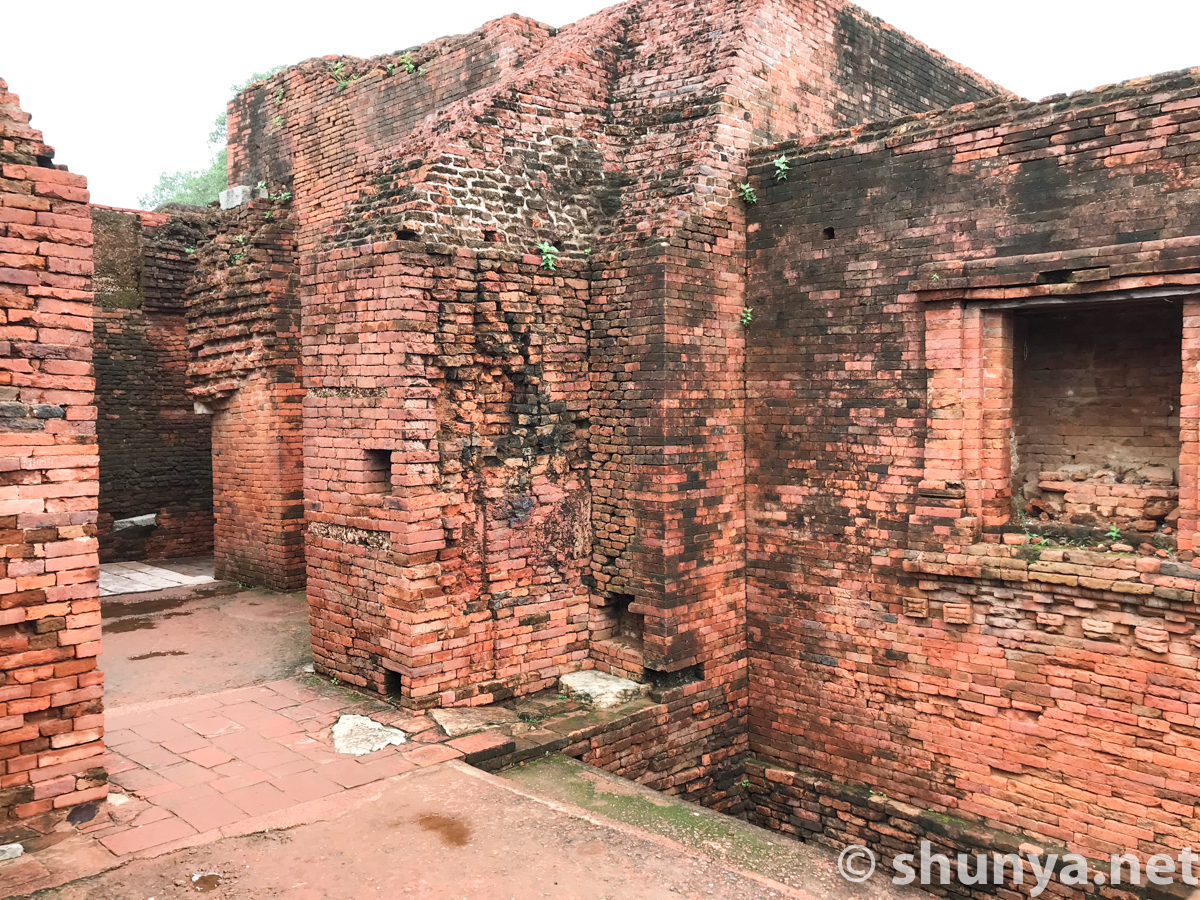
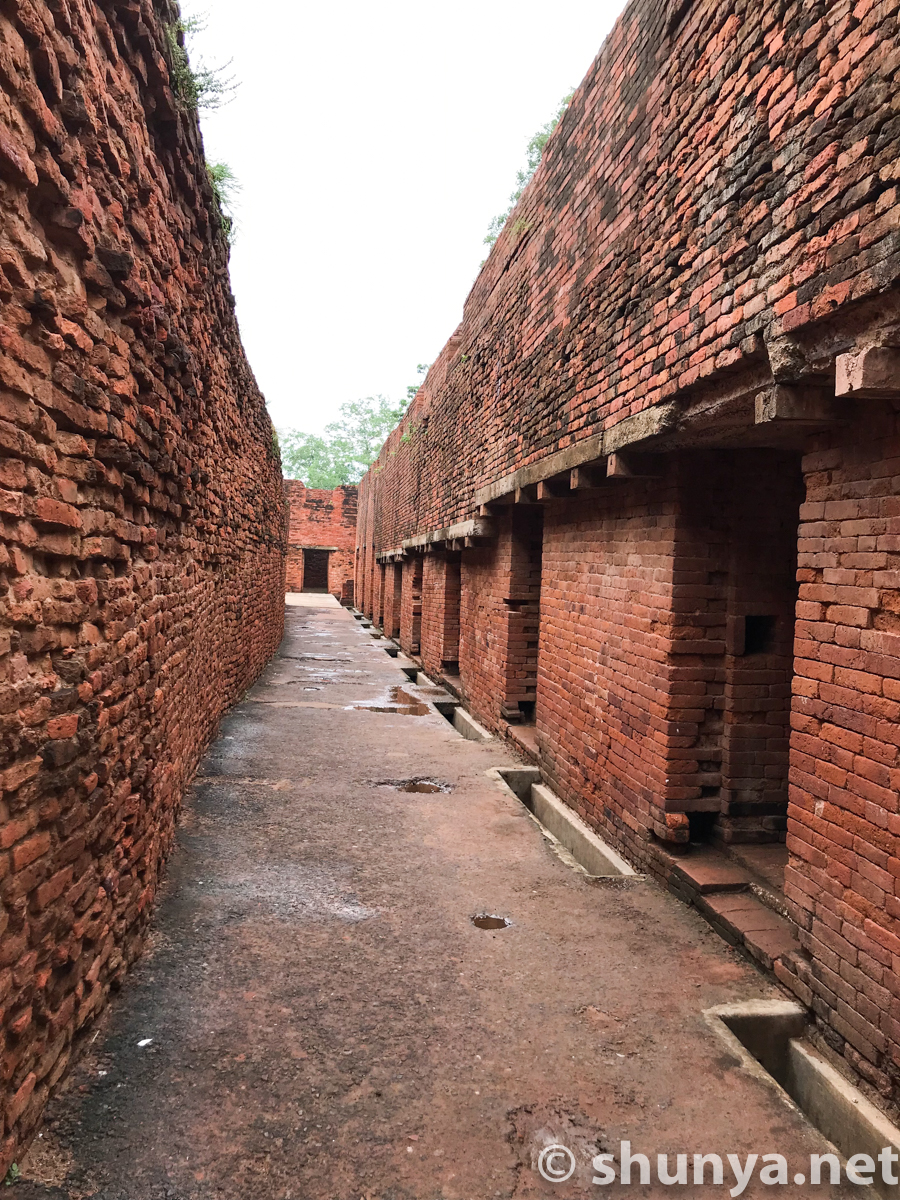
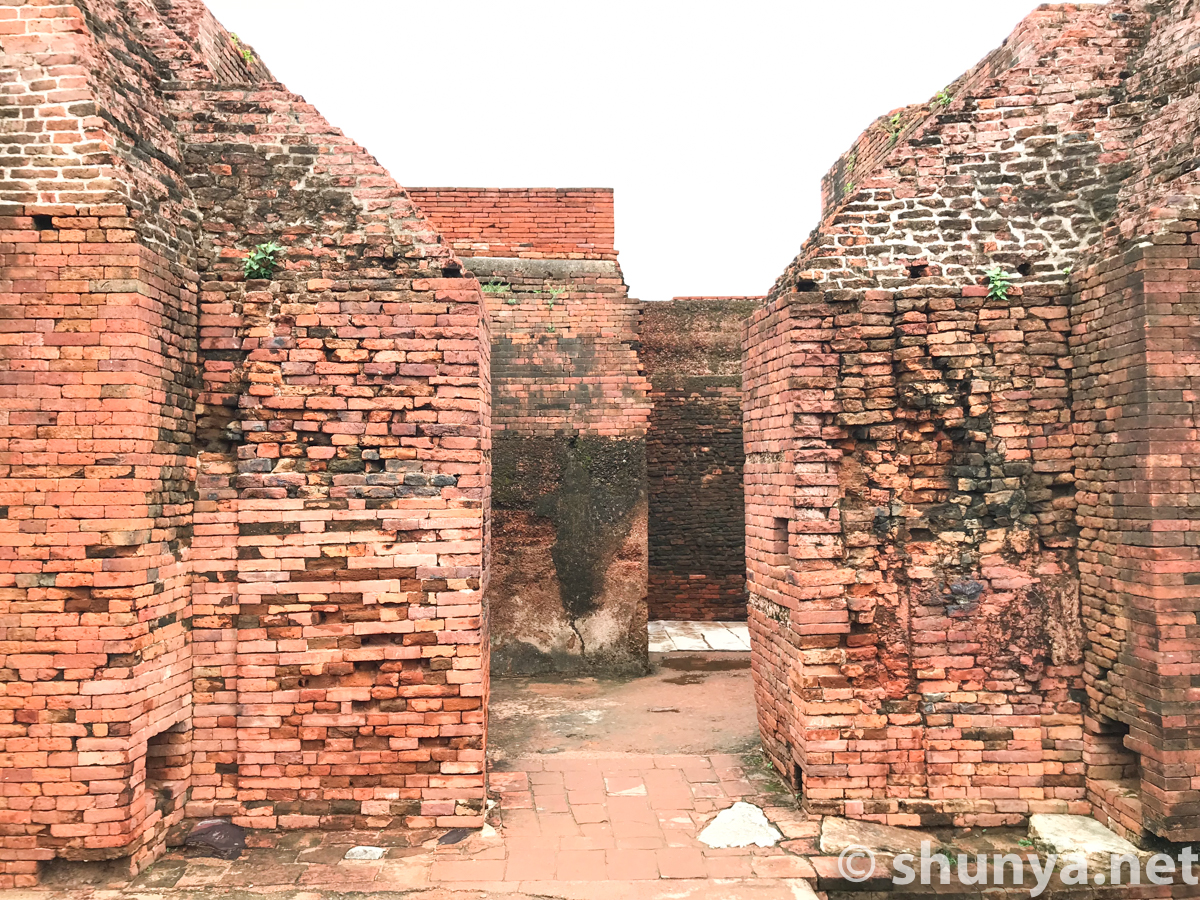
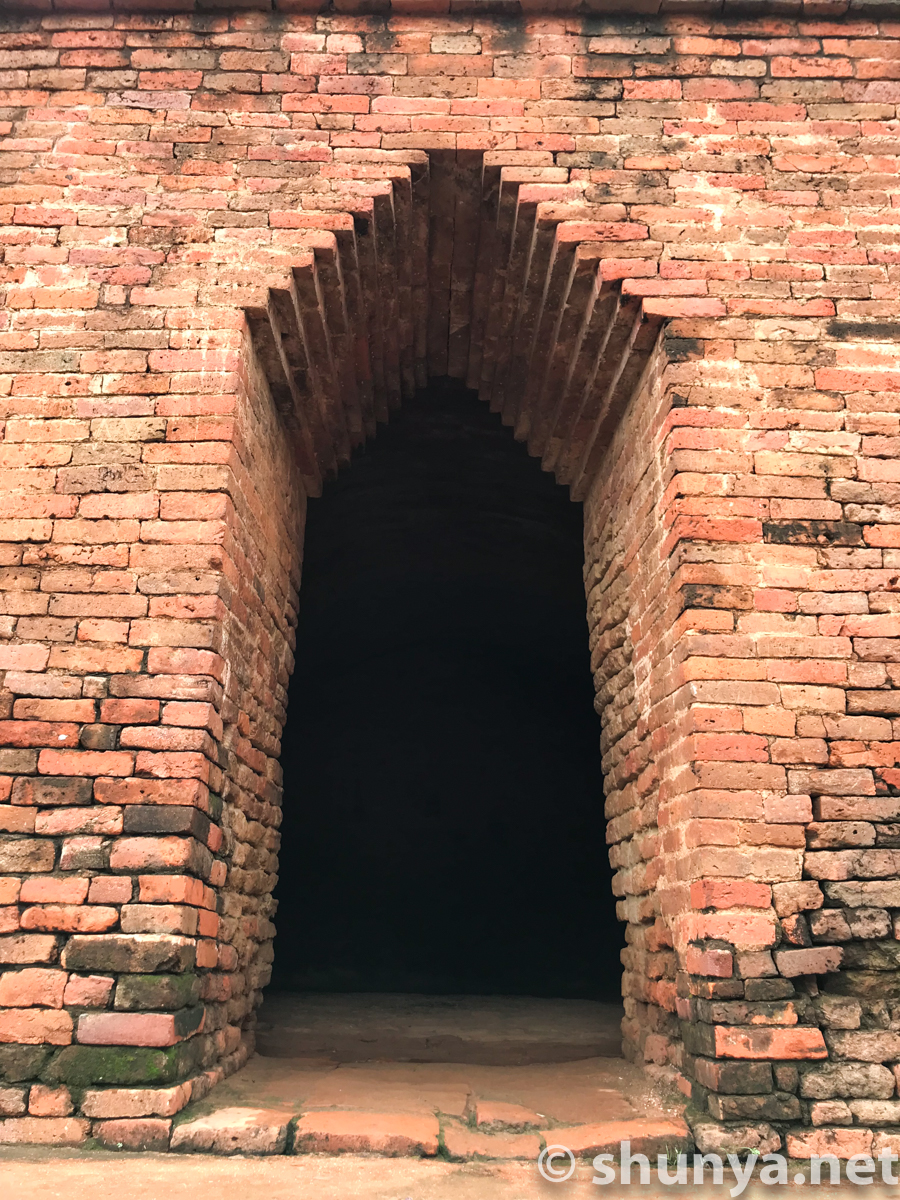
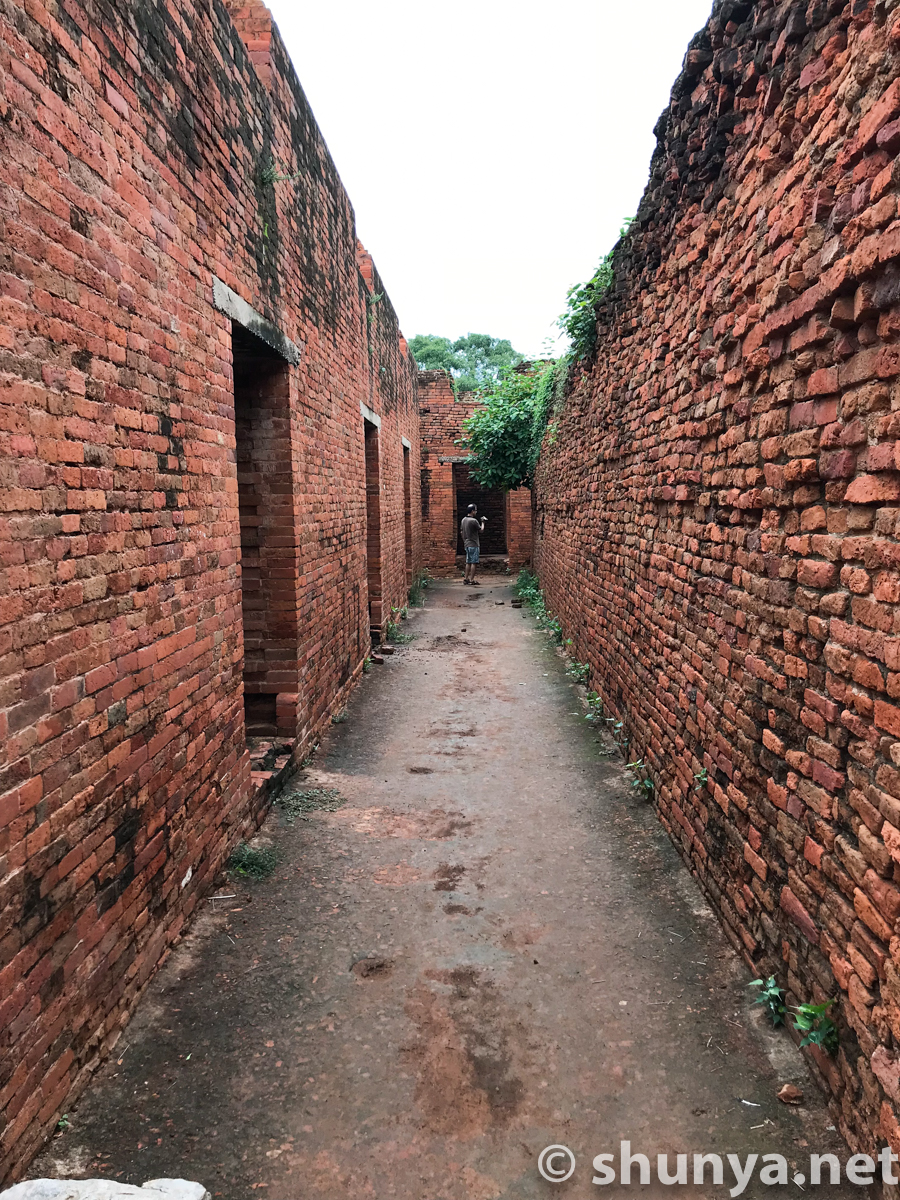
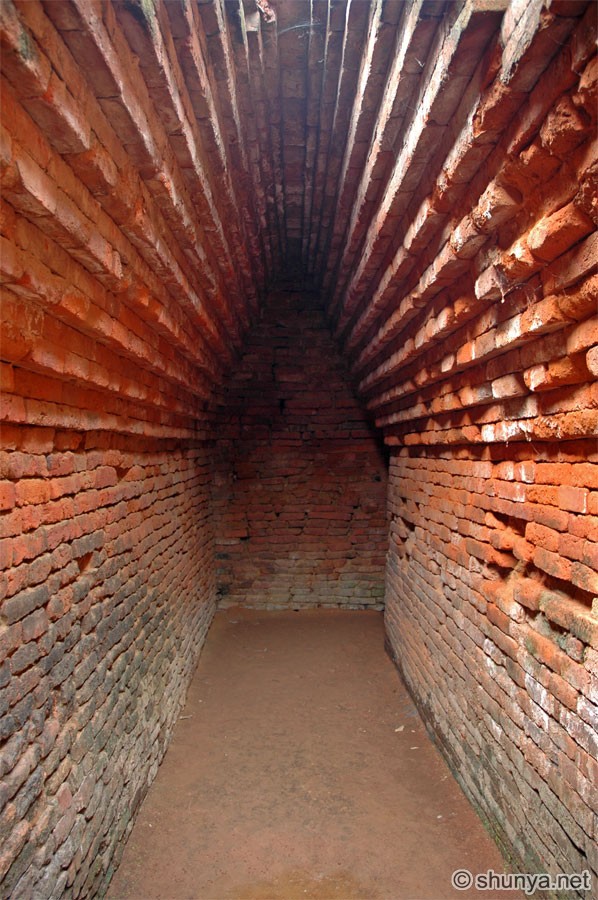
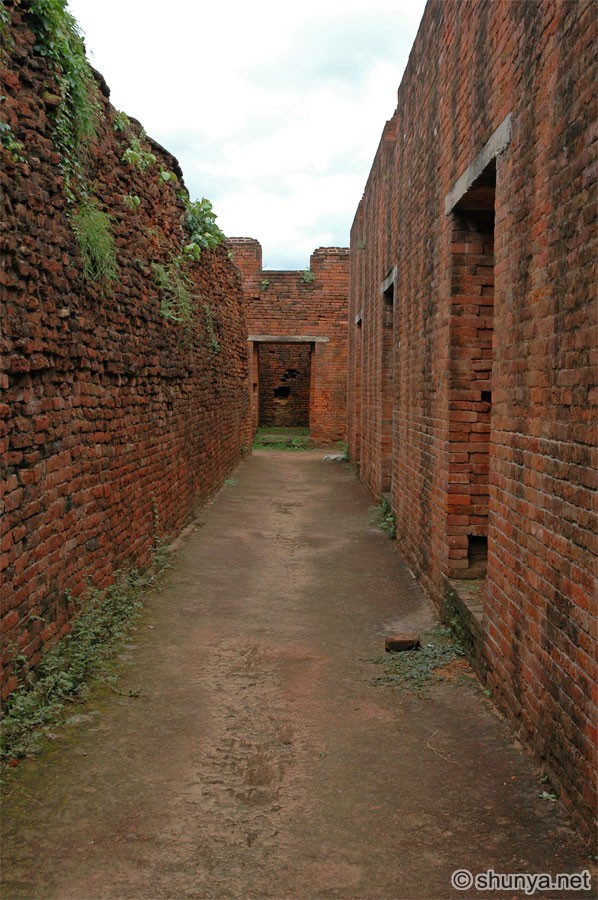
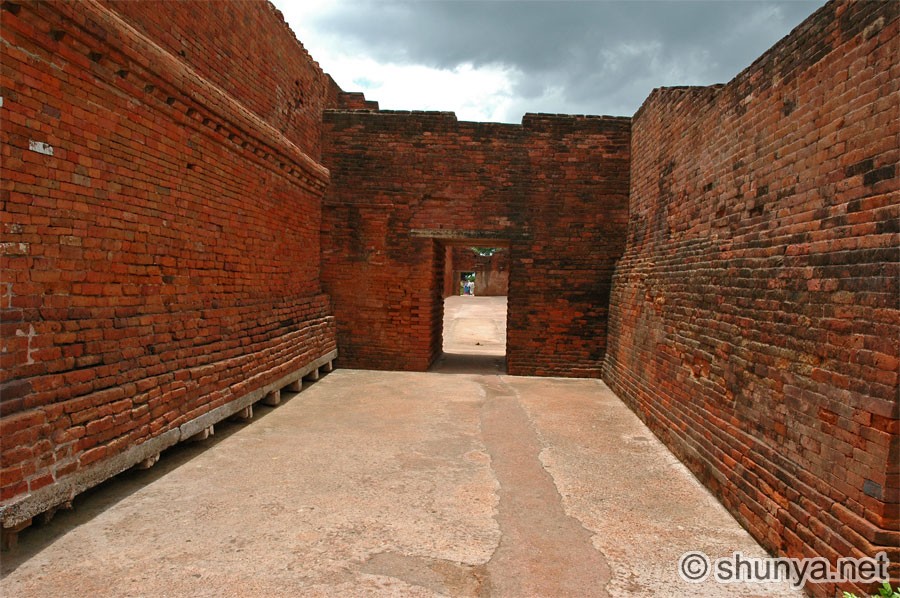
A passageway
|
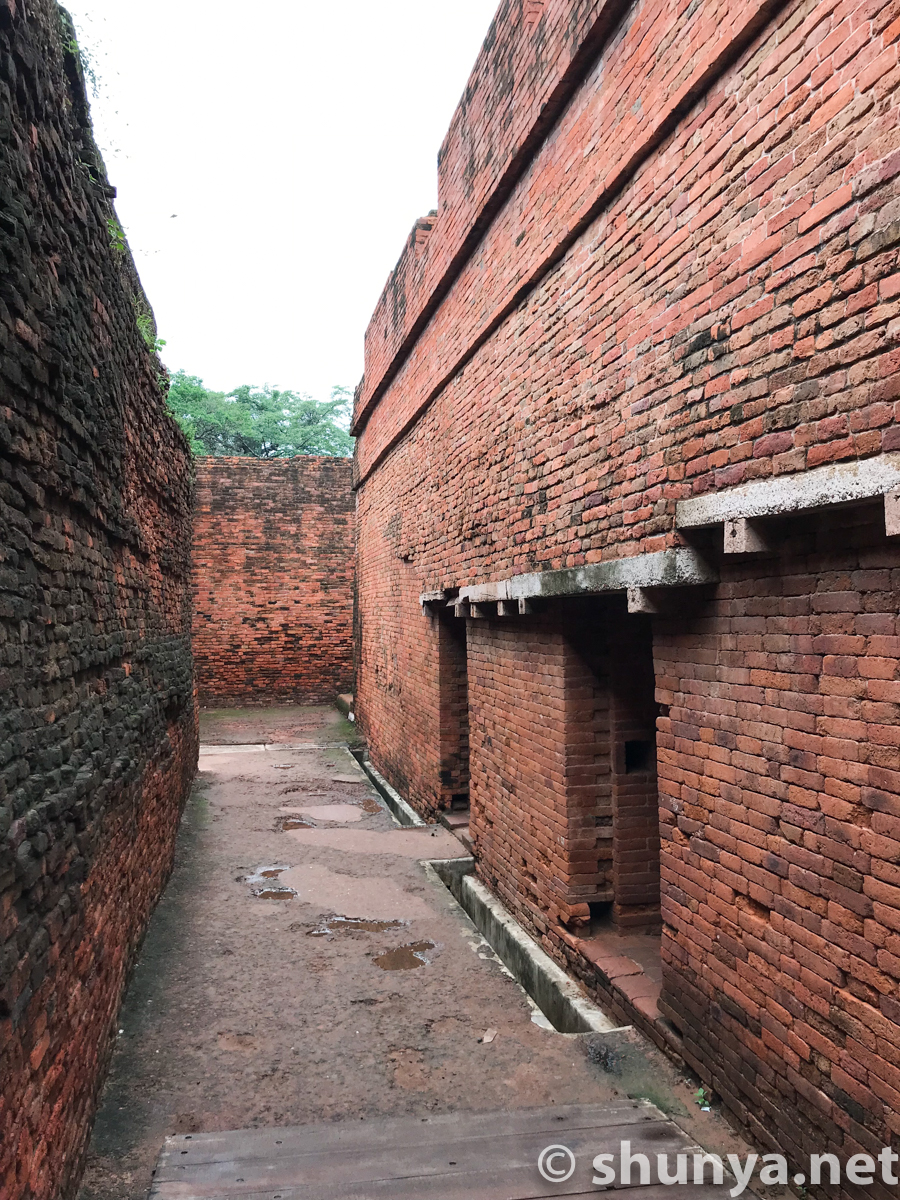
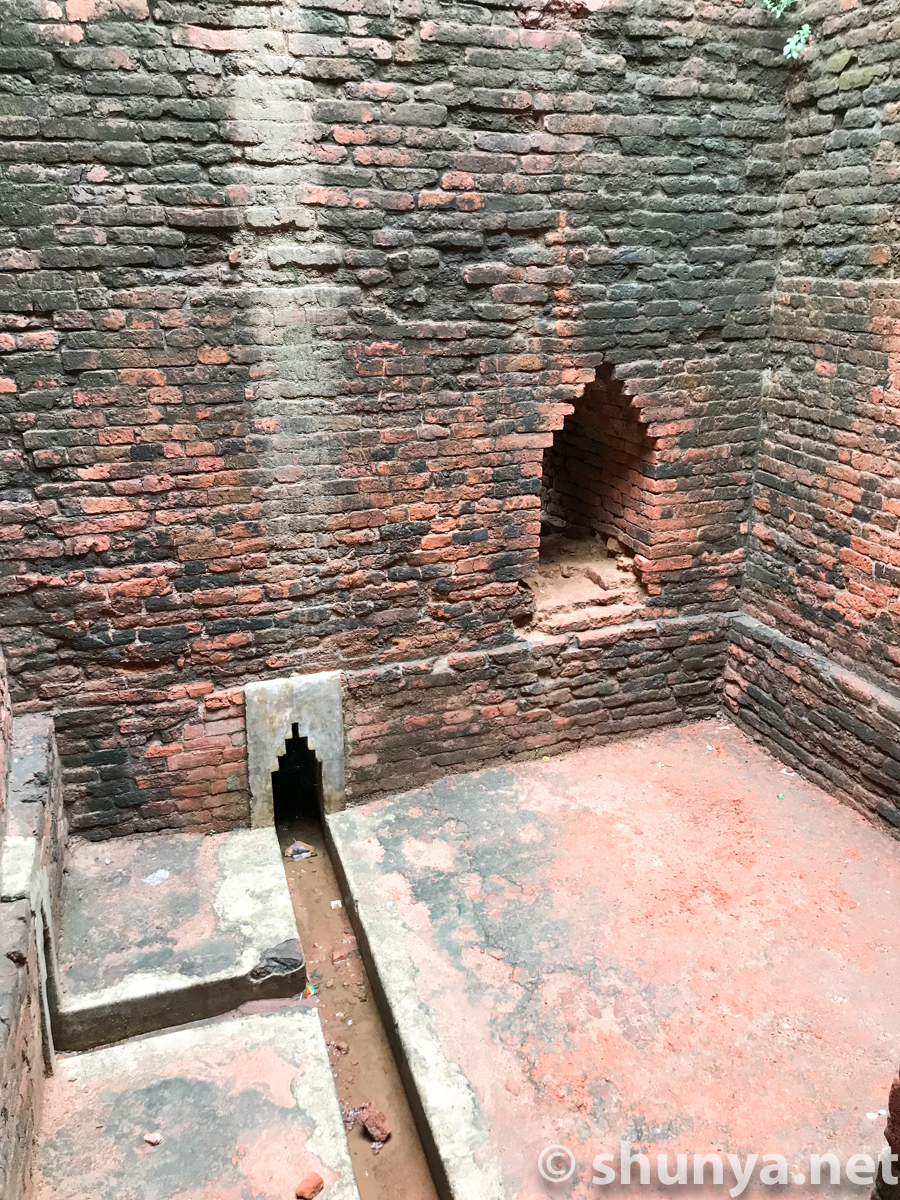
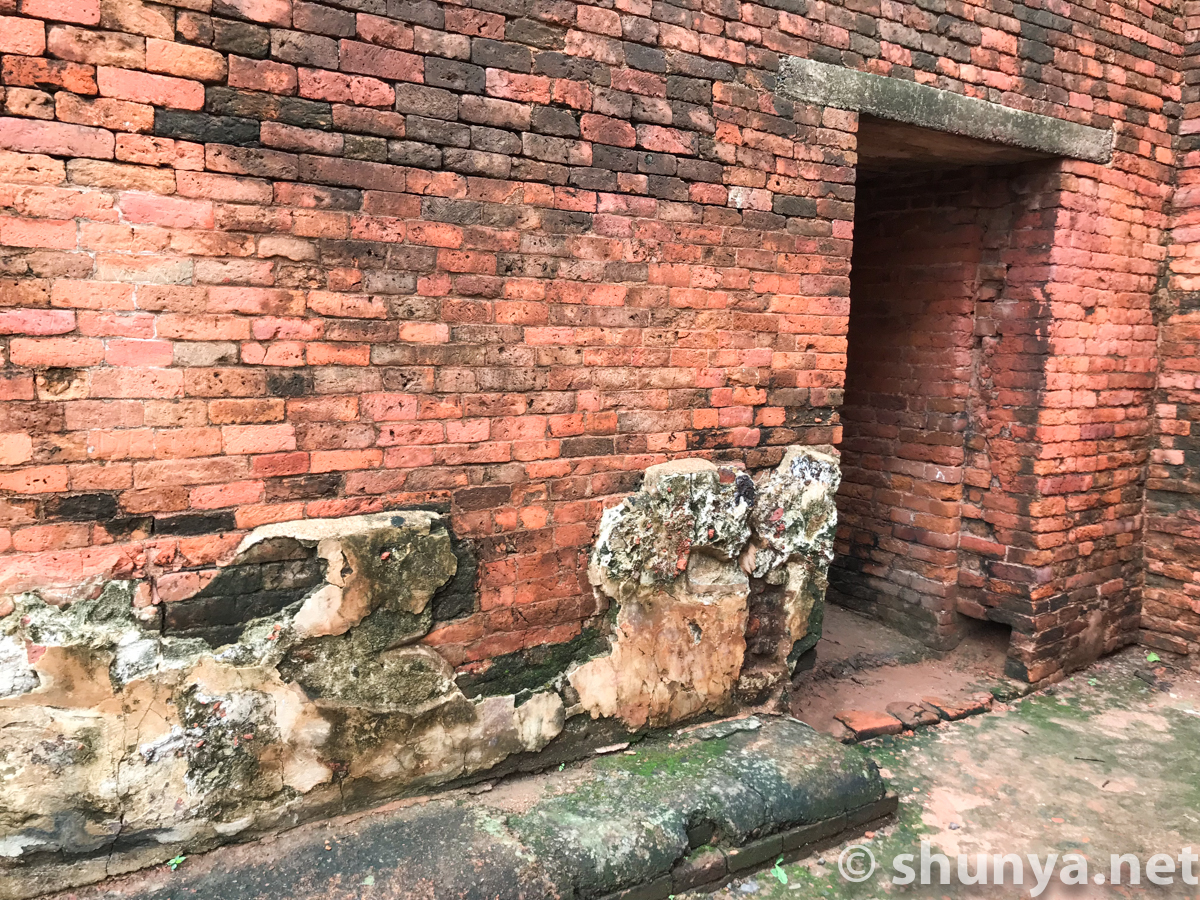
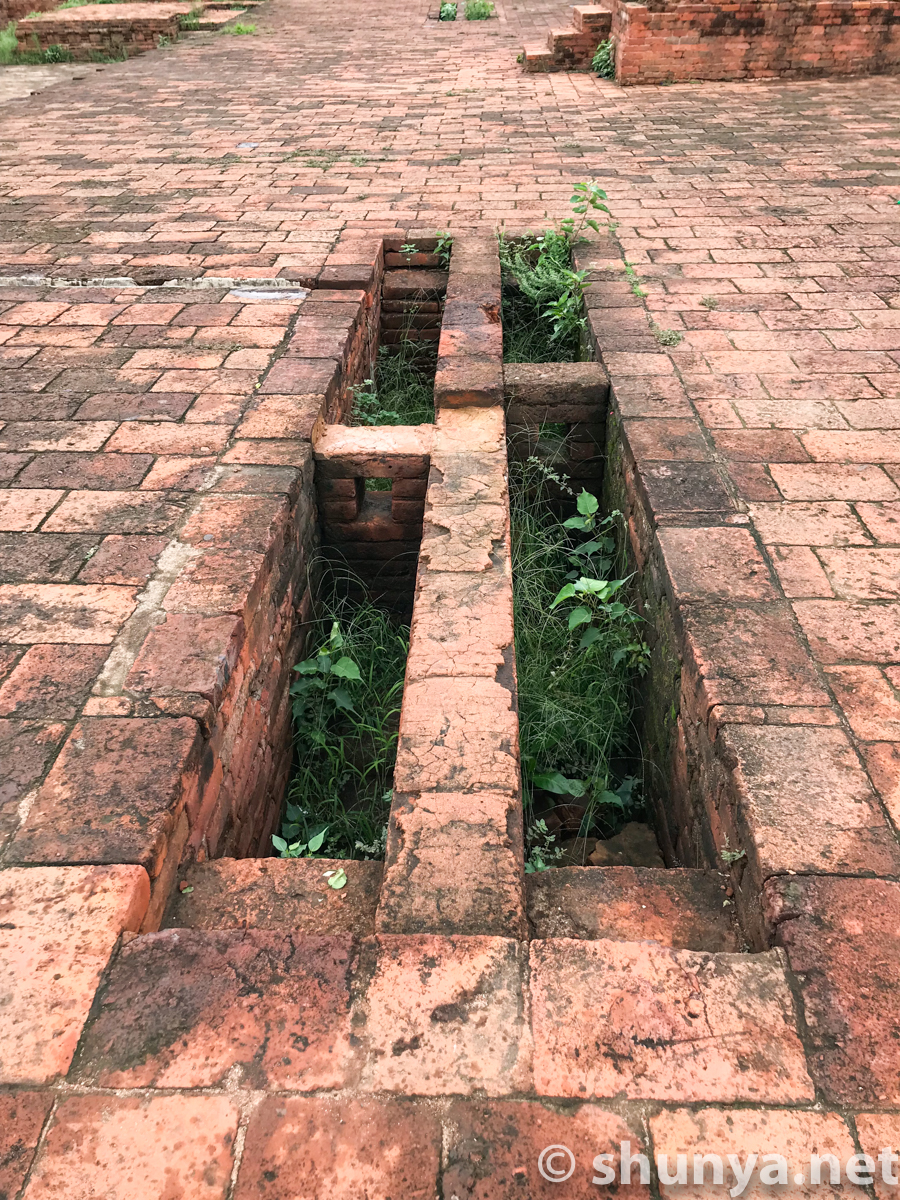
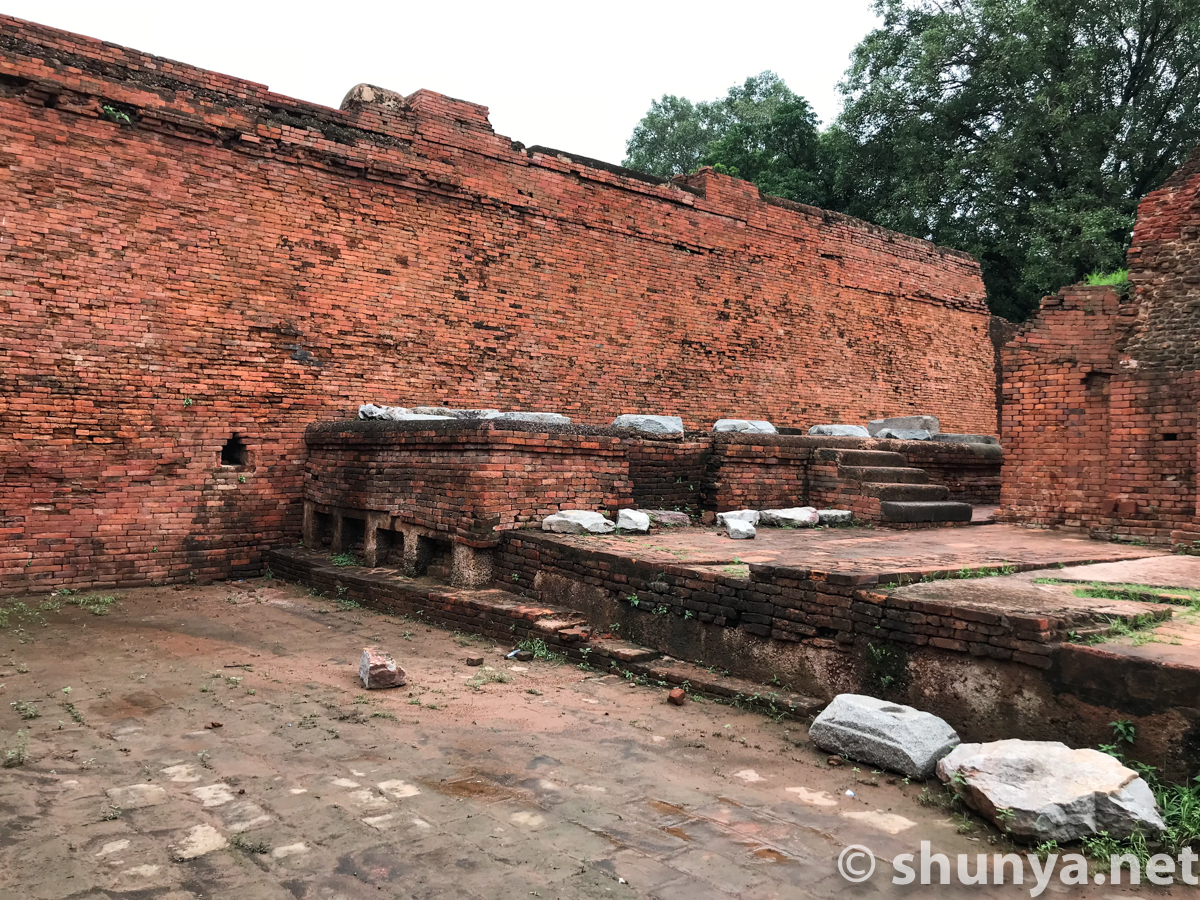
Indoor plumbing in a room
|
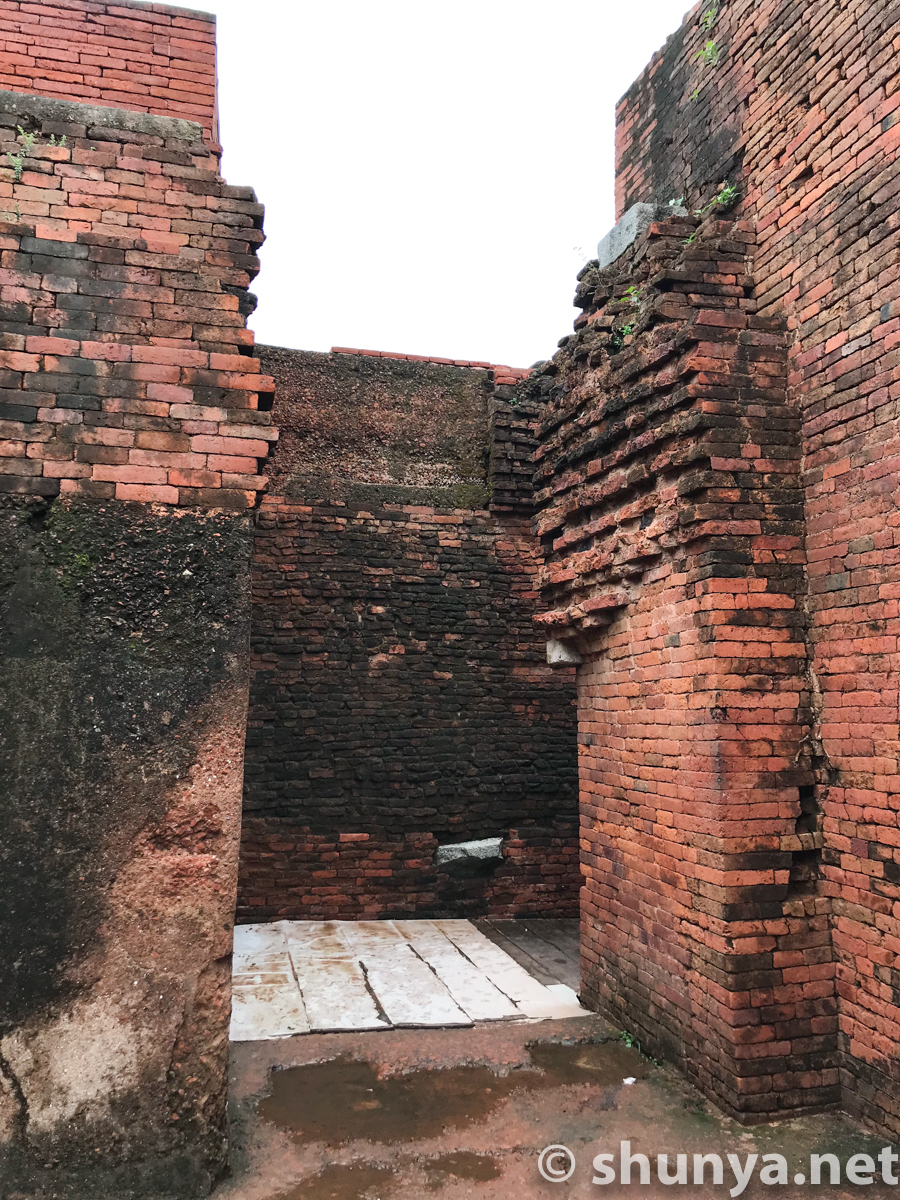
Another passageway
|
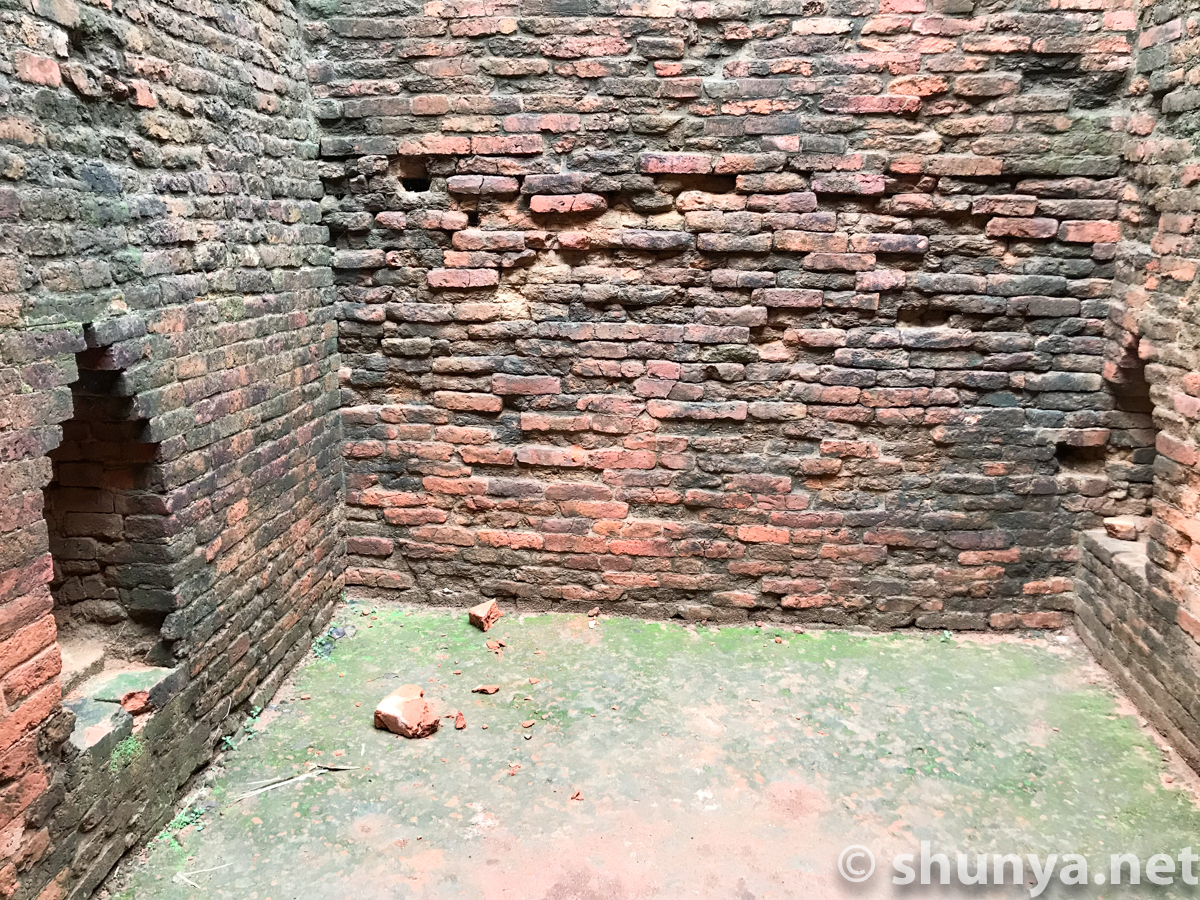
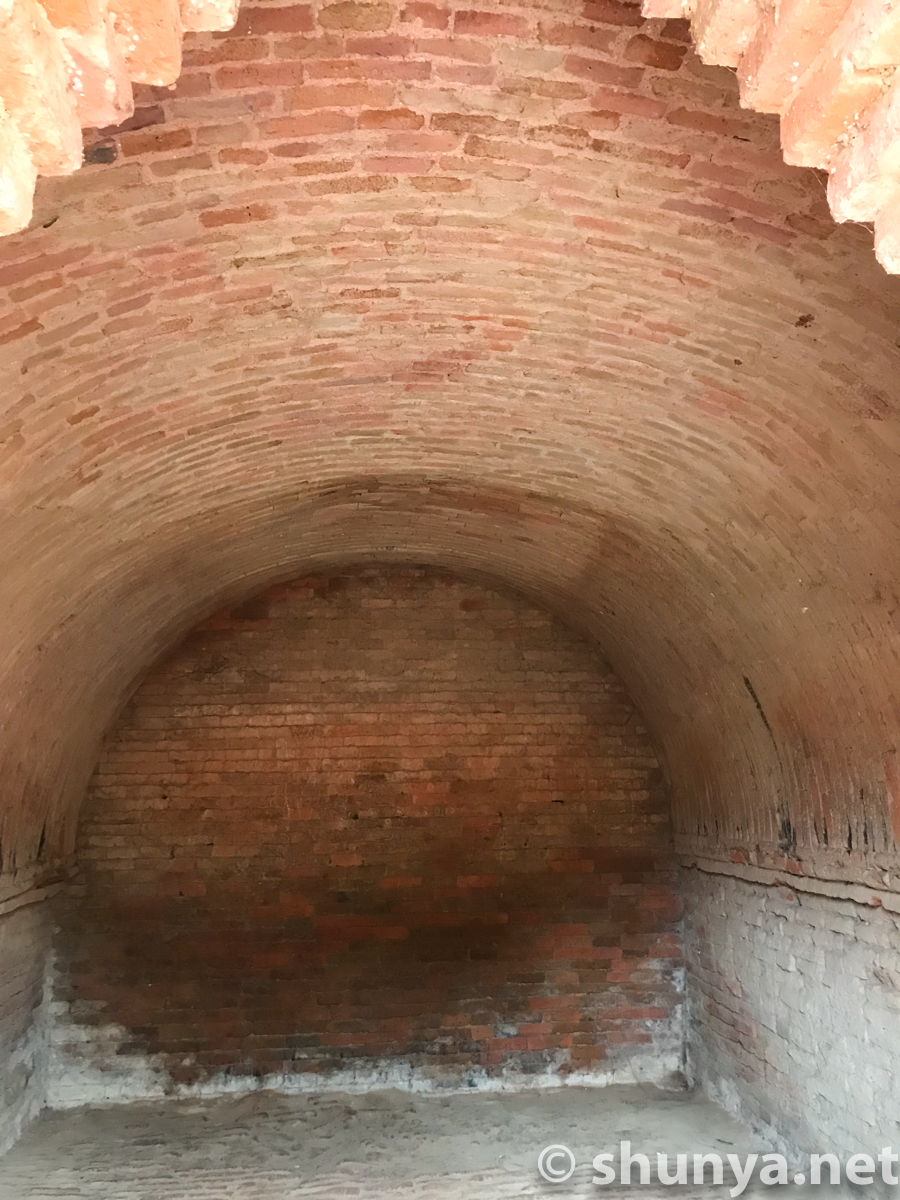
Wall niches inside a room
|
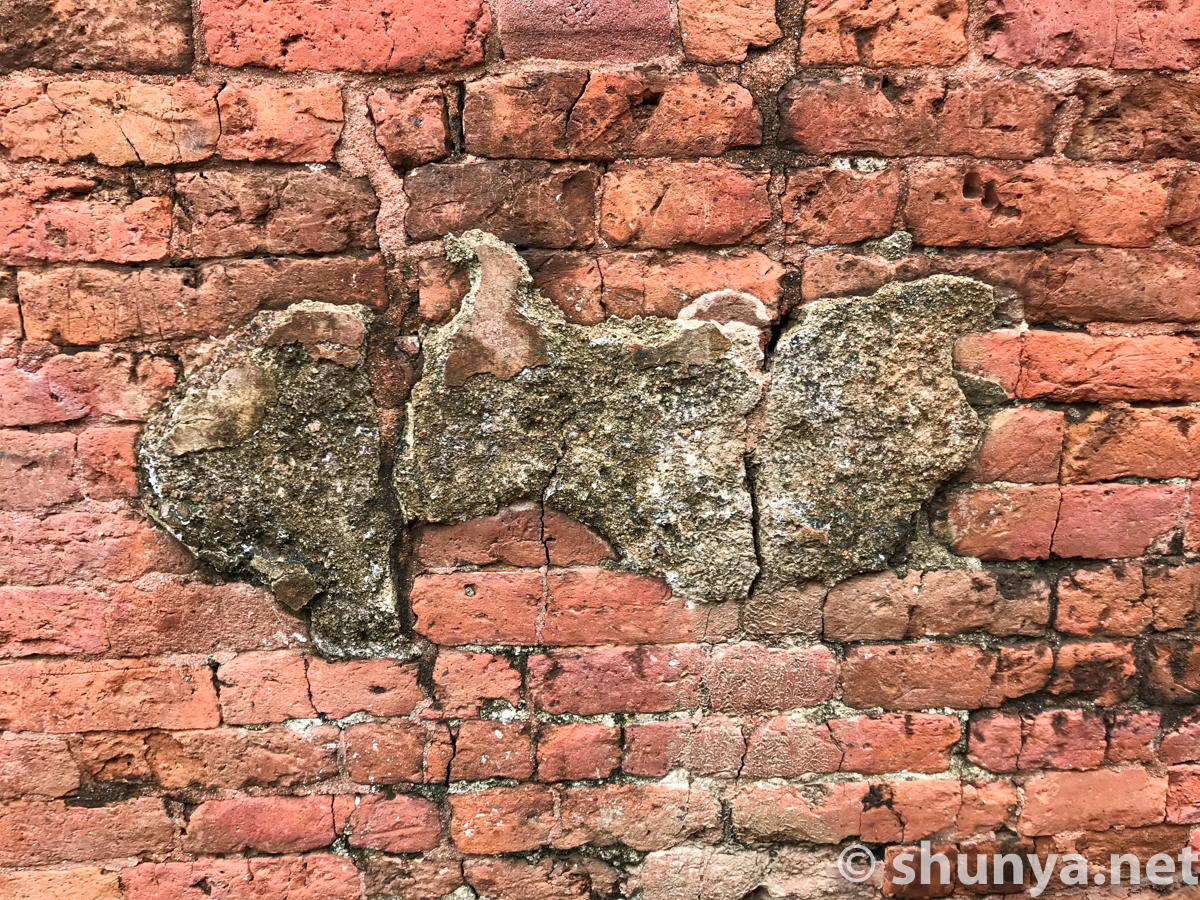
Original plaster
|
Wall plaster / door detail
|
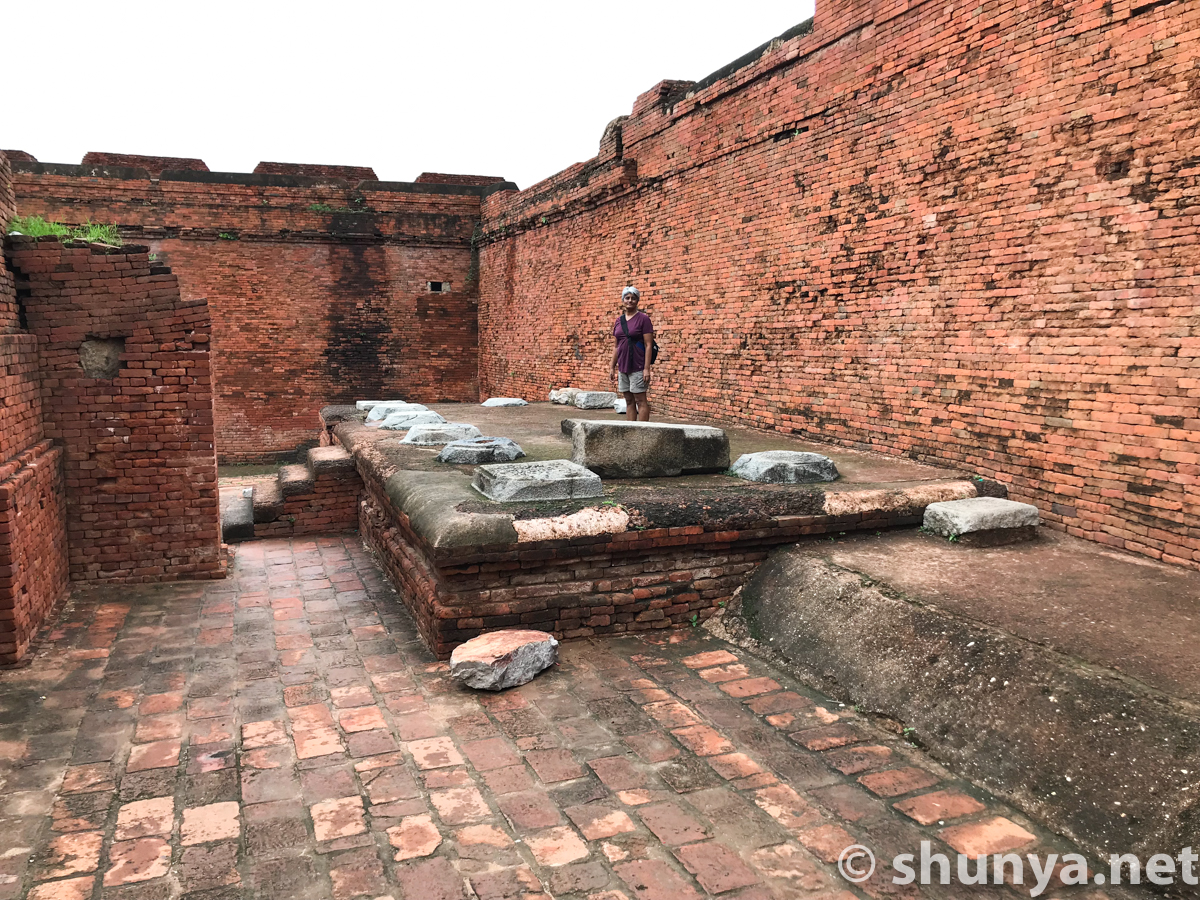
Covered podium? (more)
|
Podium from the
|
Different structures date
|
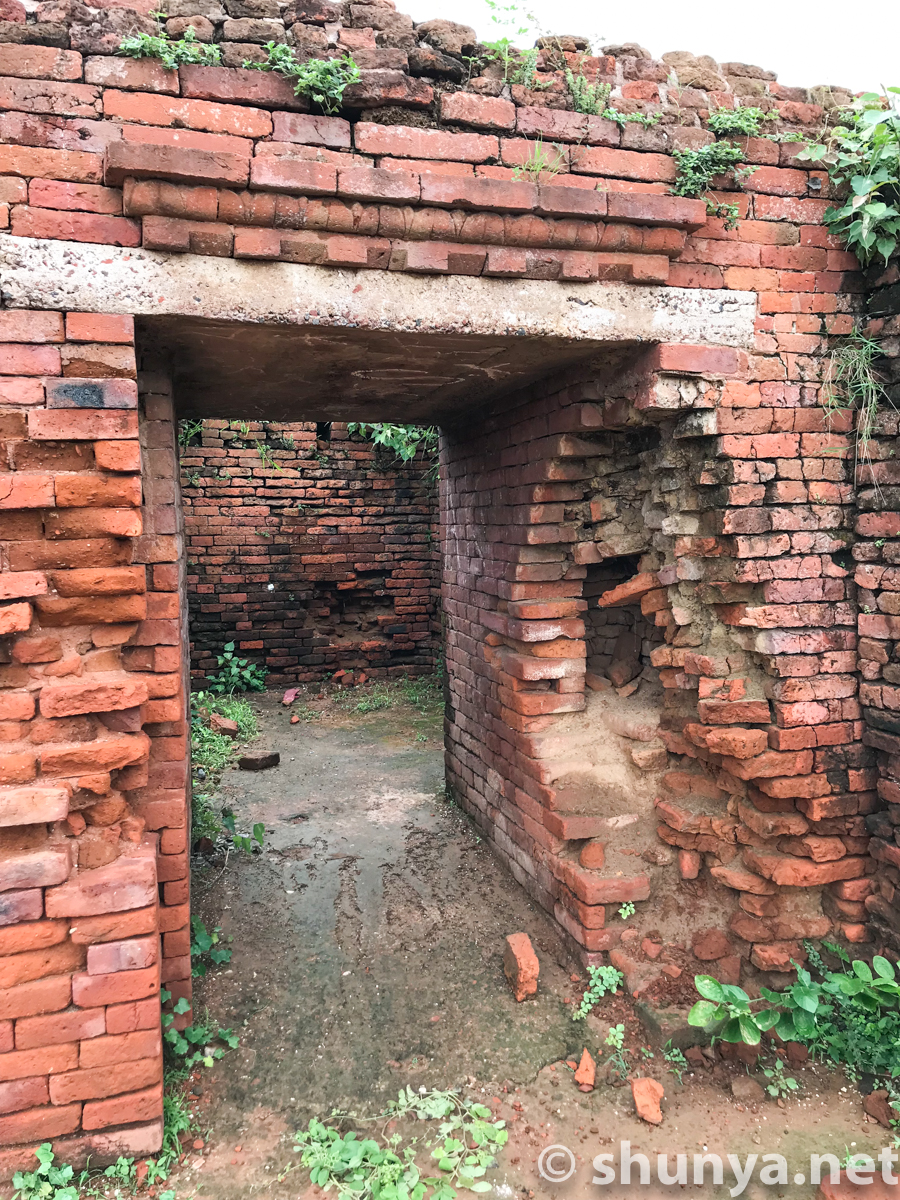
Cool doorway design
|
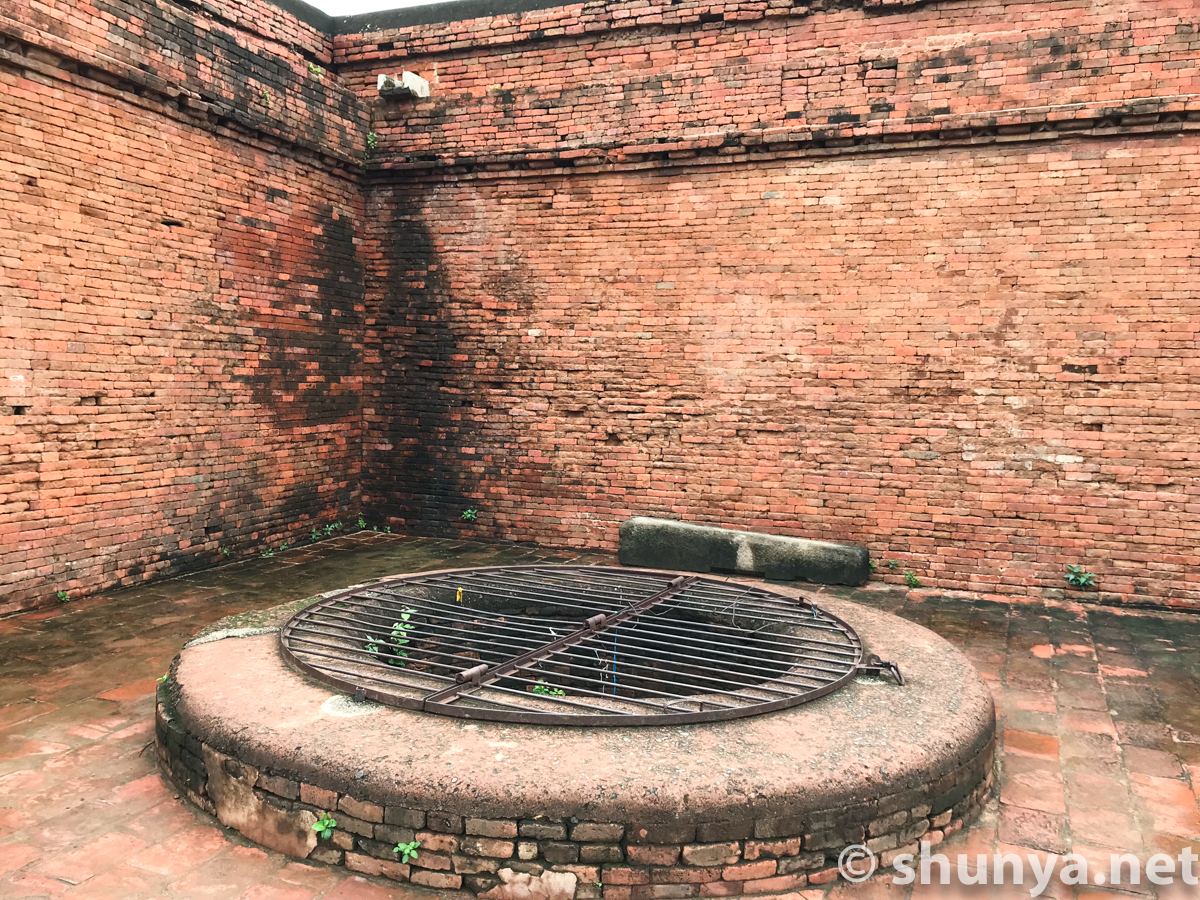
A well in the monastery
|
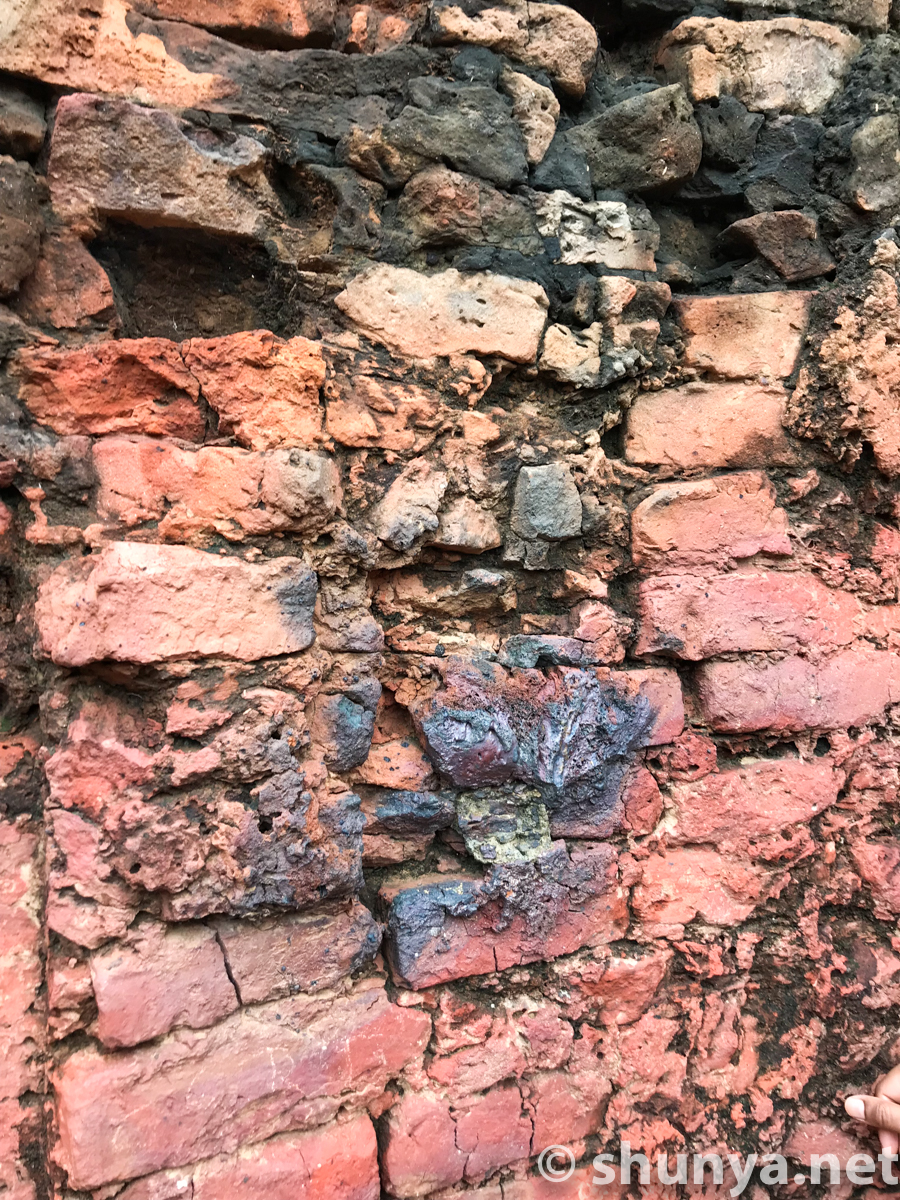
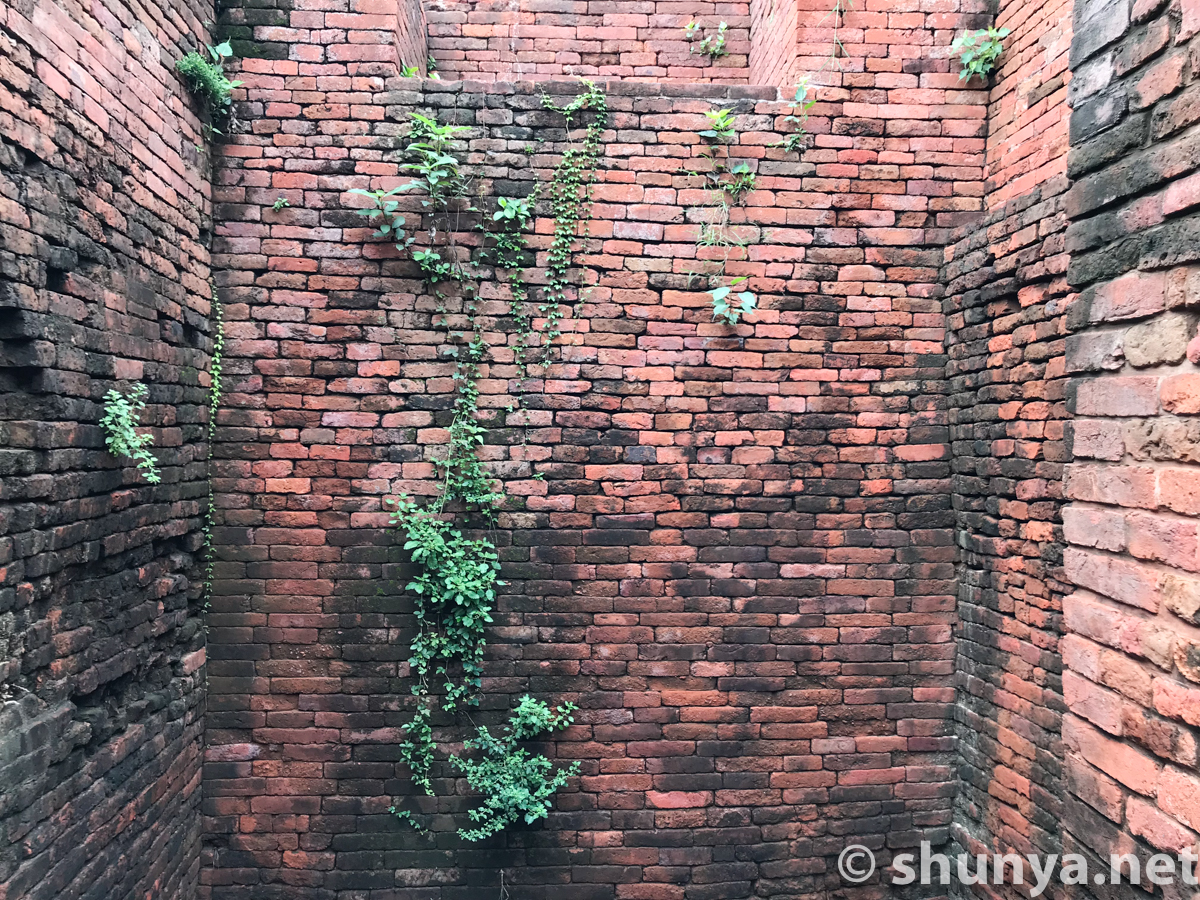
Wall inside a cell (more)
|
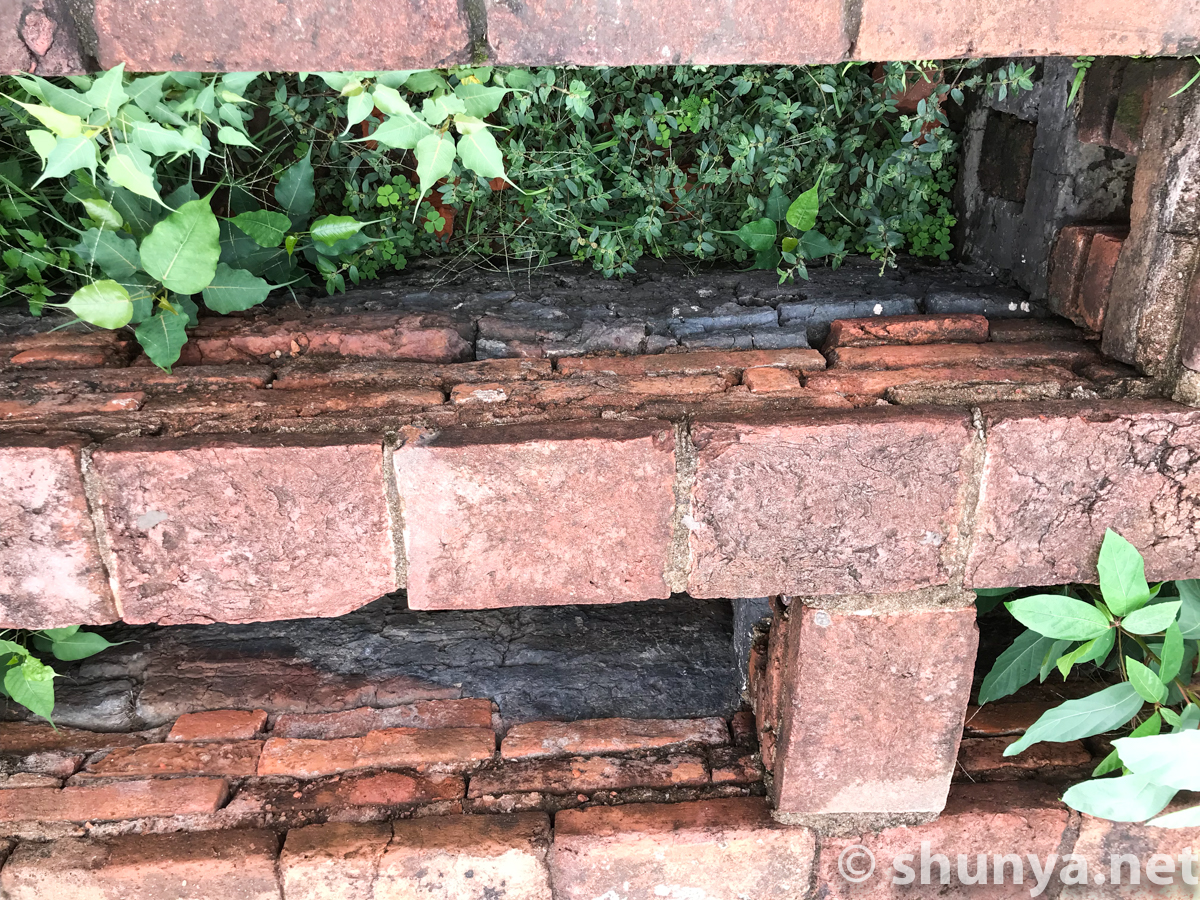
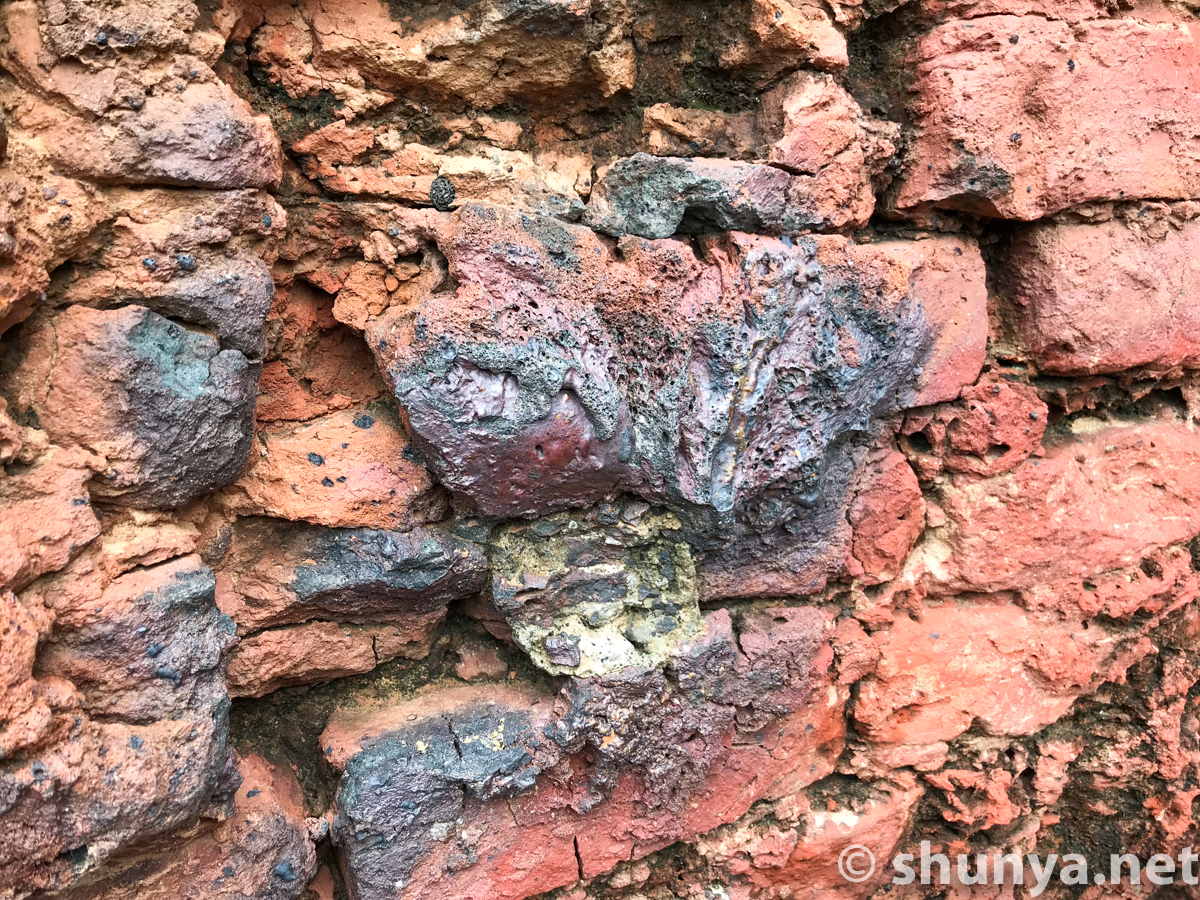
Bricks damaged by
|
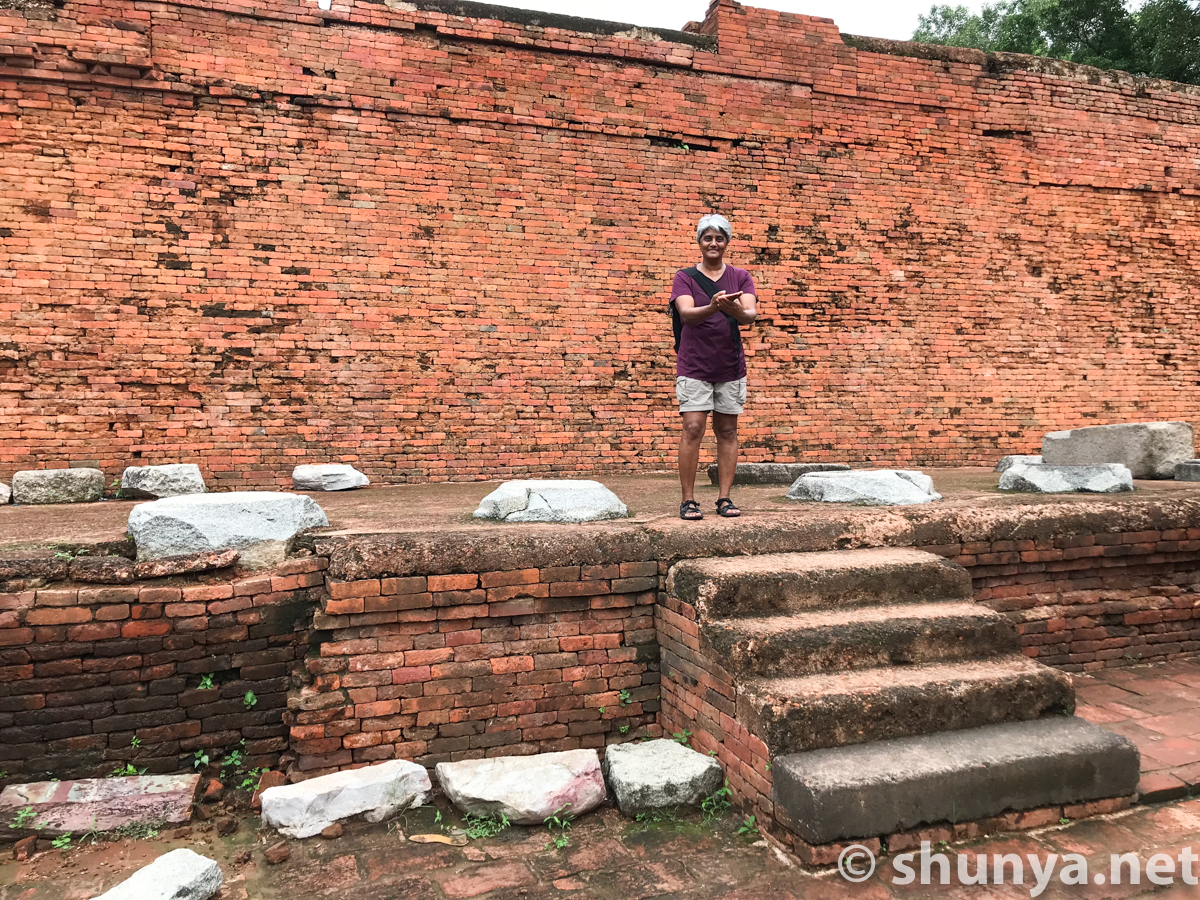
Debating on stage!
|
Monastery 1A
|
Monastery 4
|
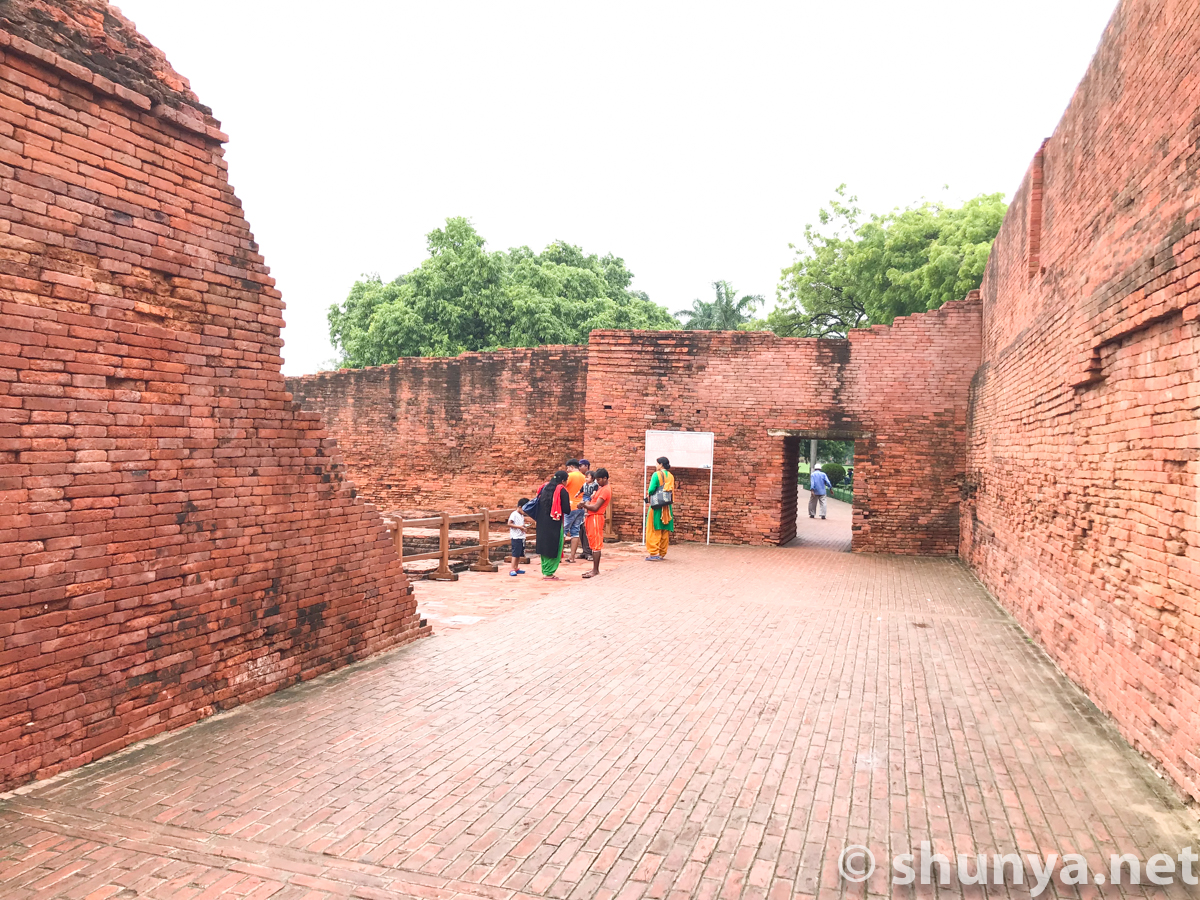
Entrance
|
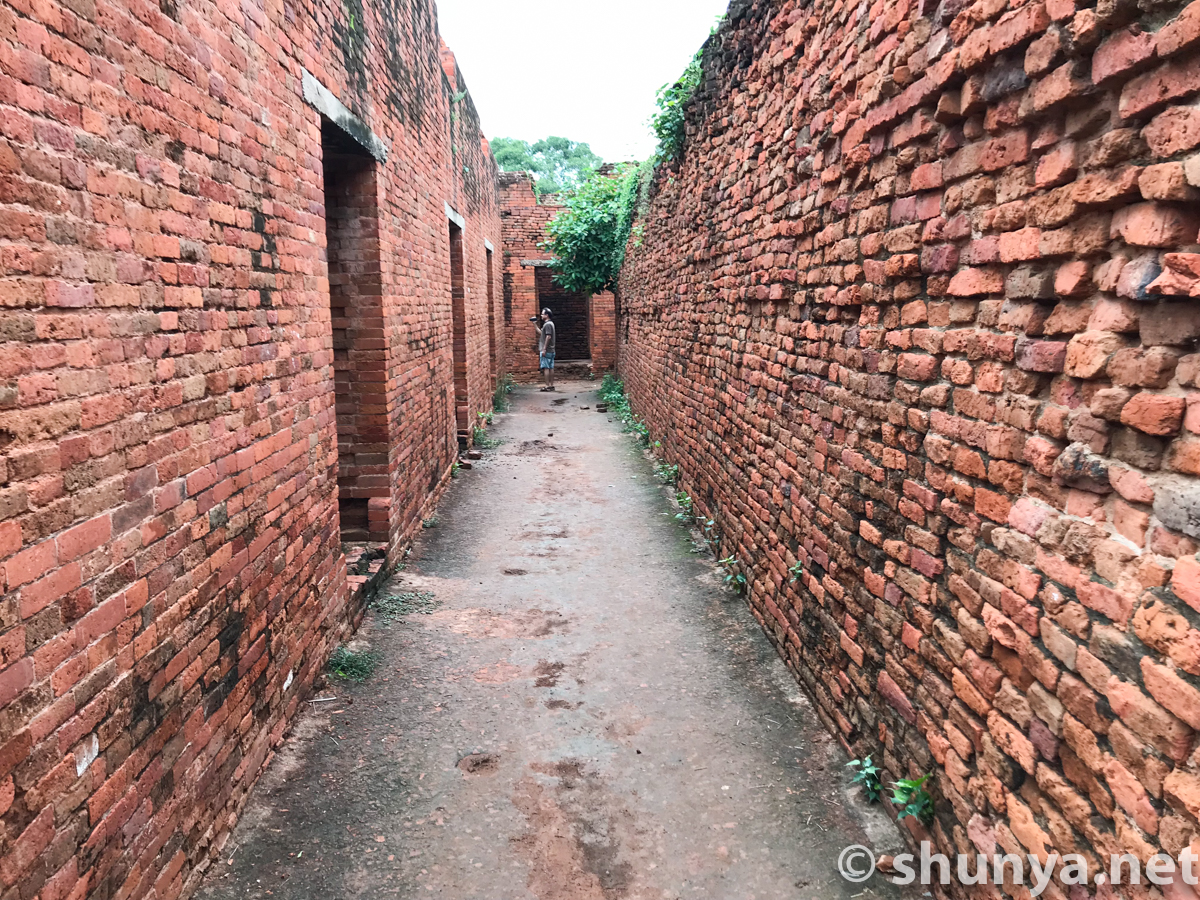
Passageway (more)
|
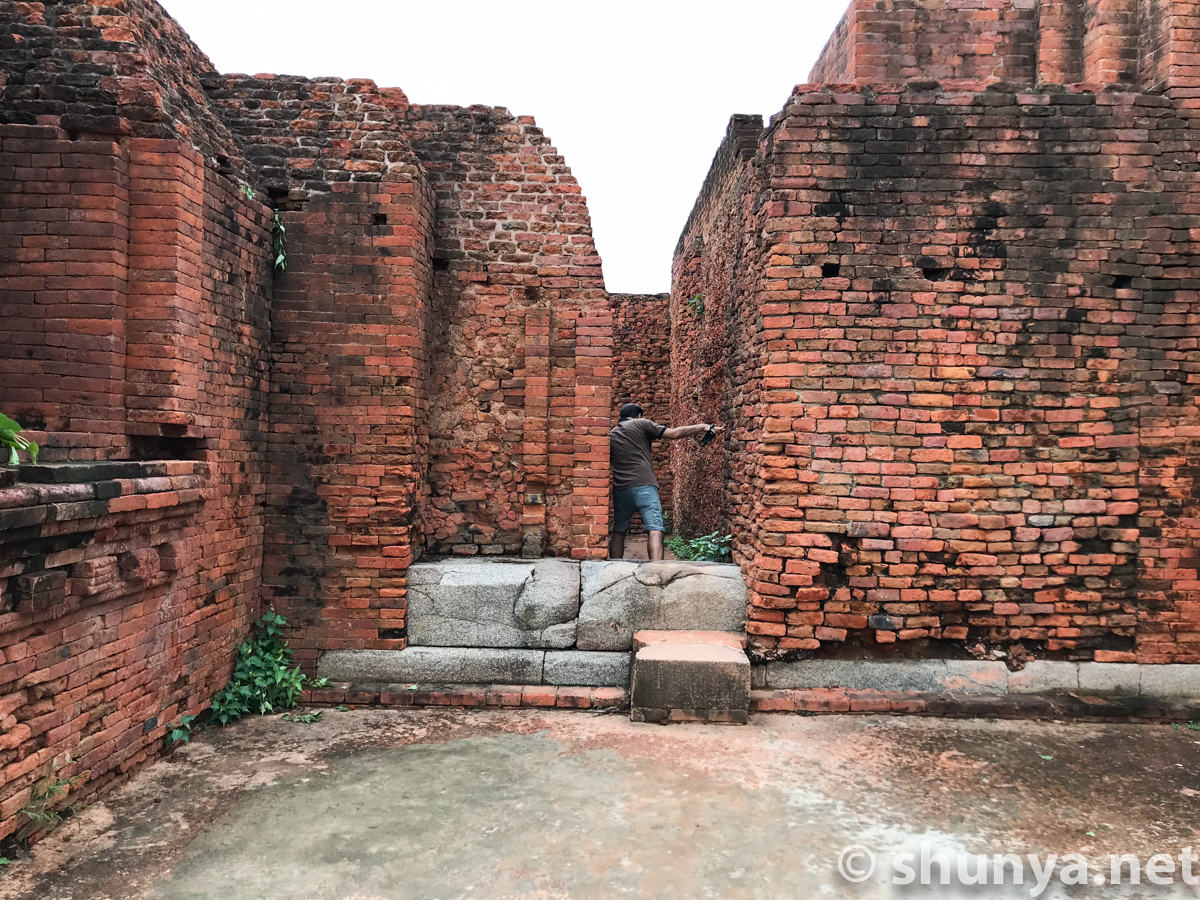
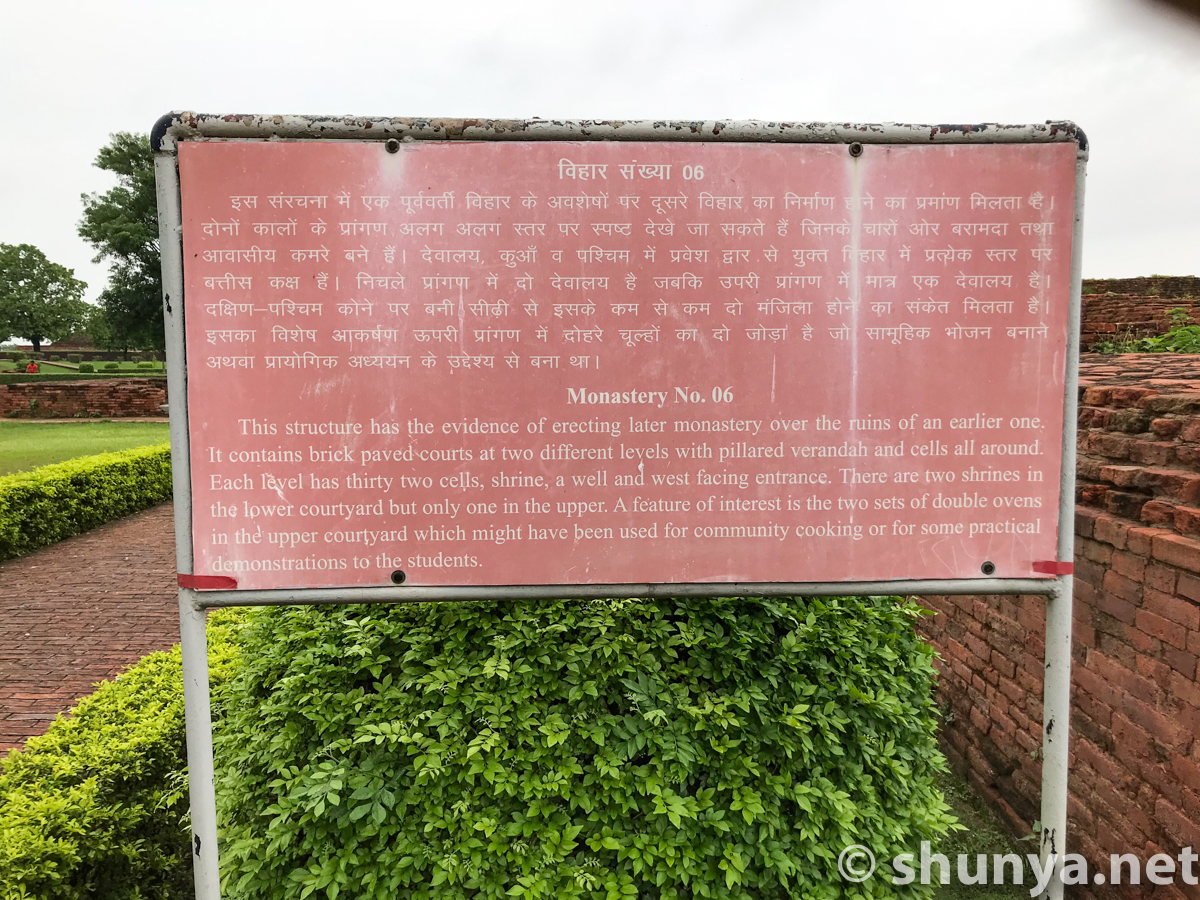
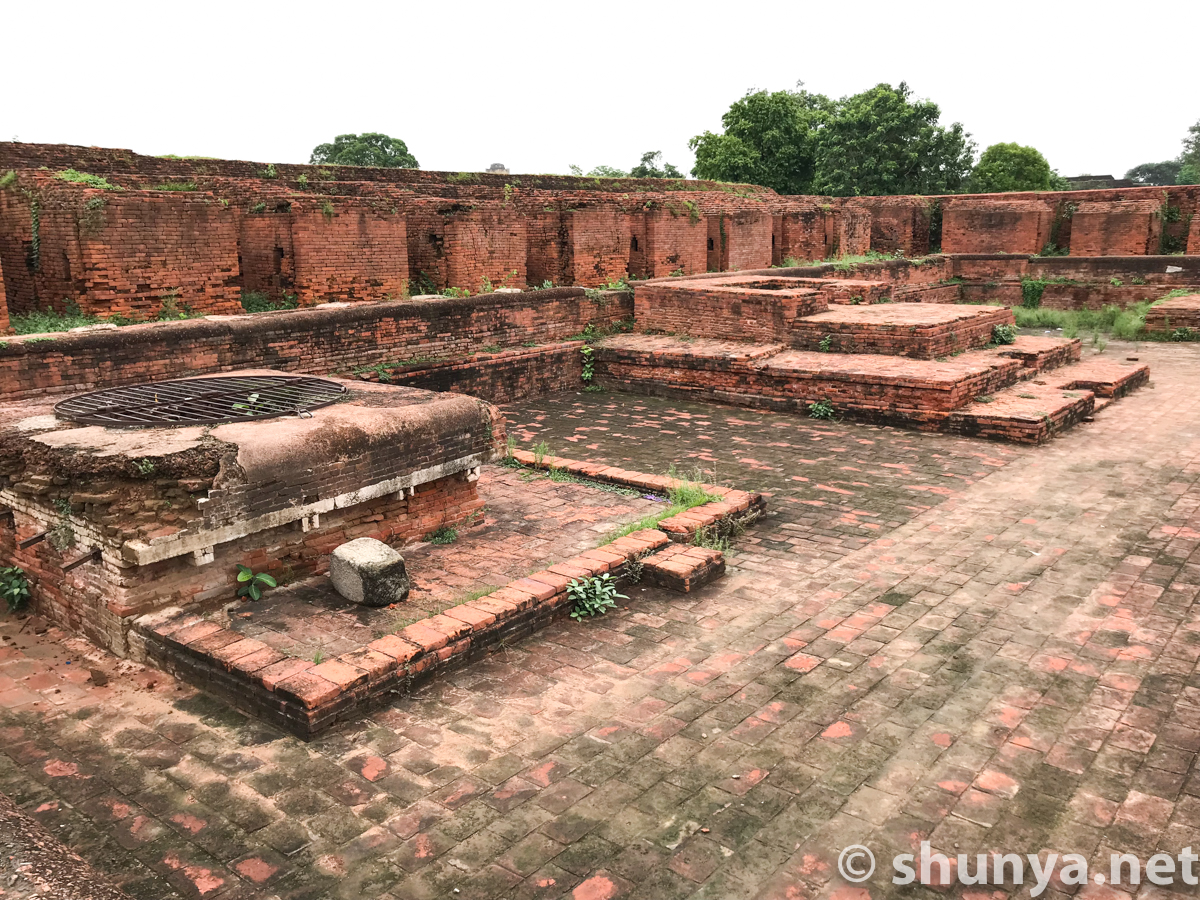
Monastery 6
|
A water well
|
A shrine on the right
|
A community oven
|
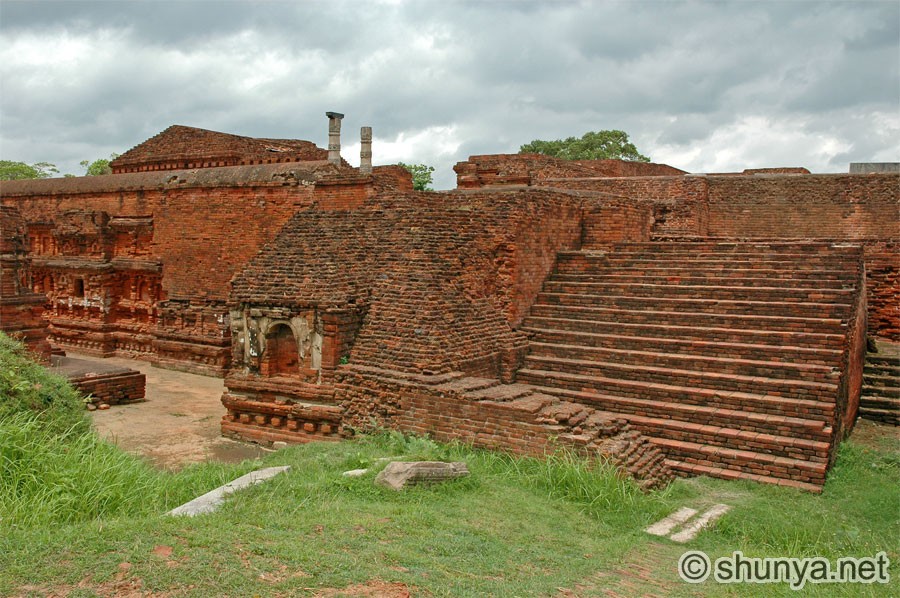
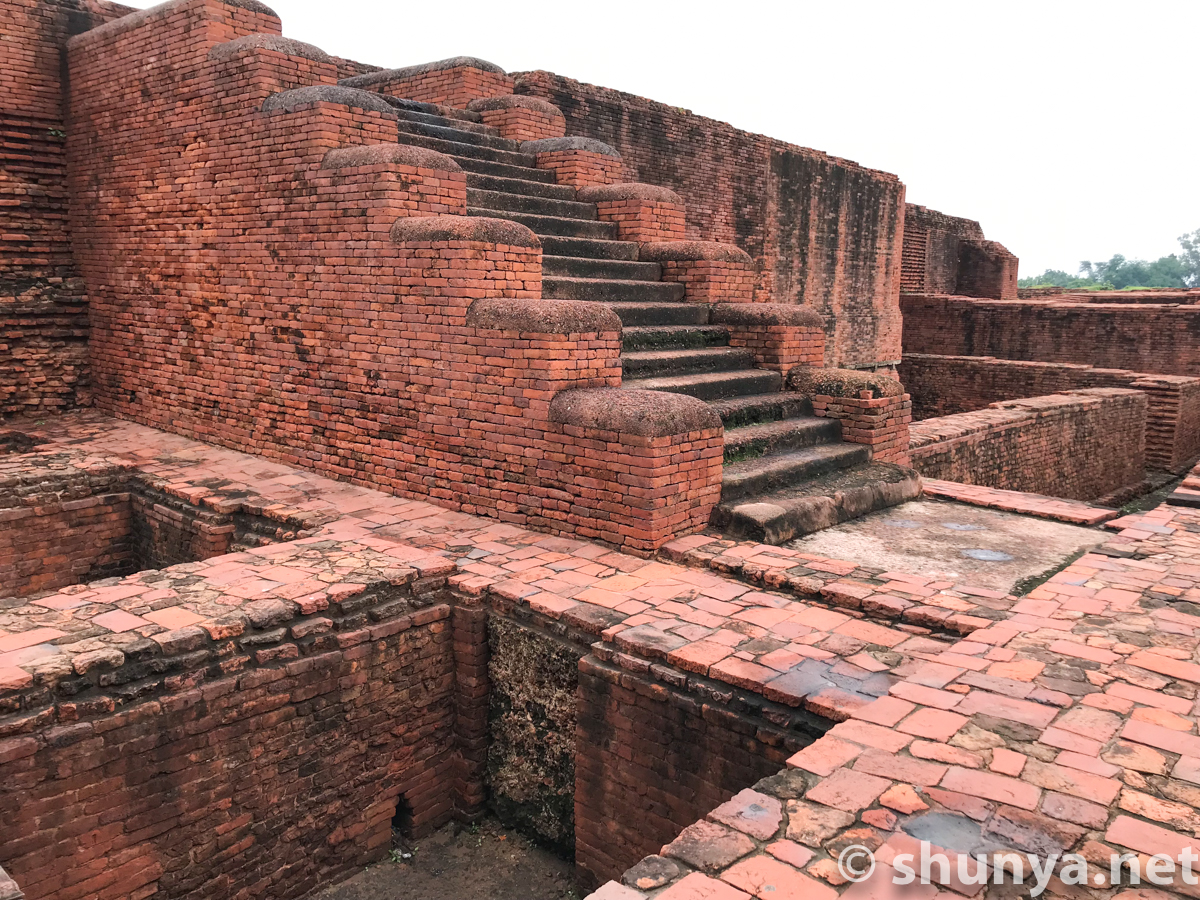
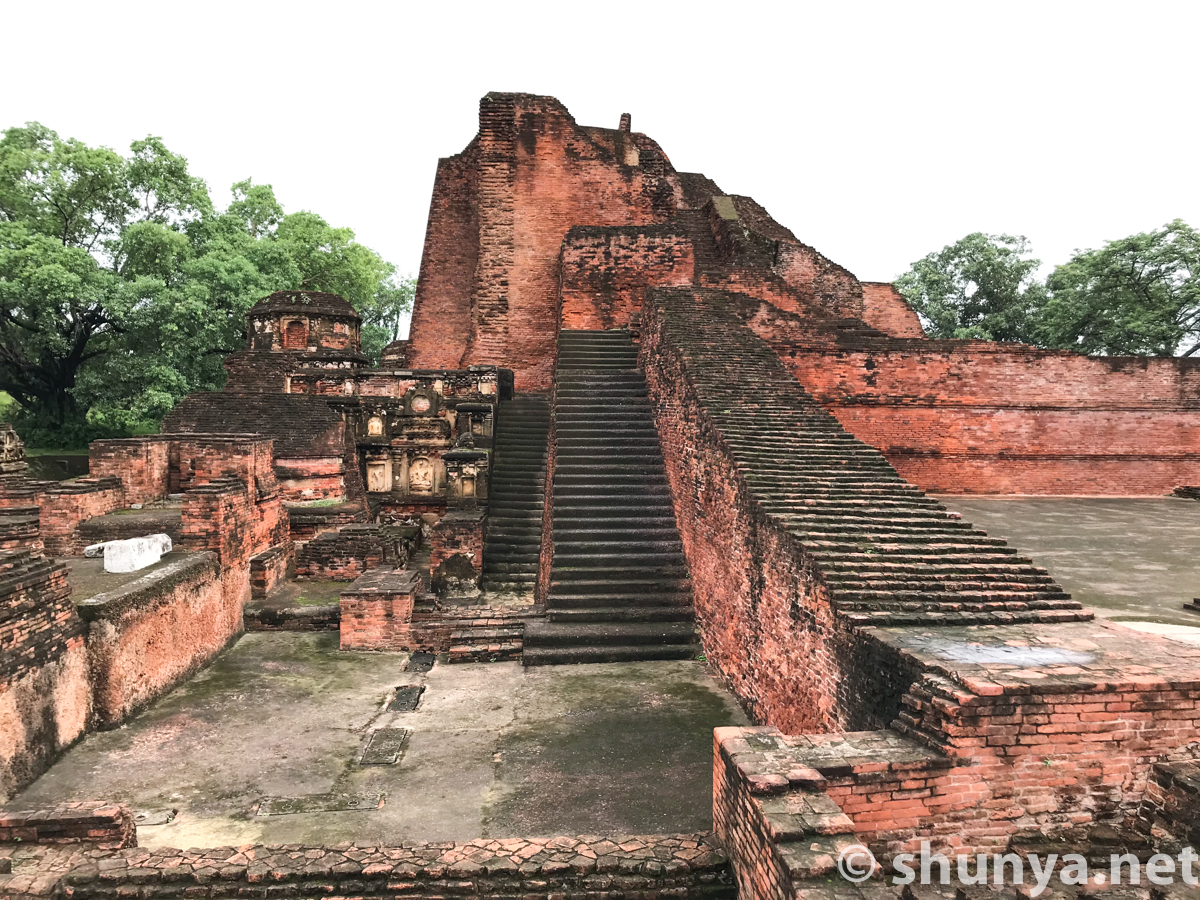
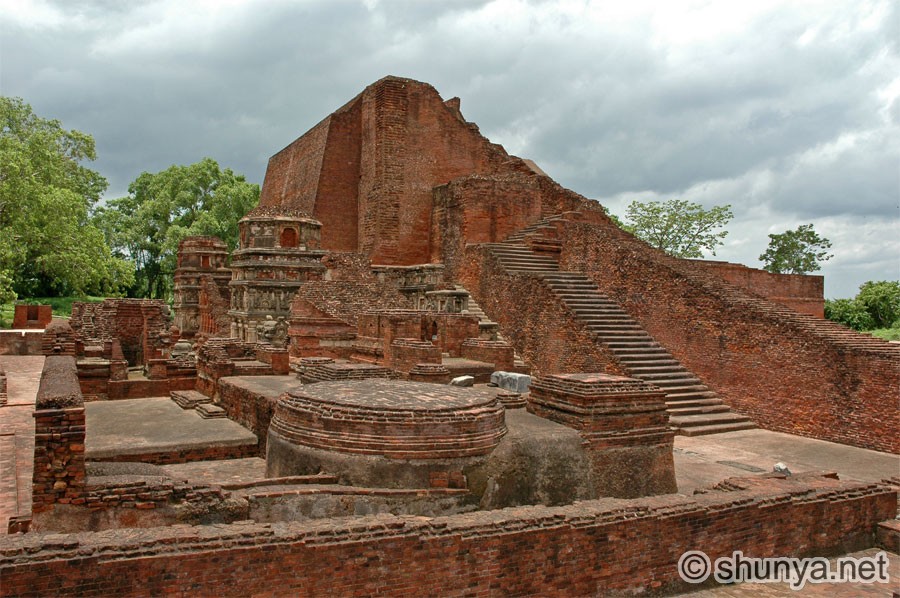
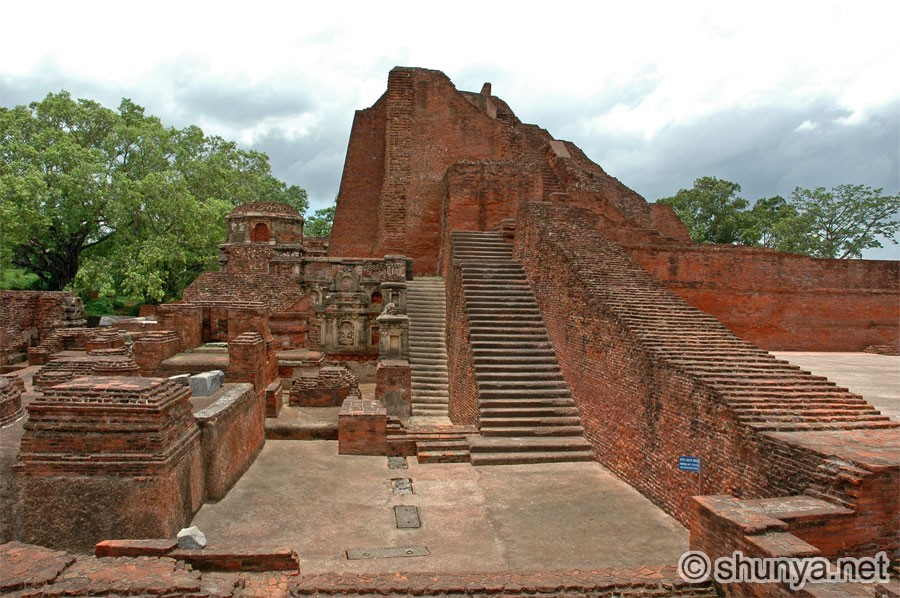
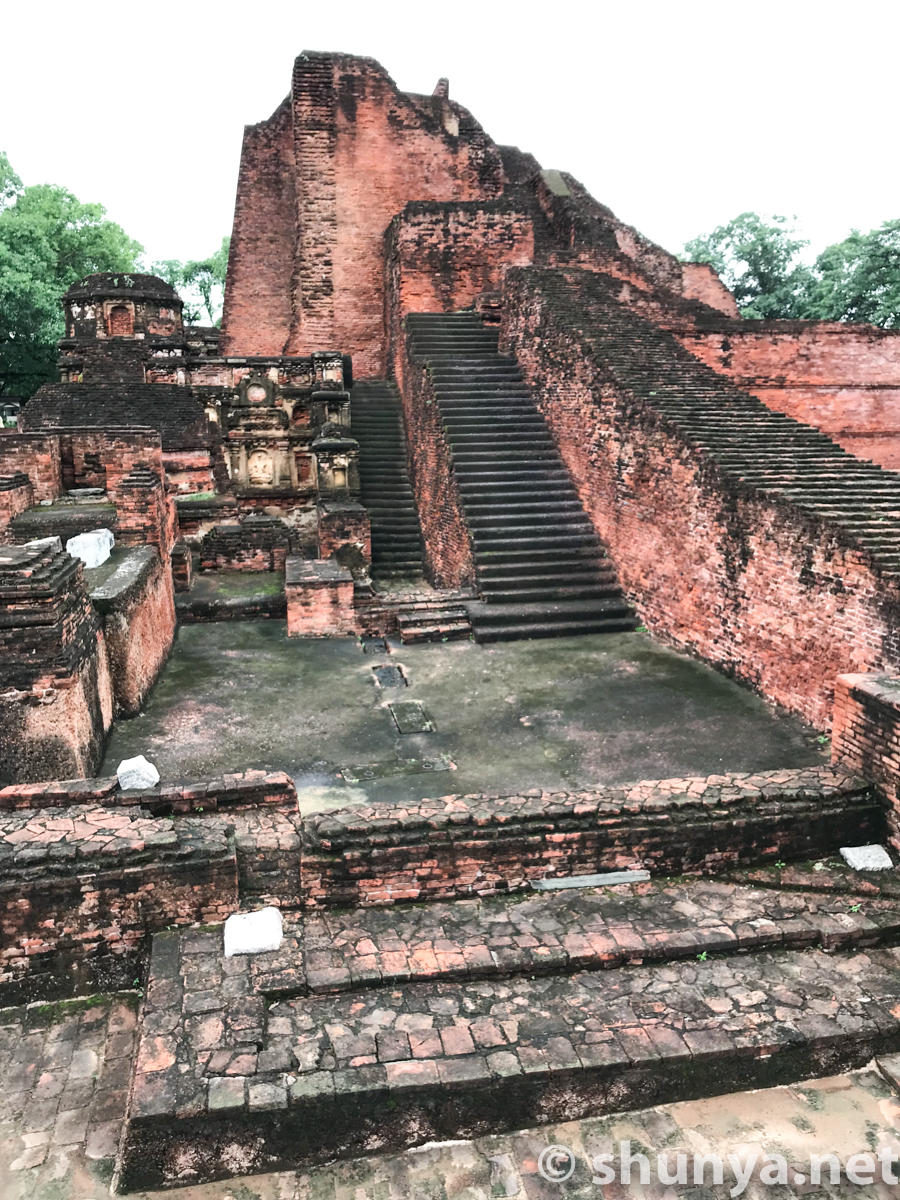
Great Monument,
|
A shrine atop it once had
|
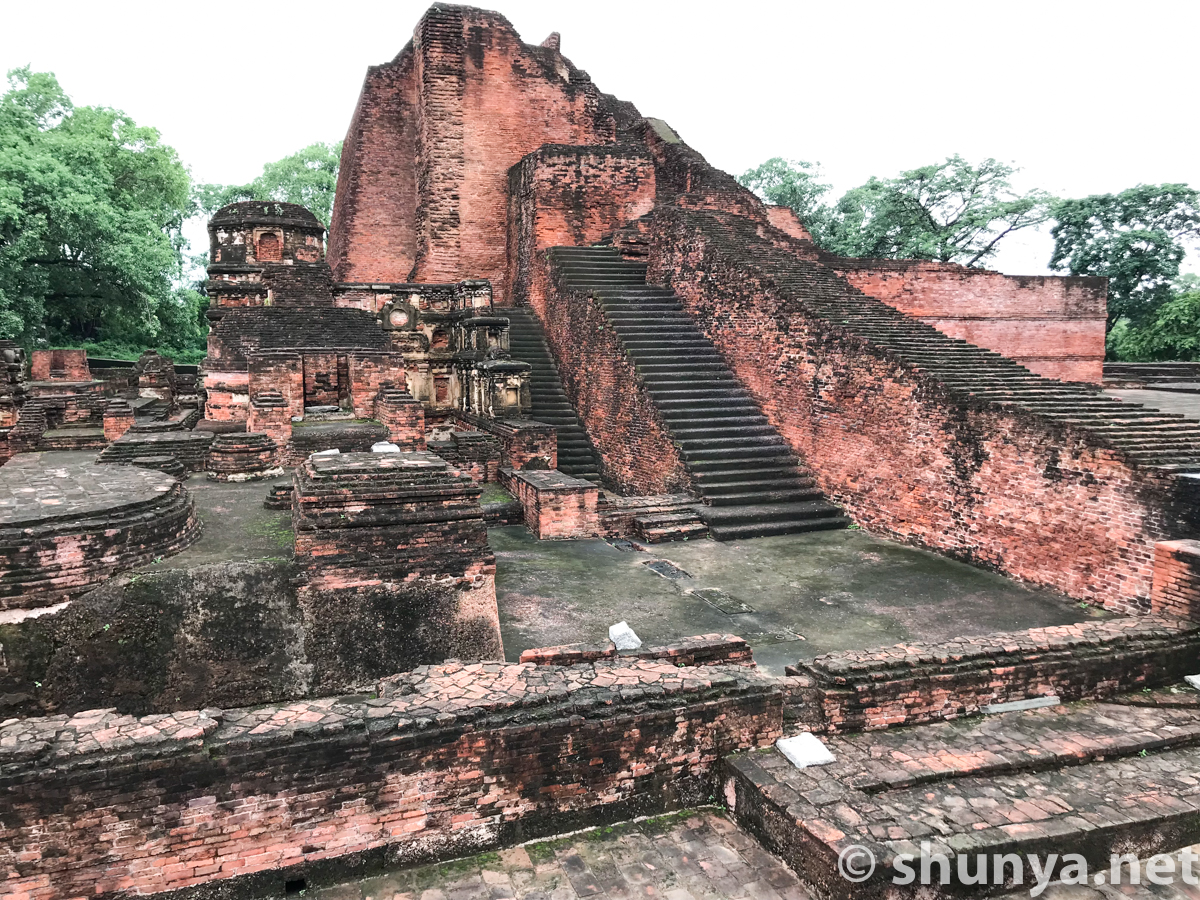
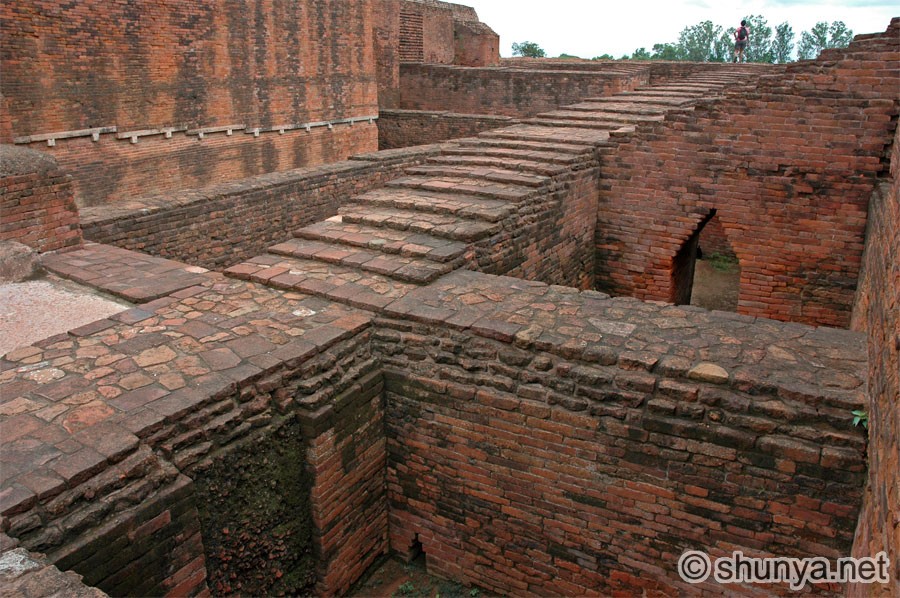
Multiple stairways from
|
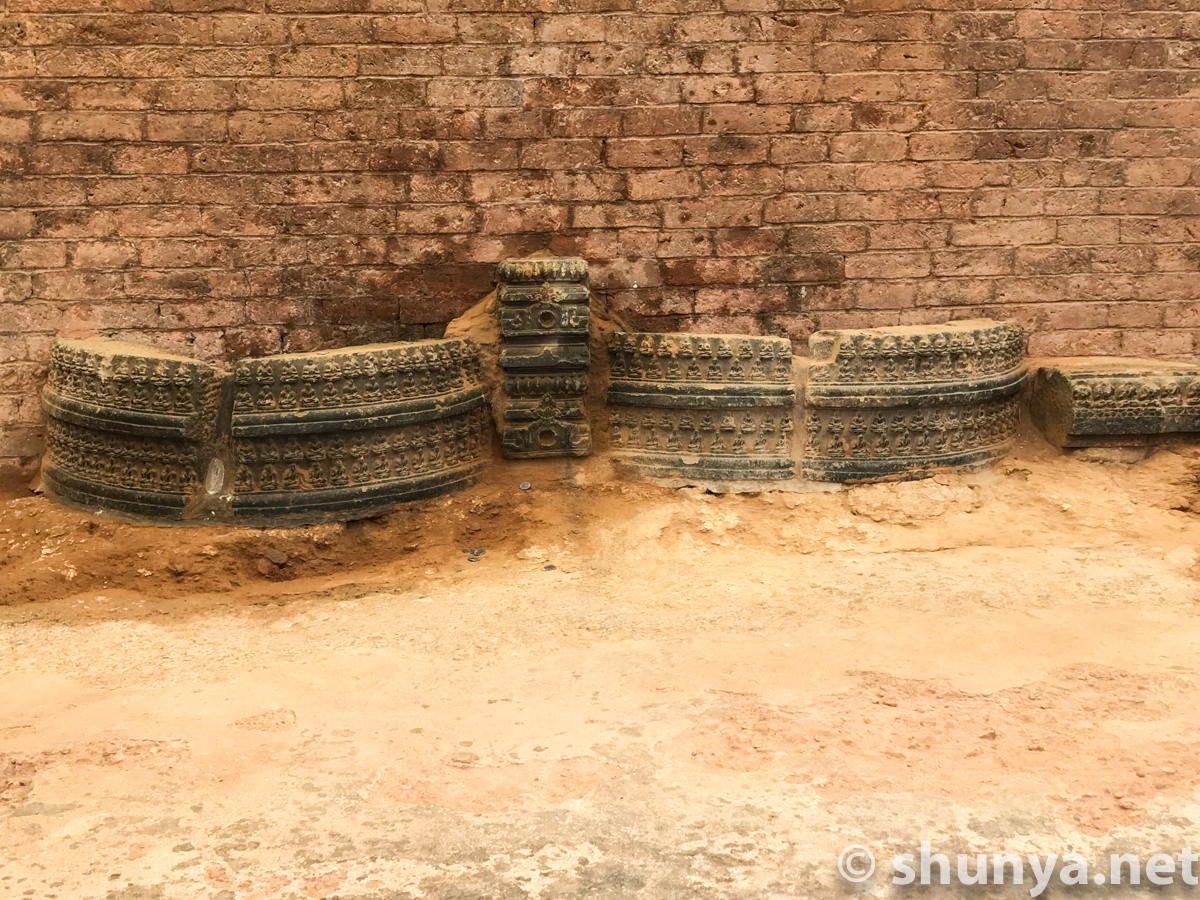
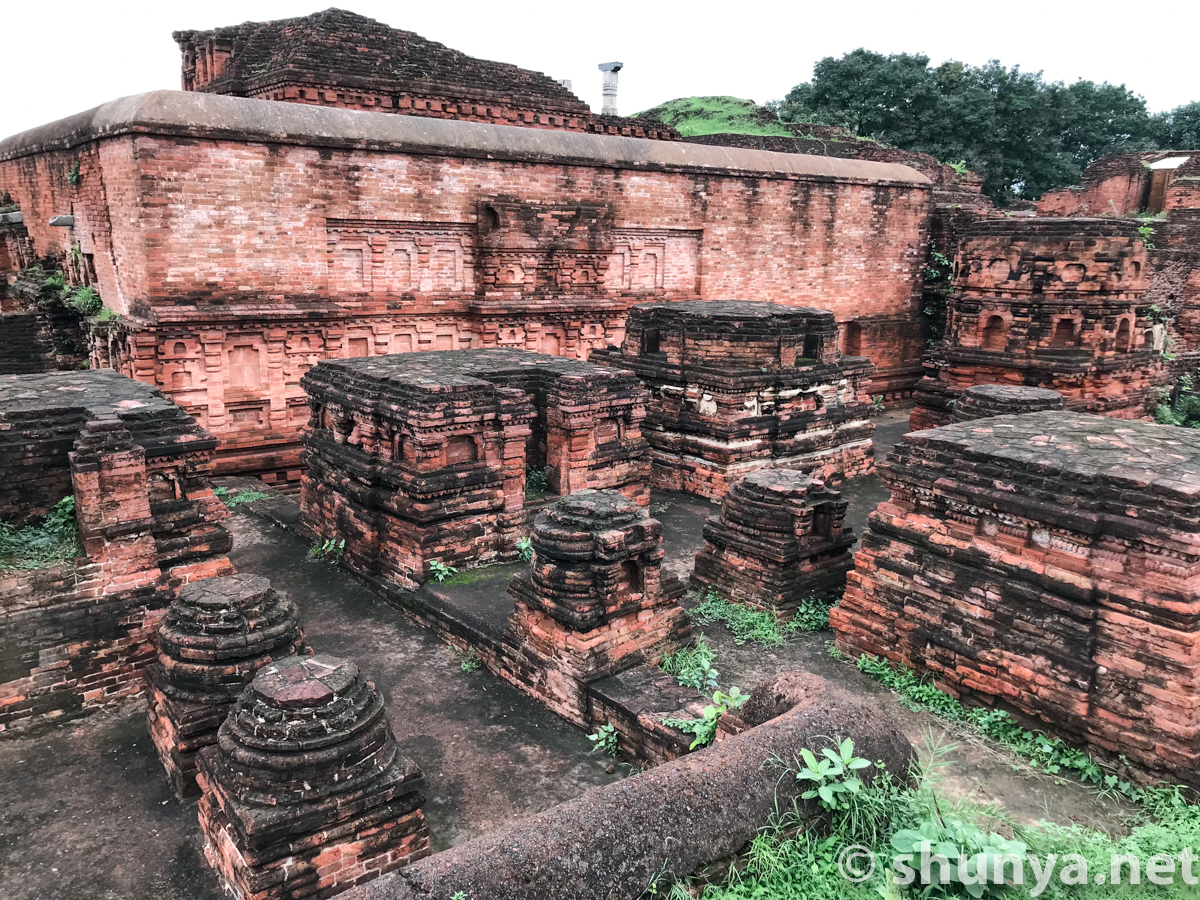
Temple #3 wall detail
|
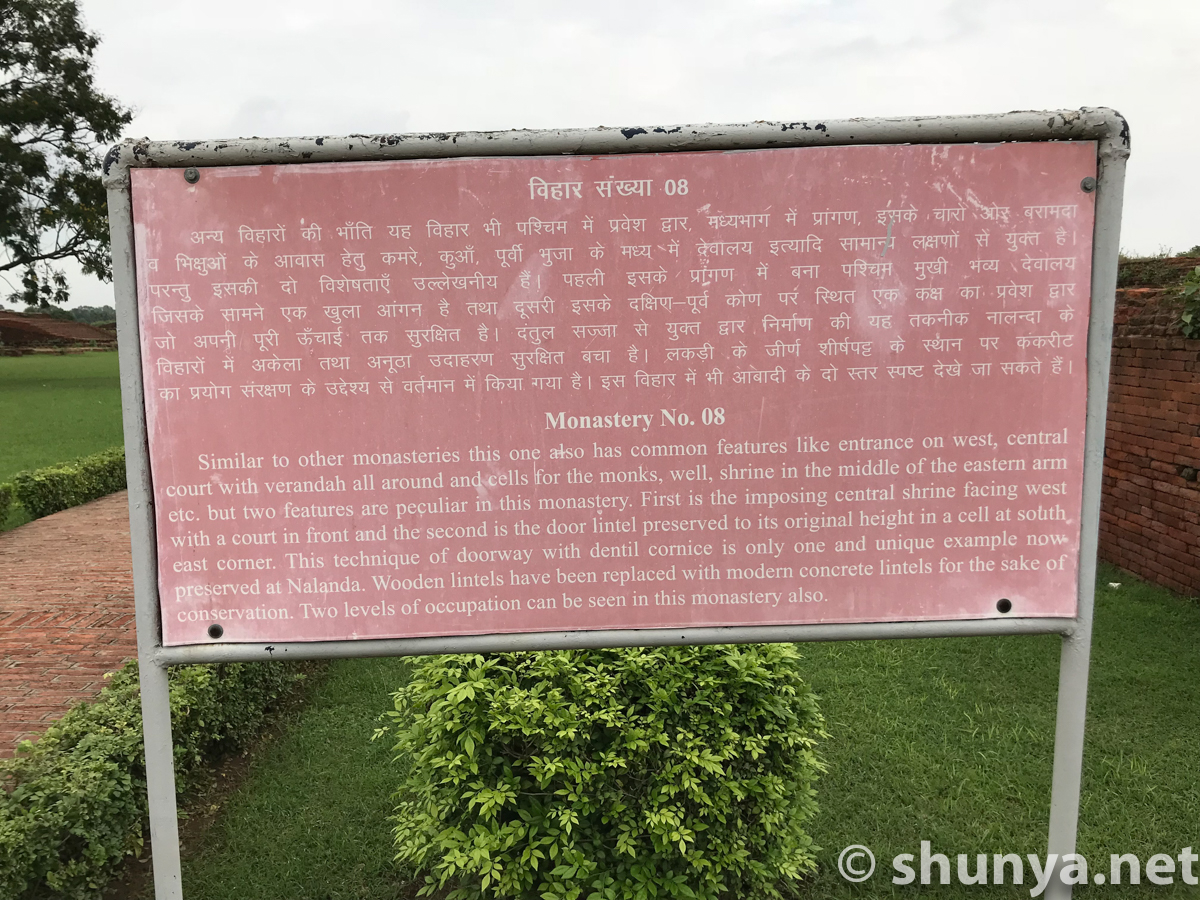
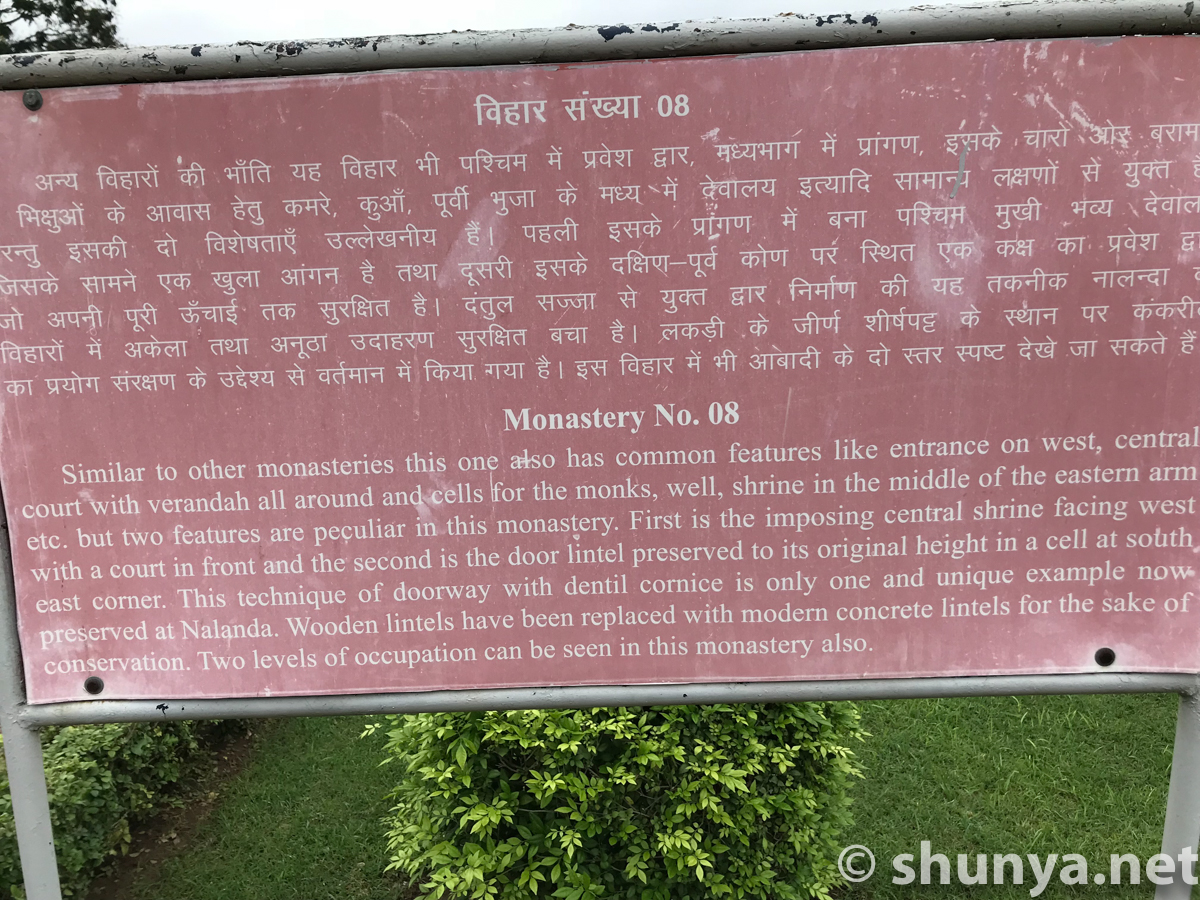
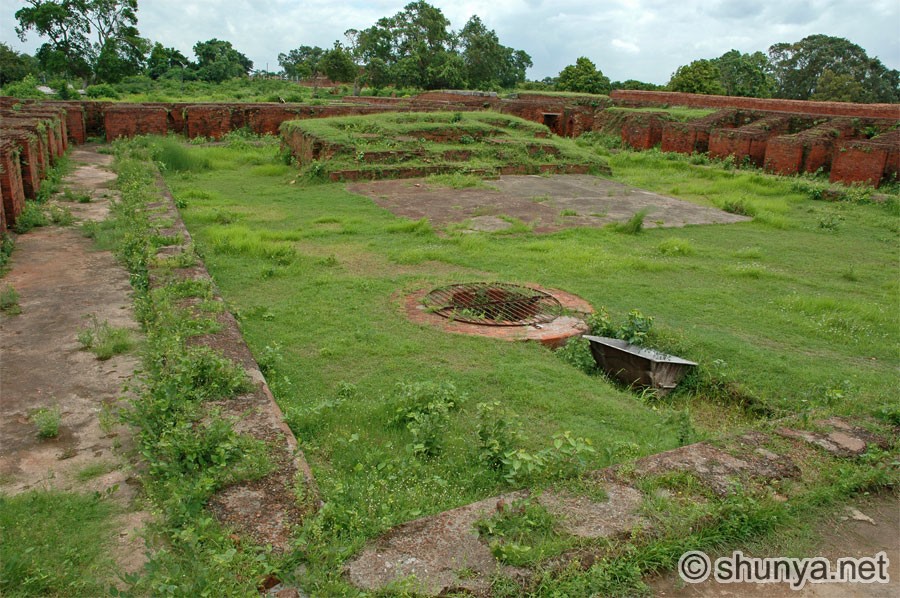
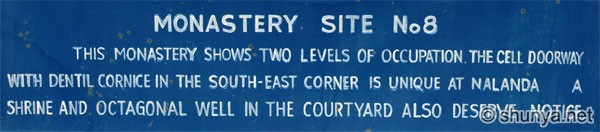
Monastery 8
|
Courtyard
|
Gateway
|
Ancient structures
|
Monks rooms, one or two
|
Pillared pavilion around a
|
A large cell, perhaps for a
|
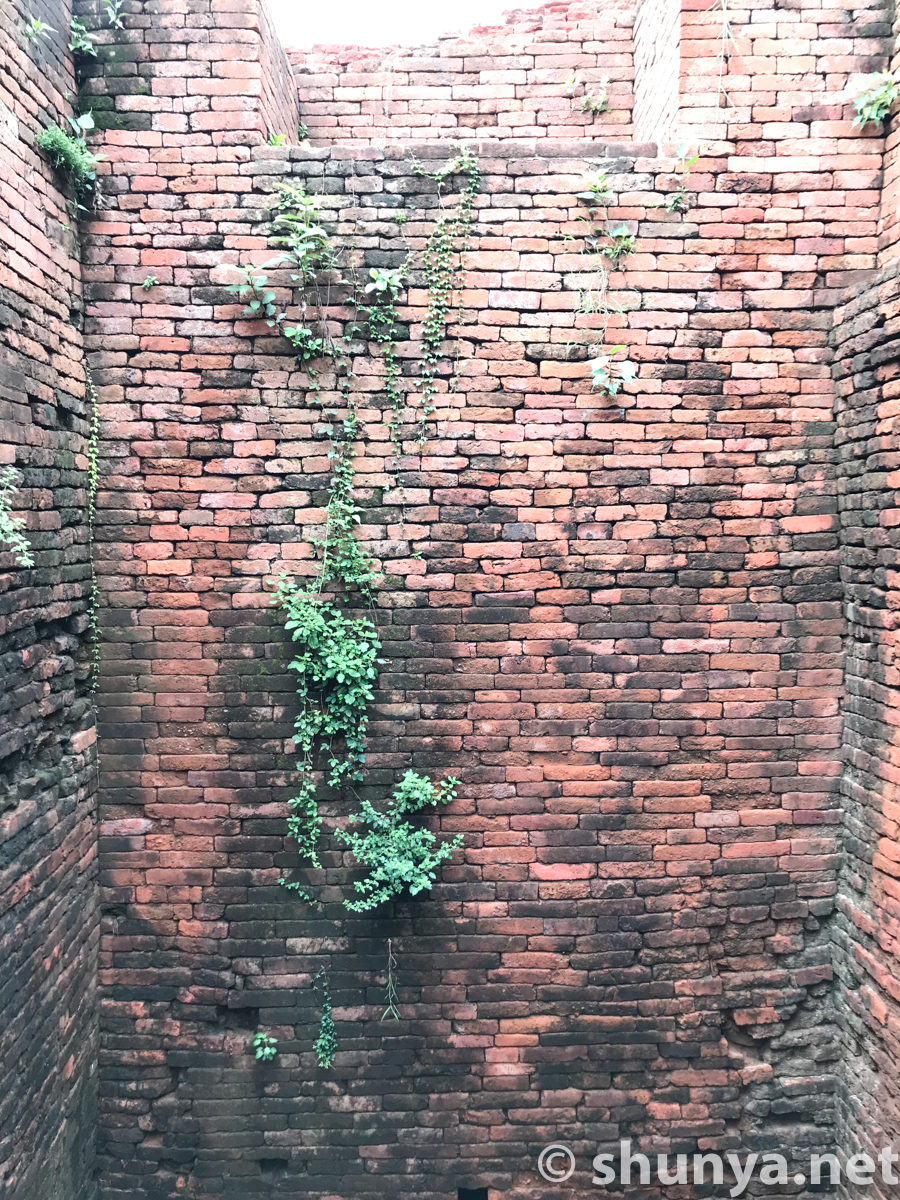
Creepers bursting through
|
Balcony around courtyard
|
Covered balcony (more)
|
pillar stubs (more)
|
Monks rooms
|
Monastery 1
|
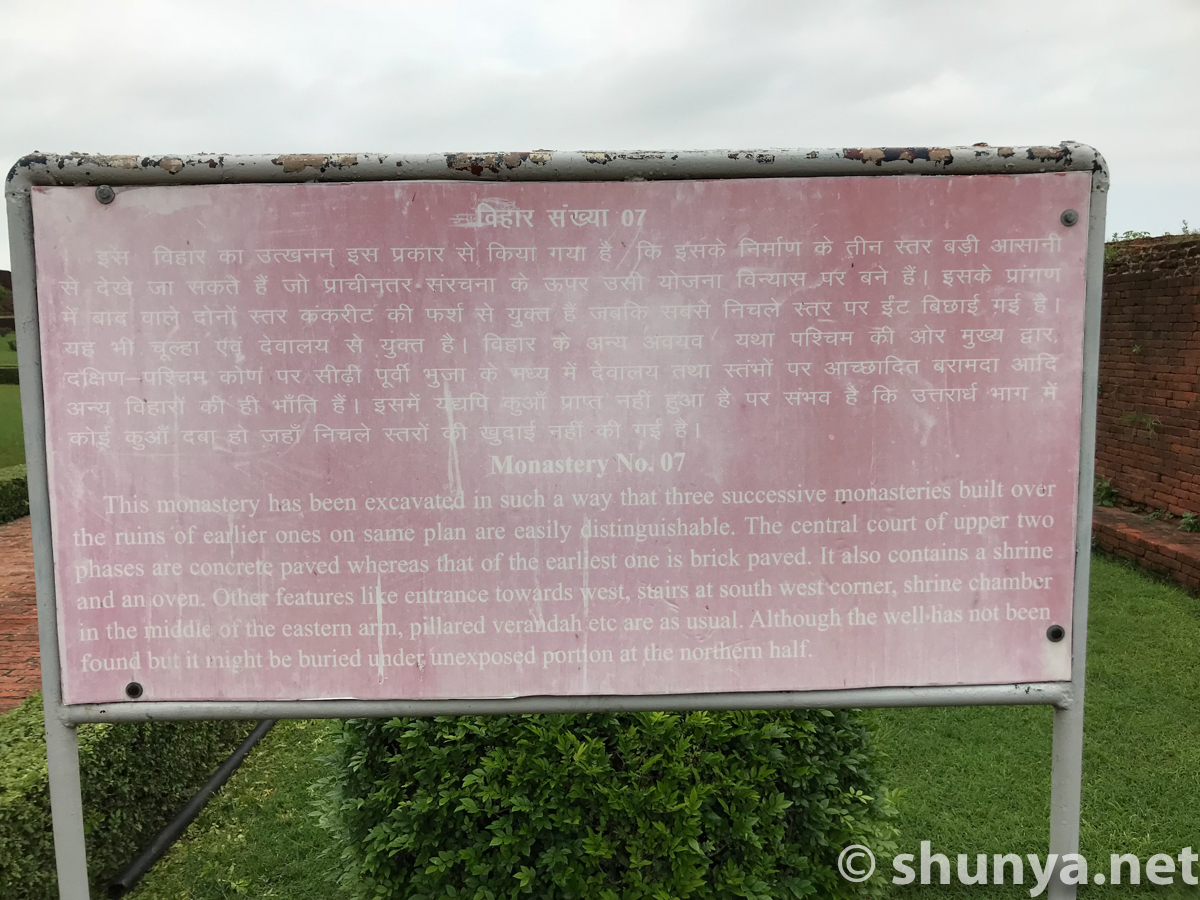
Monastery 7
|
Monastery 8
|
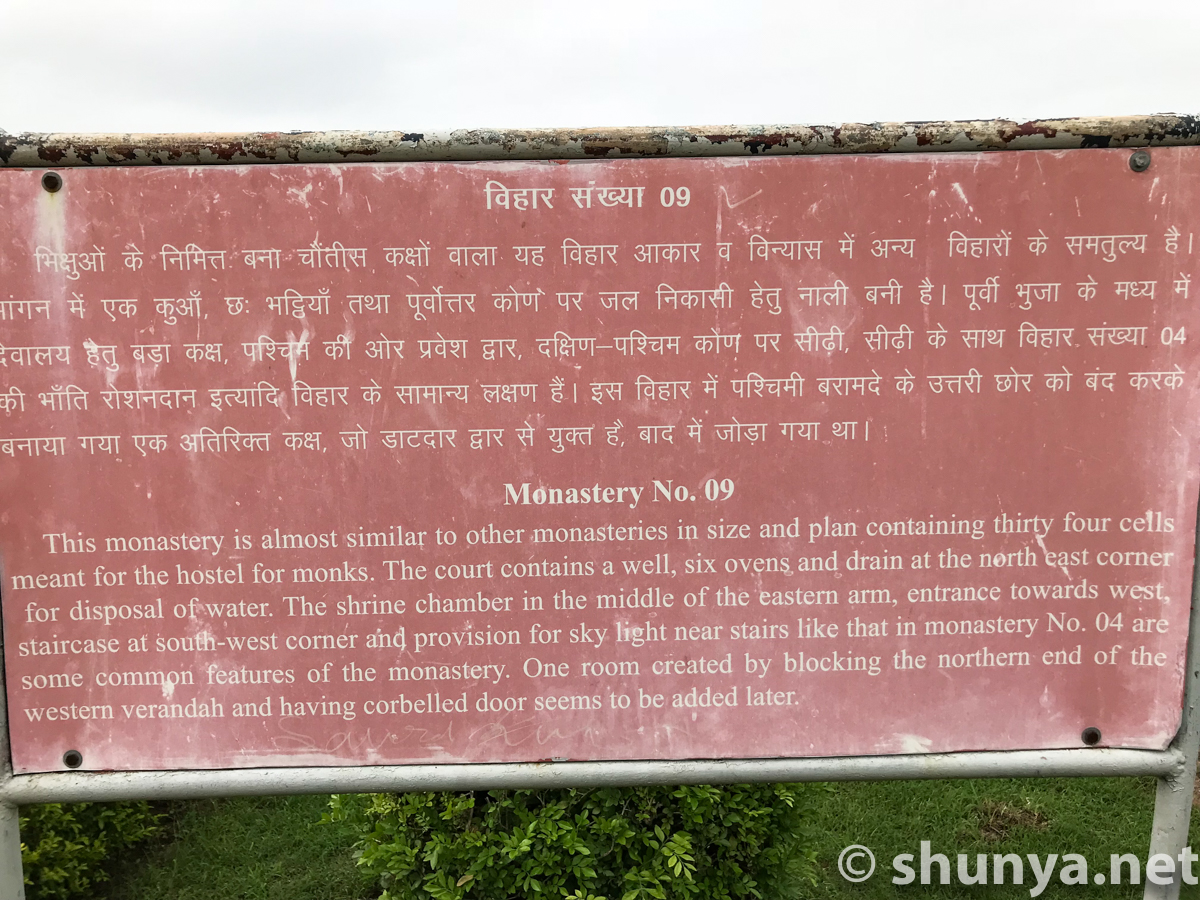
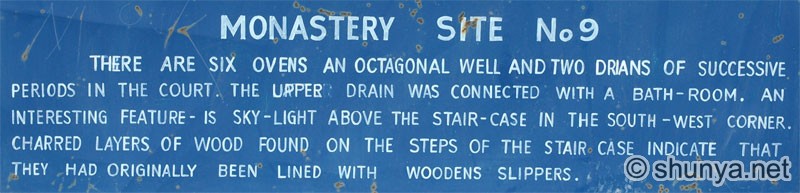
Monastery 9
|
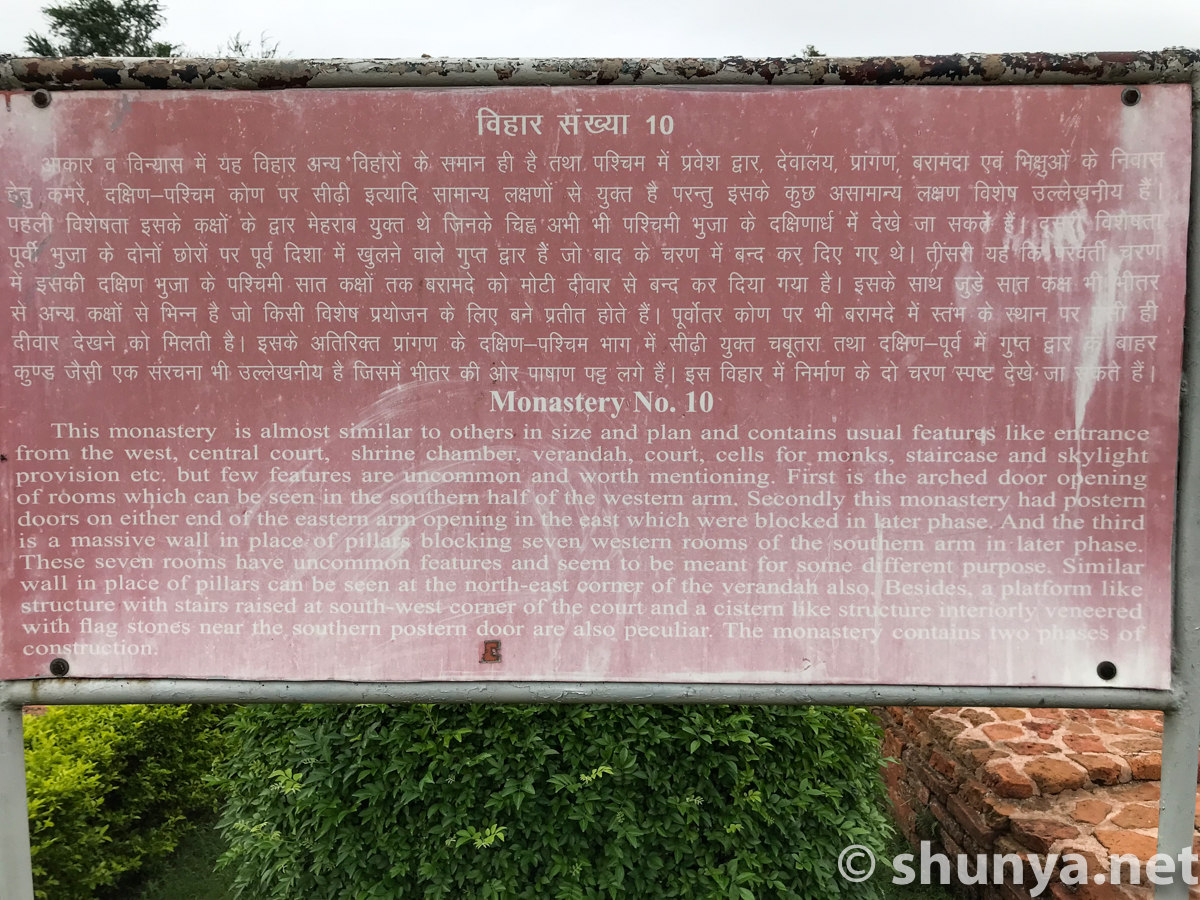
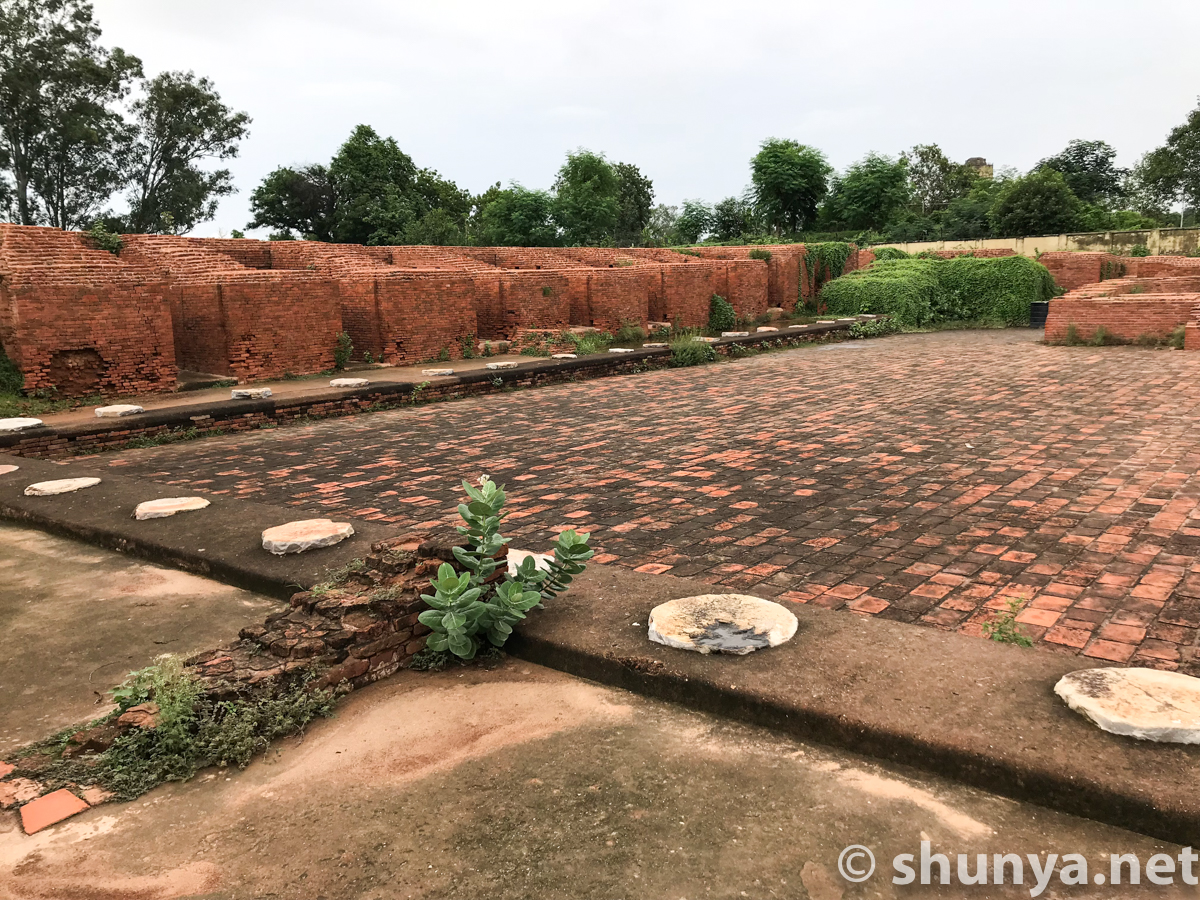
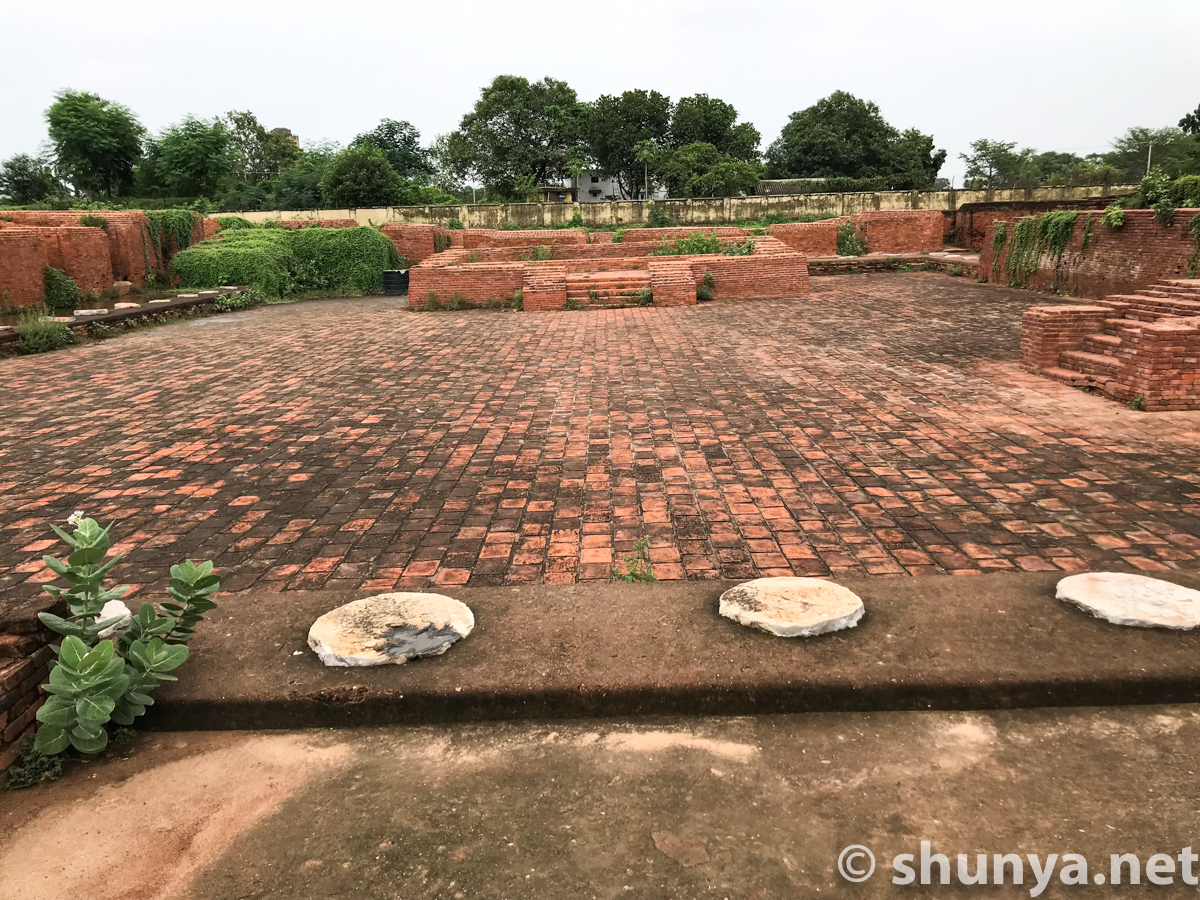
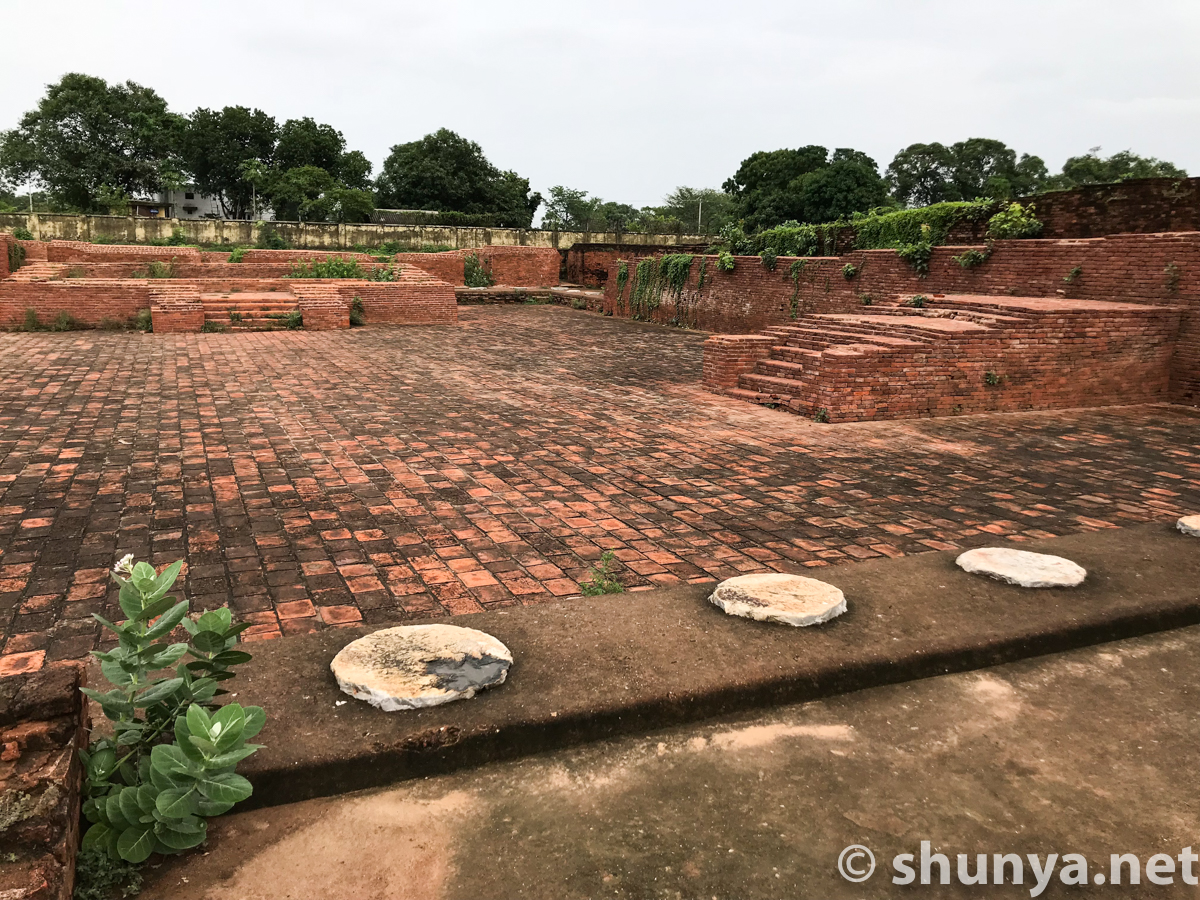
Monastery 10
|
Pillars around courtyard
|
A shrine in the center
|
Another shrine to the right
|
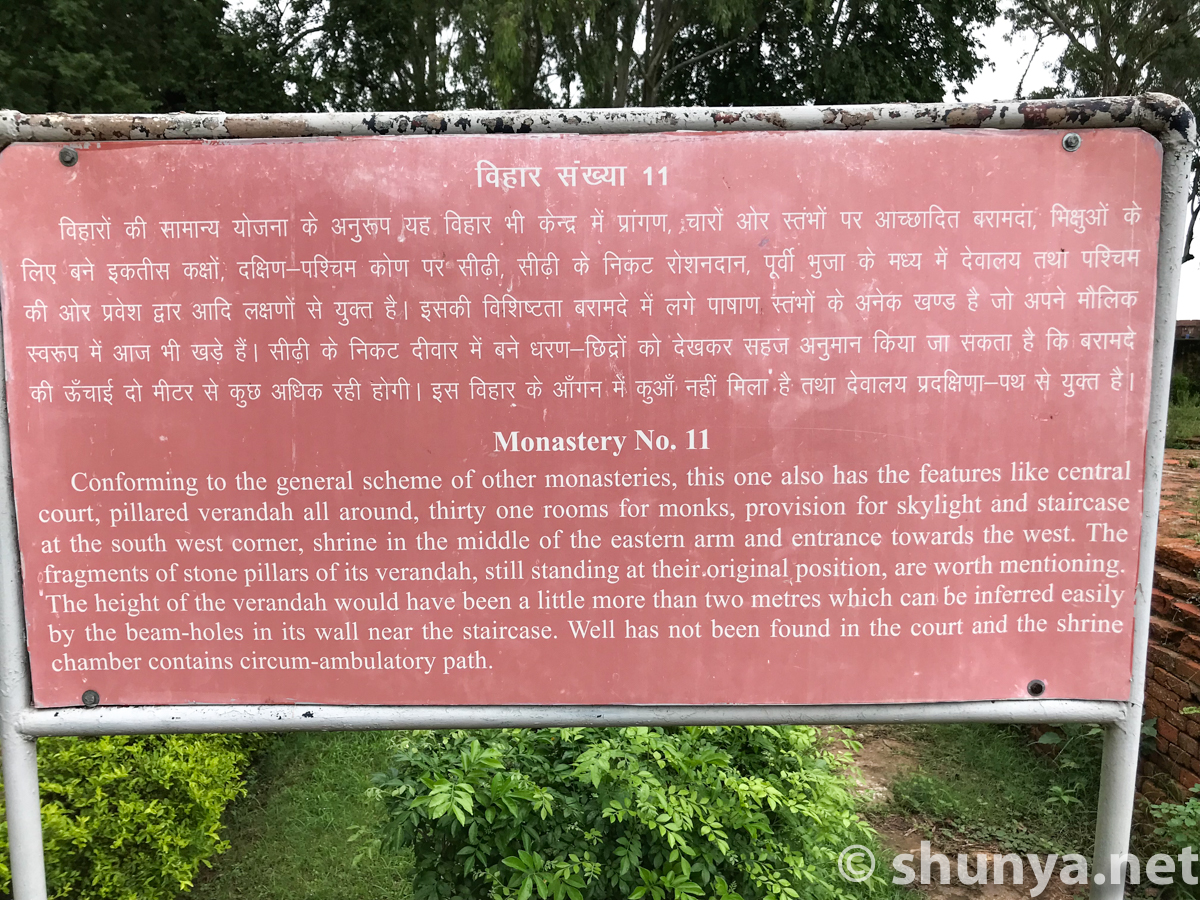
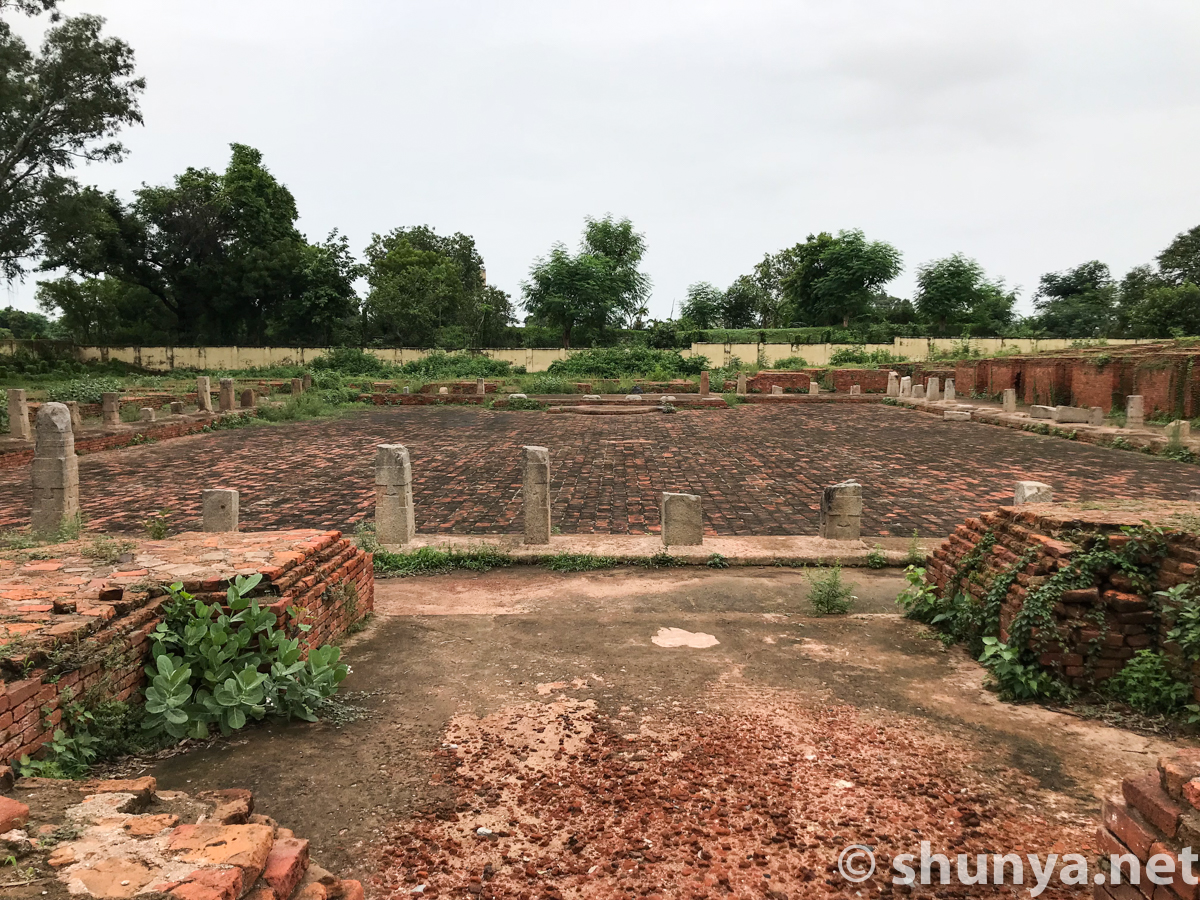
Monastery 11
|
Monastery 11 courtyard
|
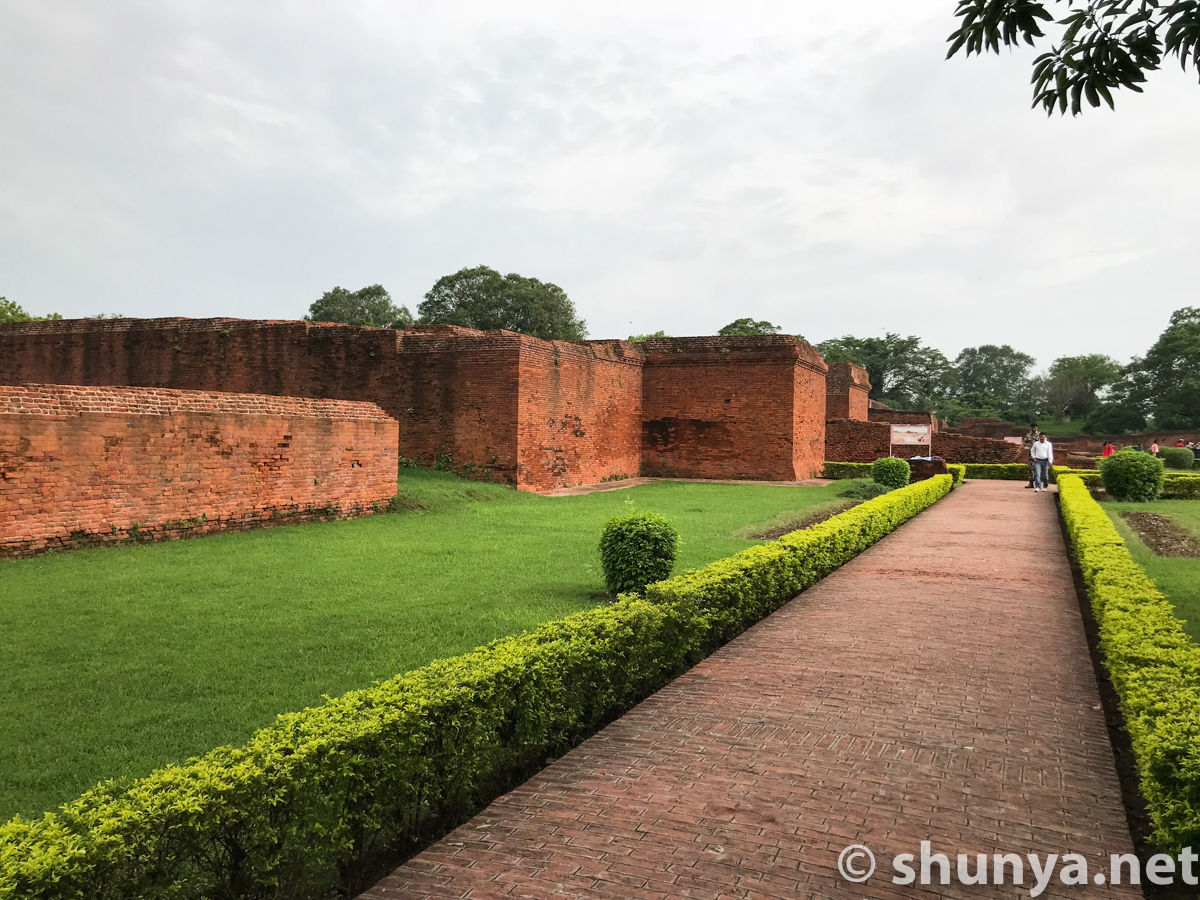
Path between temples
|
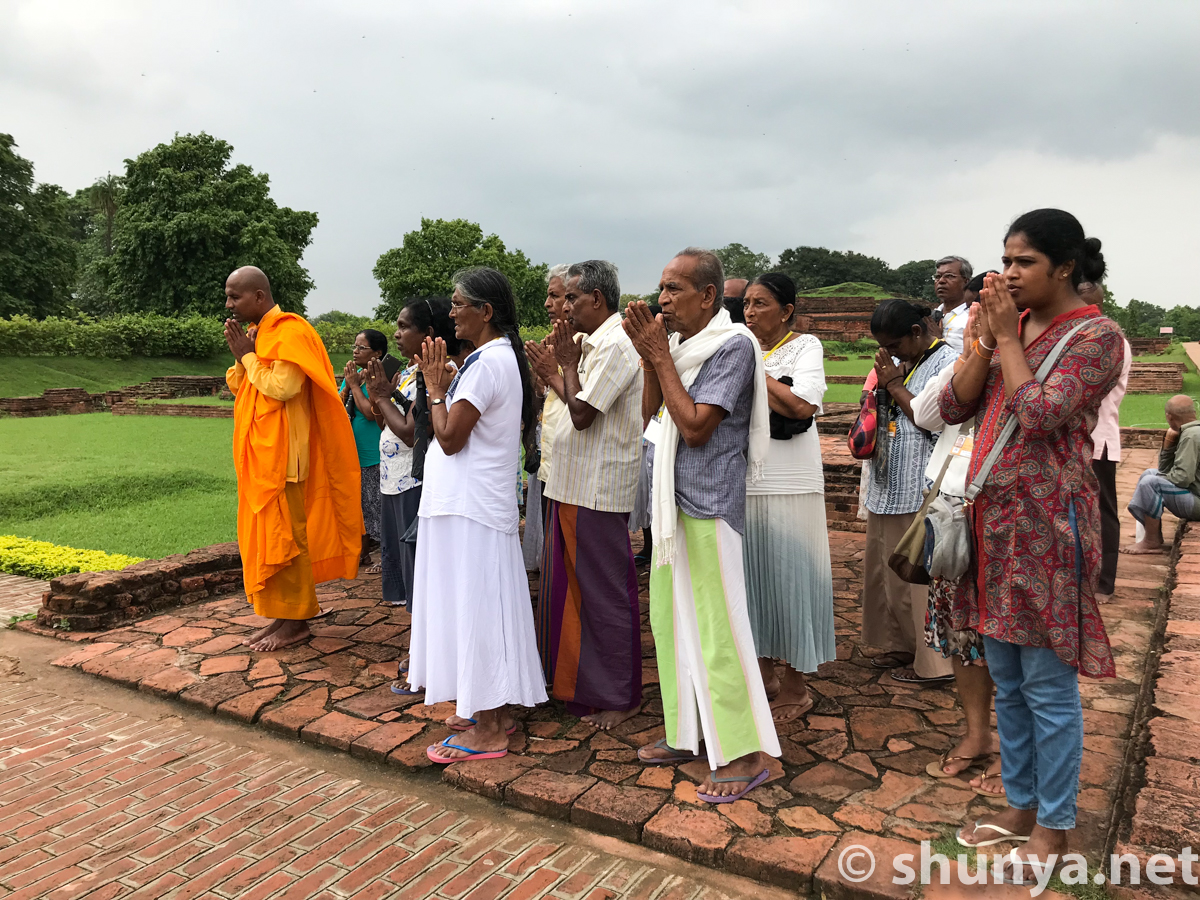
Sri Lankan pilgrims
|
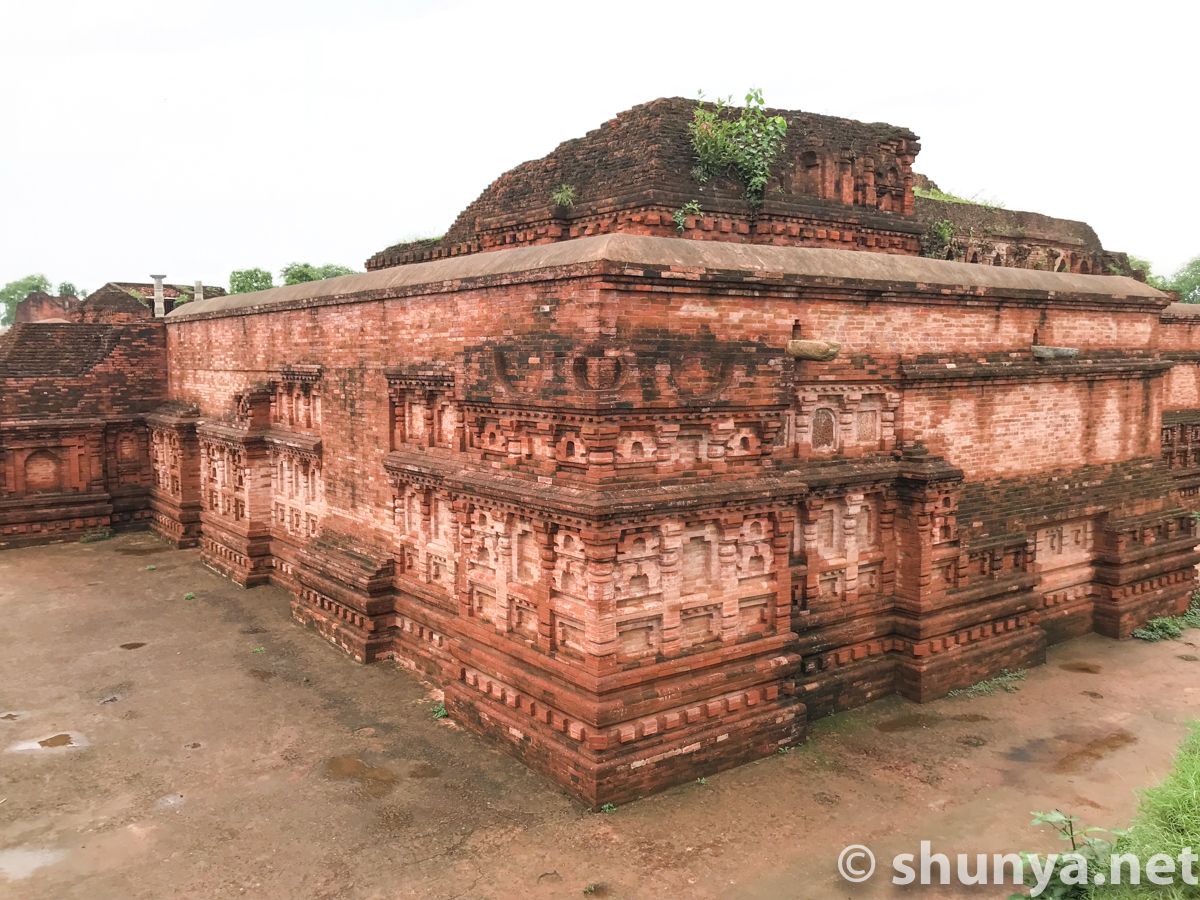
Temple 12
|
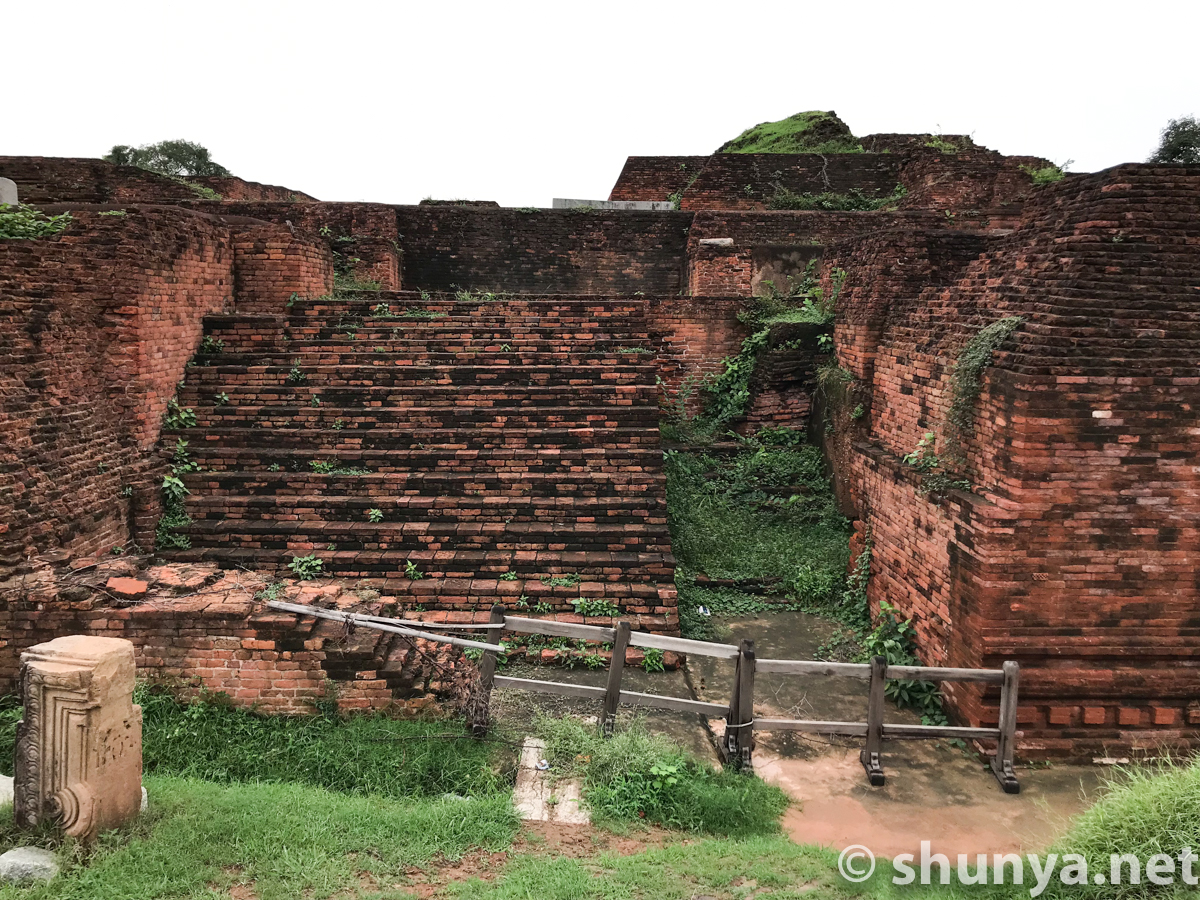
Stairs to upper level
|
Central structure
|
|
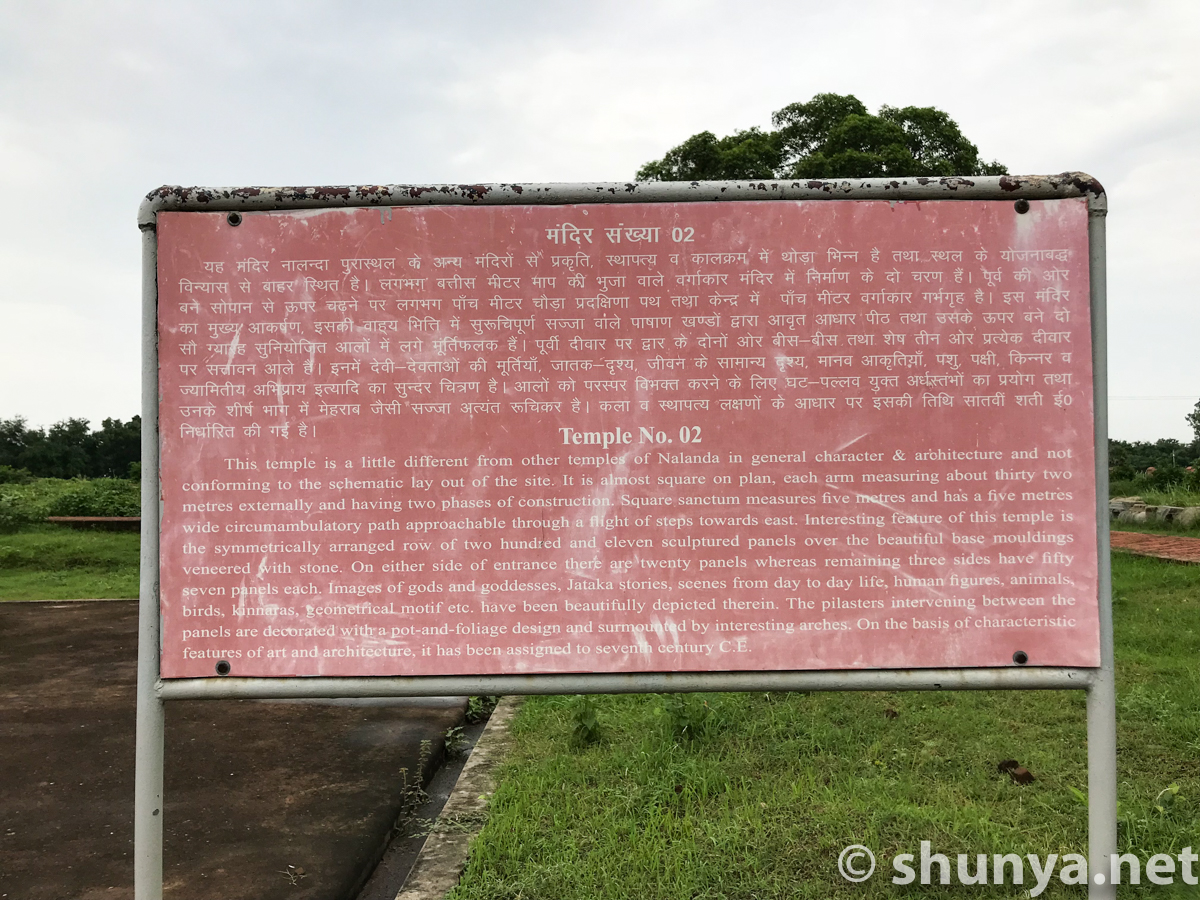
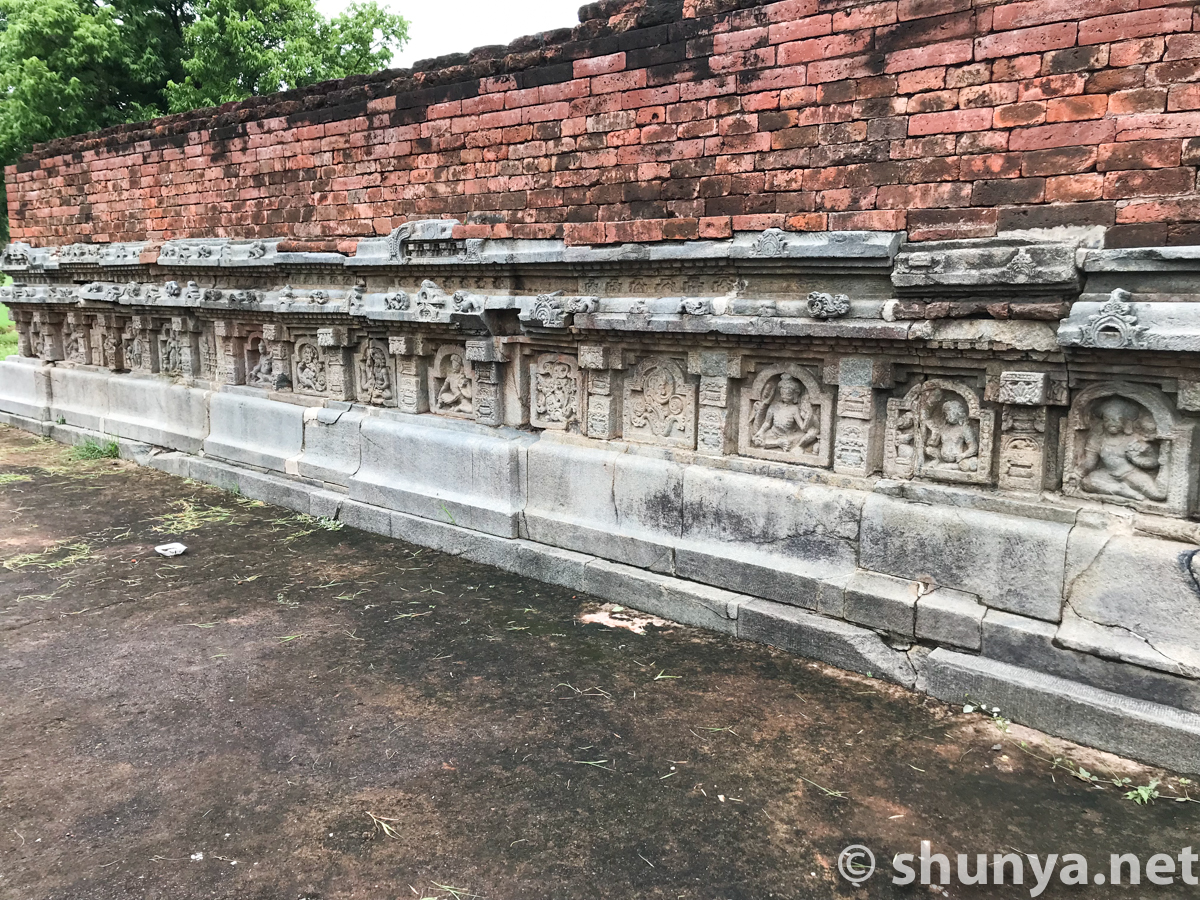
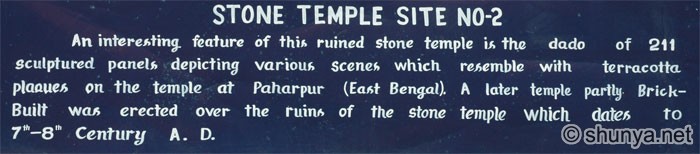
Temple 2
|
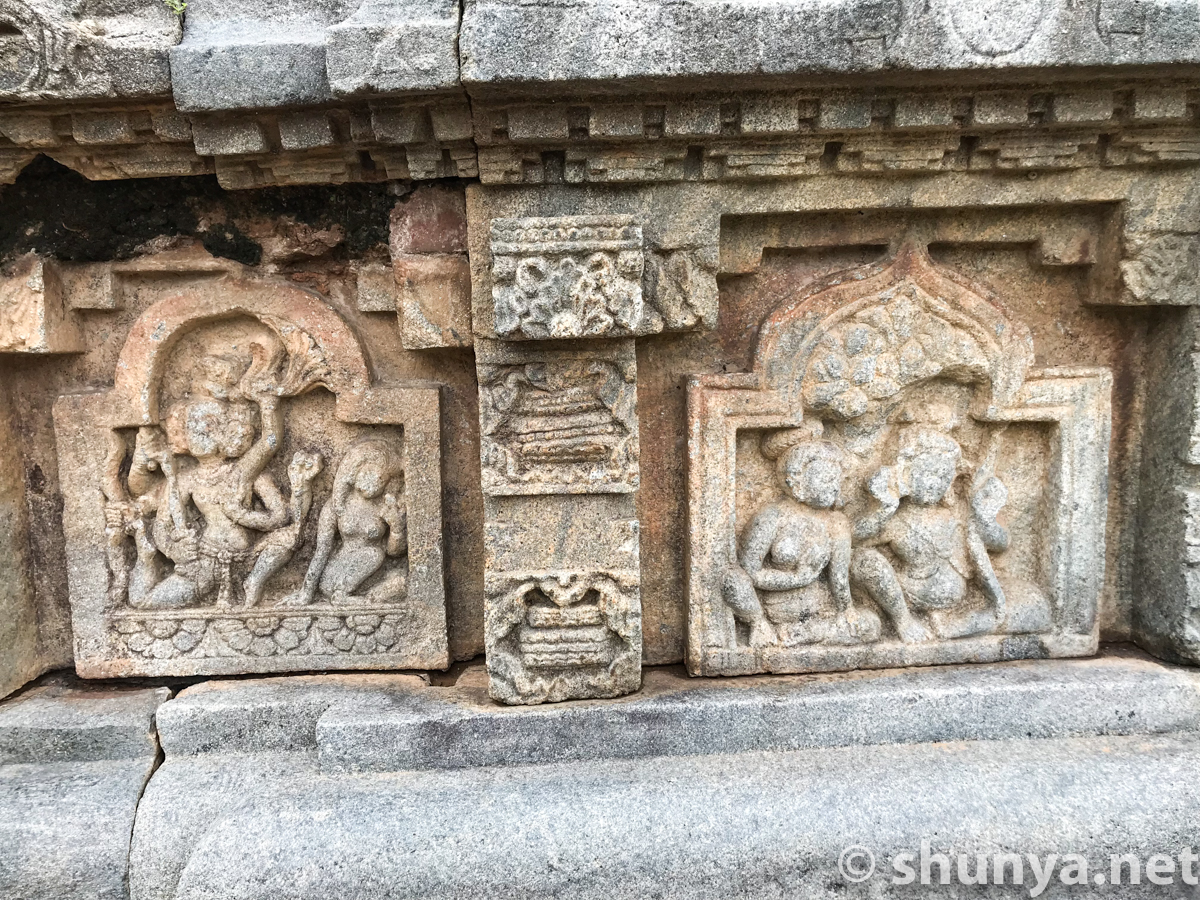
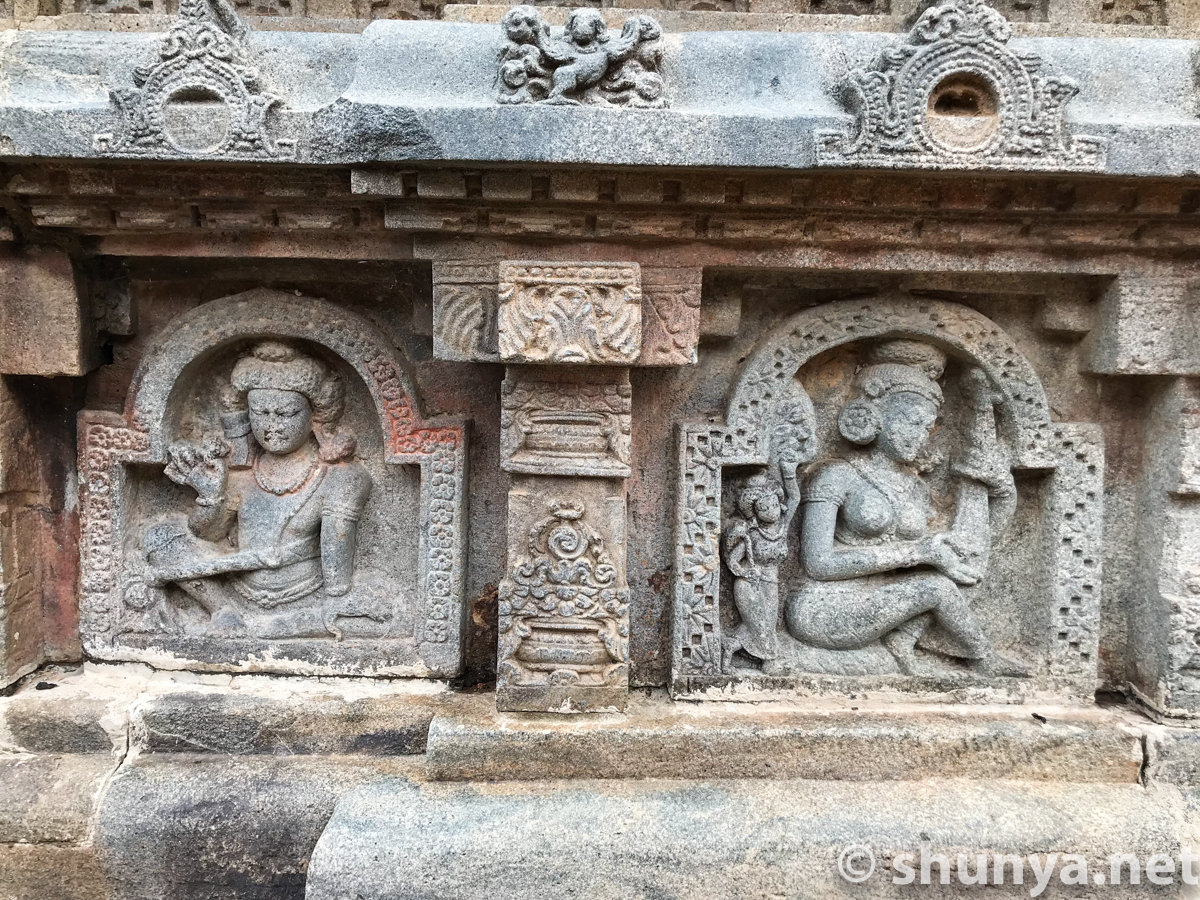
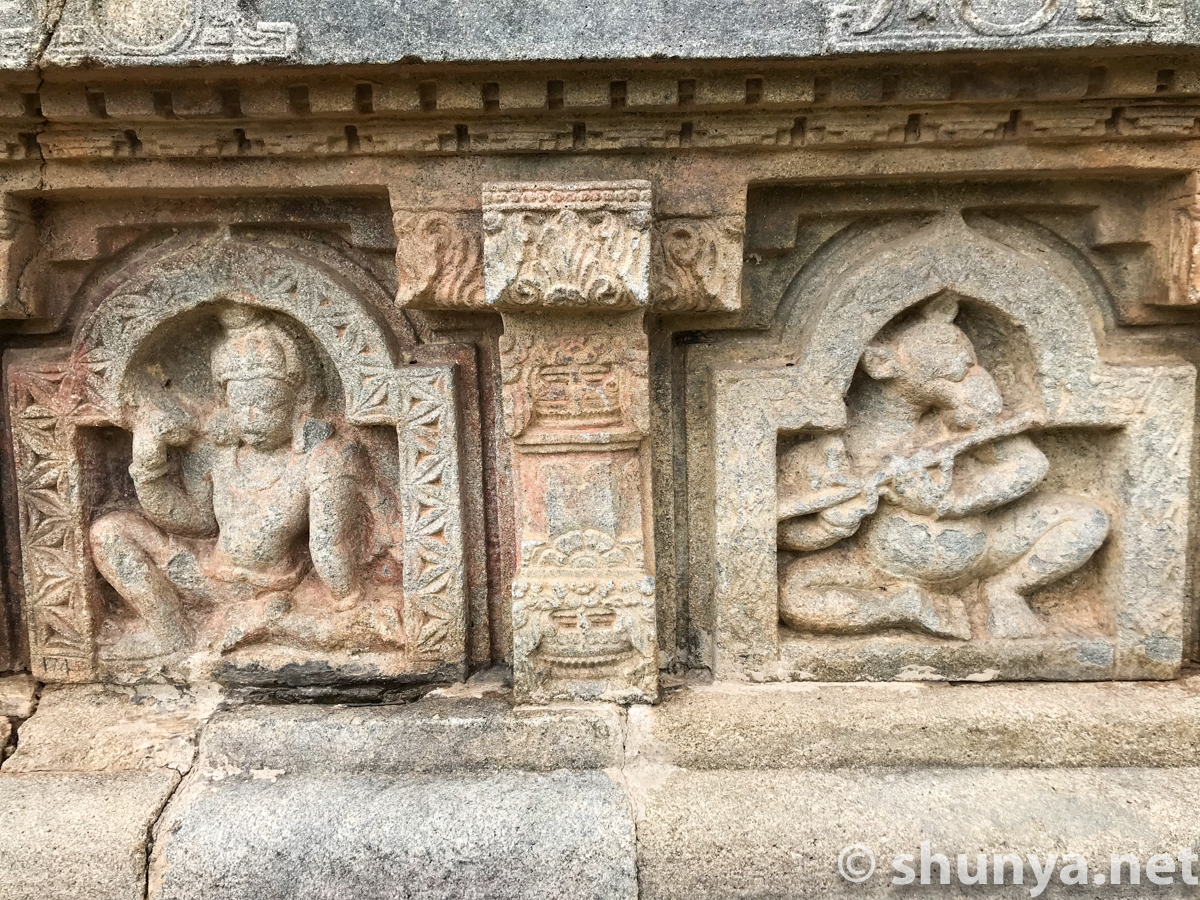
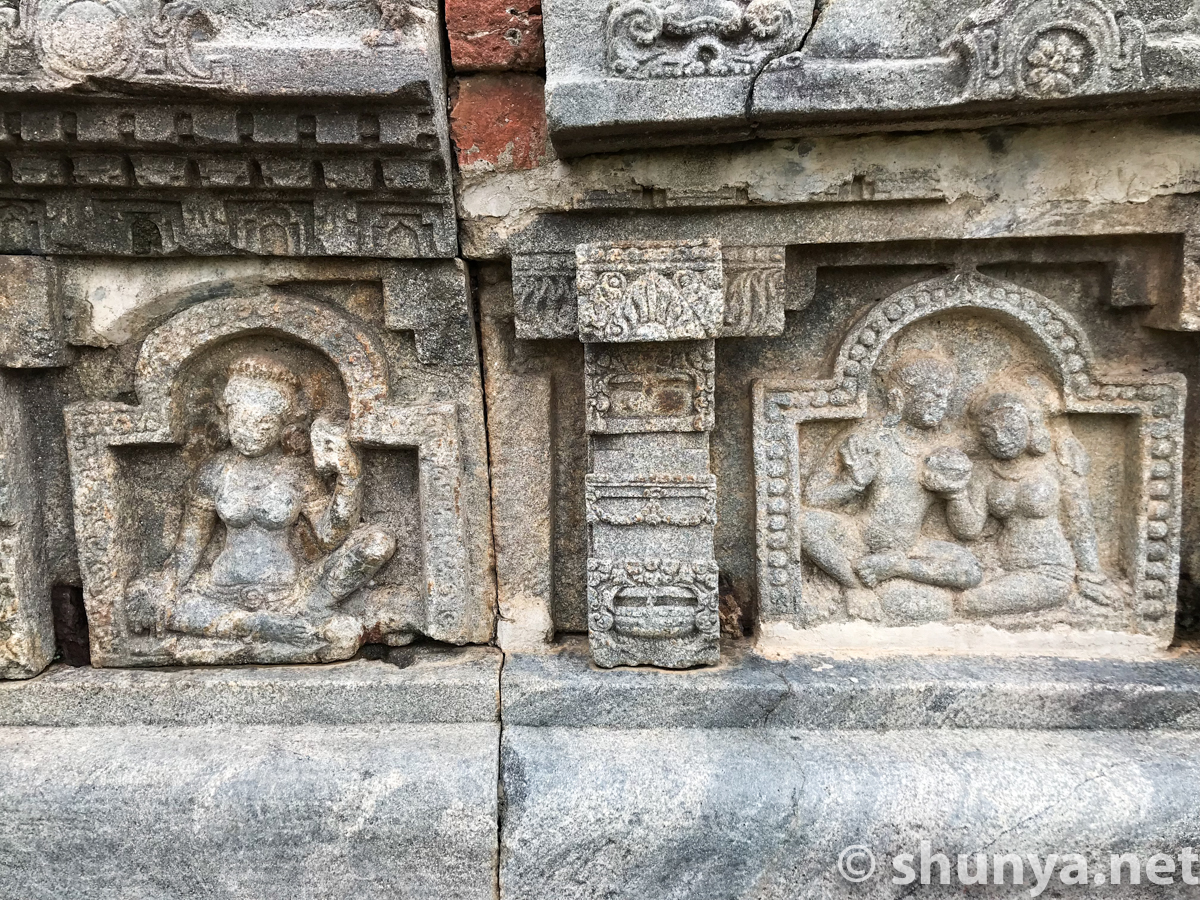
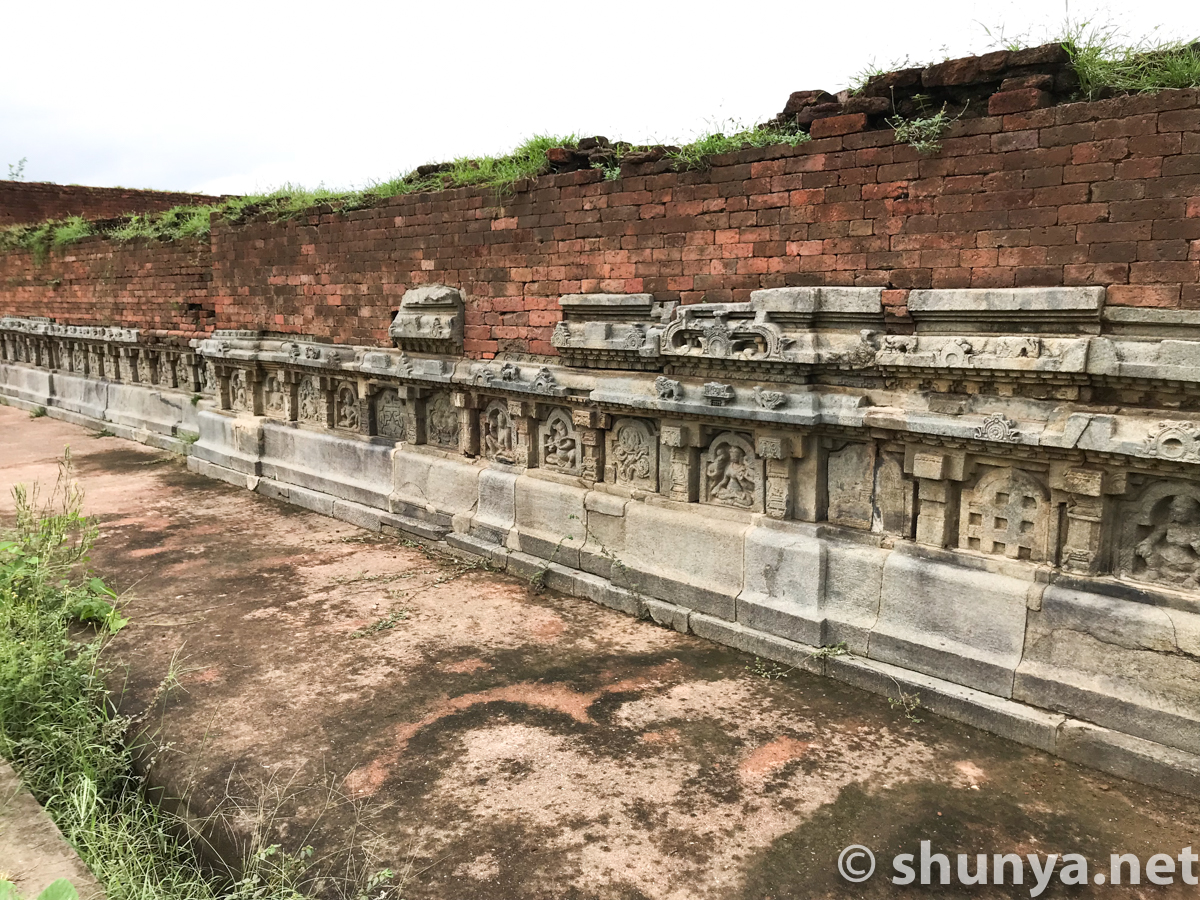
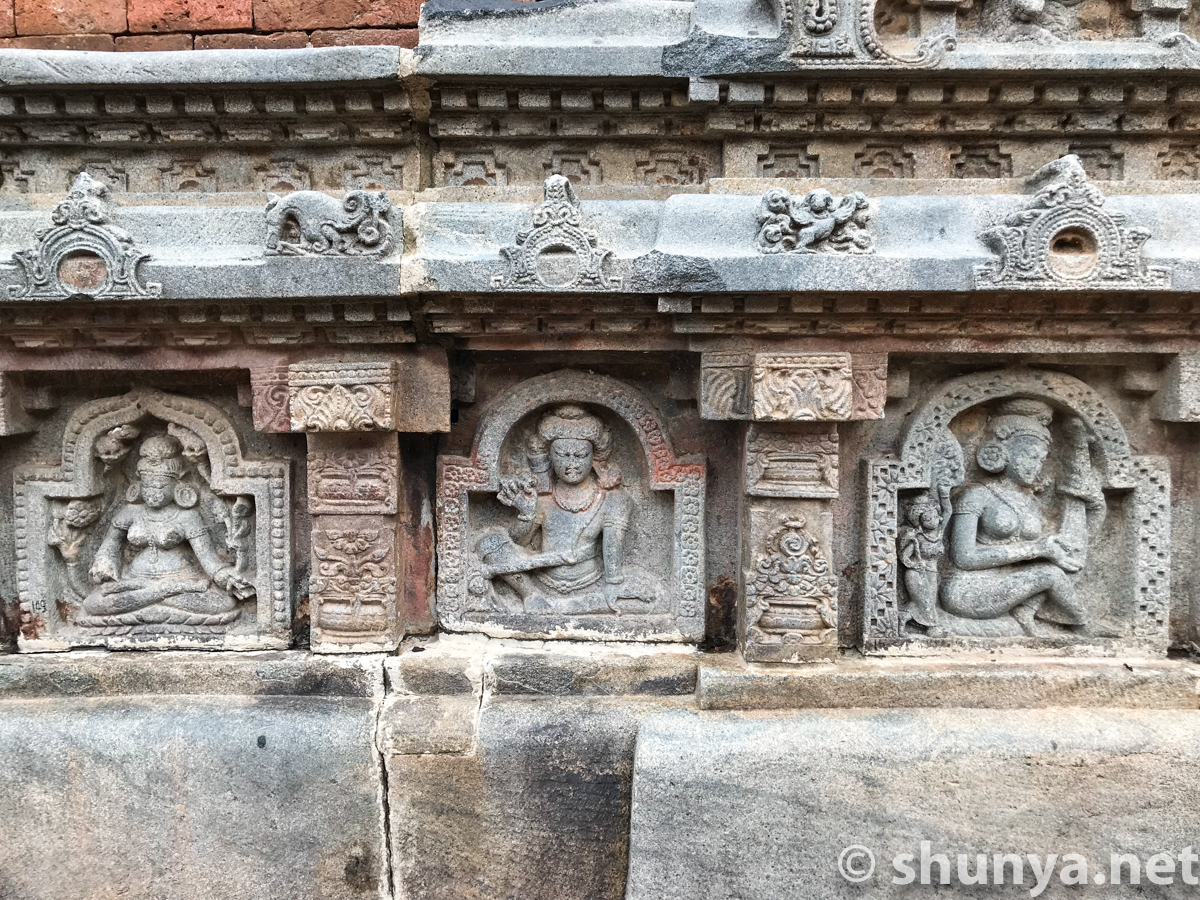
Sculptured panels (more)
|
Dates from 7th cent. CE
|
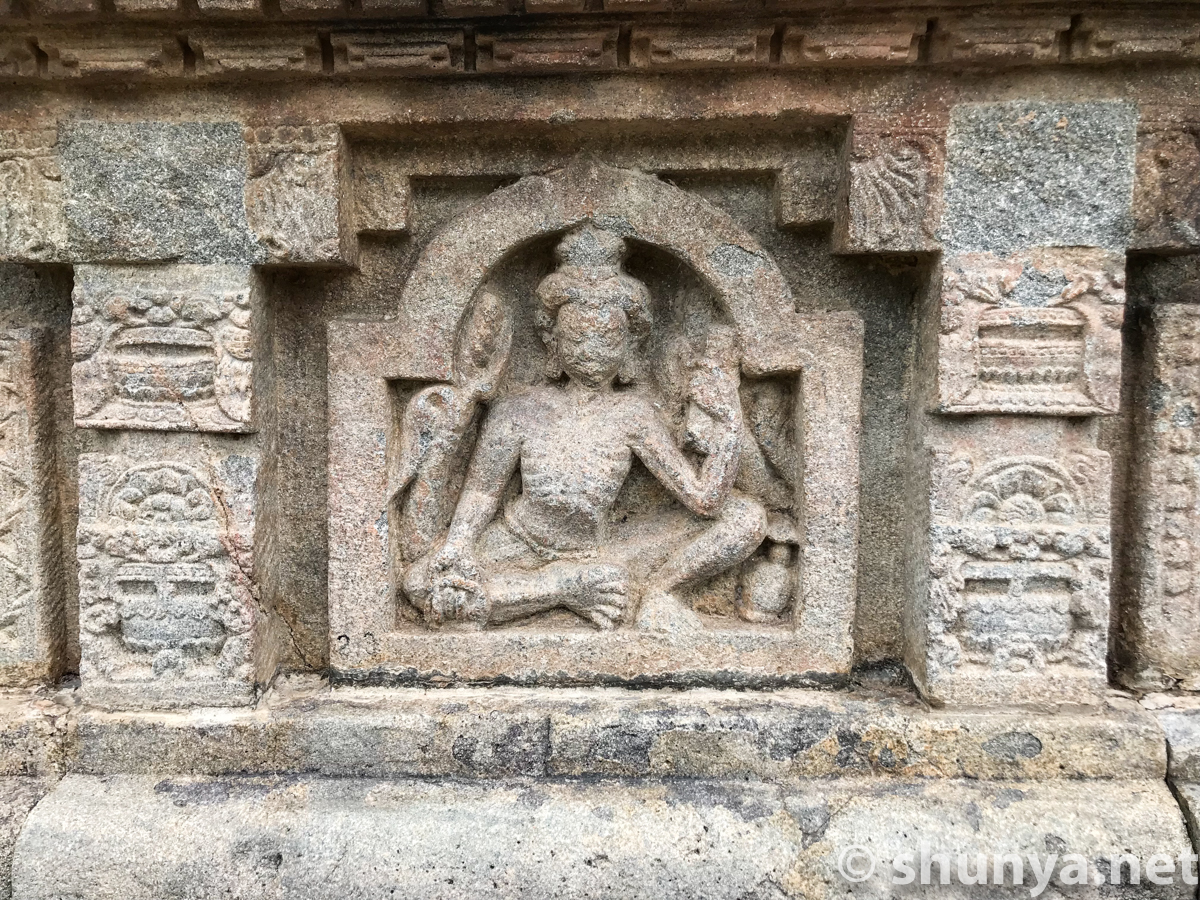
Depicting Buddhist stories
|
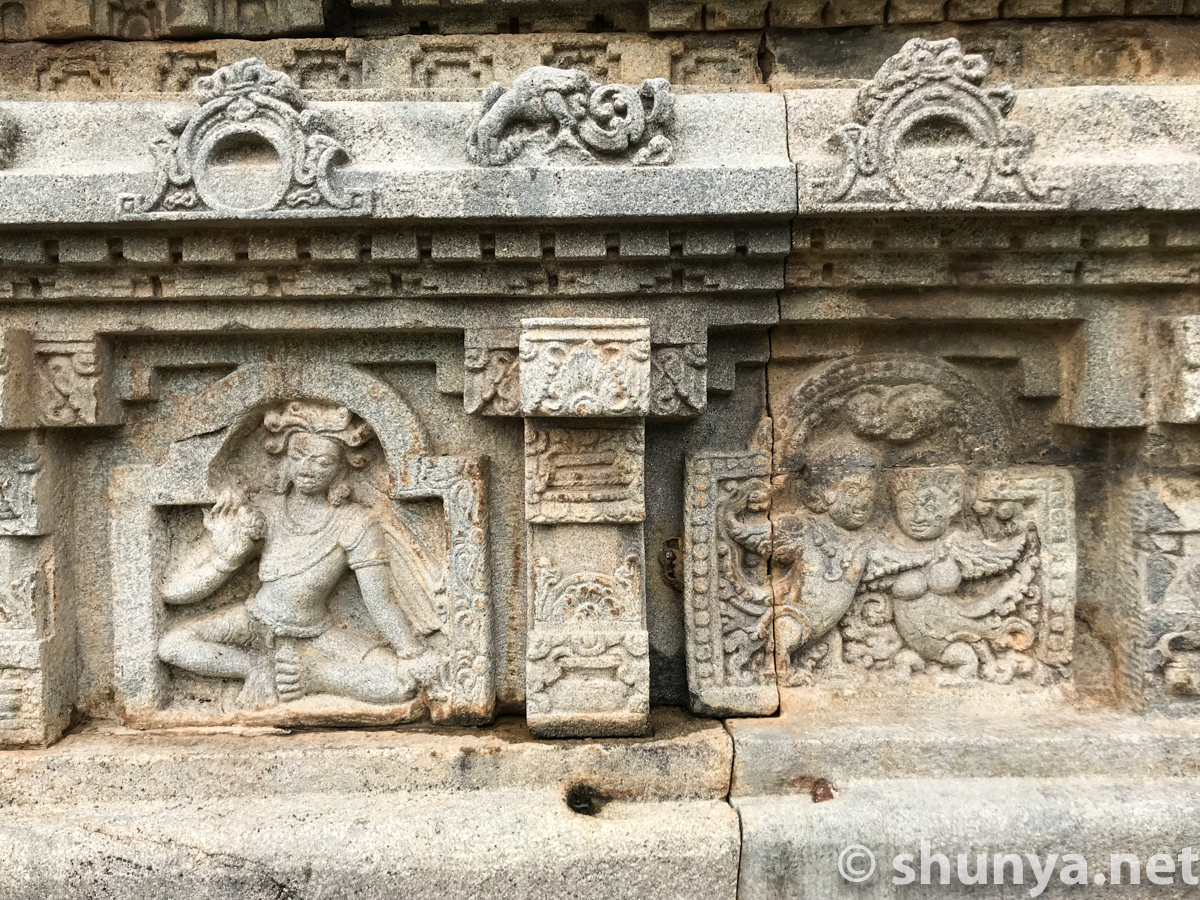
Amorous couple etc.
|
Musicians (more)
|
Musicians
|
Amorous couple etc.
|
|
All pictures in this shaded inset are from July 2006 |
|||
Approaching the ruins ▒ 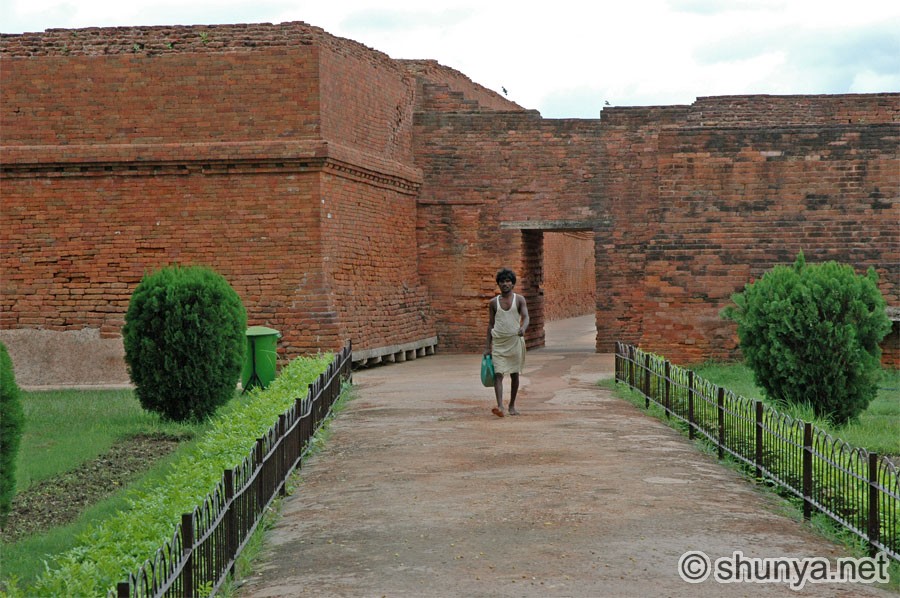 |
Monastery 4 ▒  |
View from the upper floor 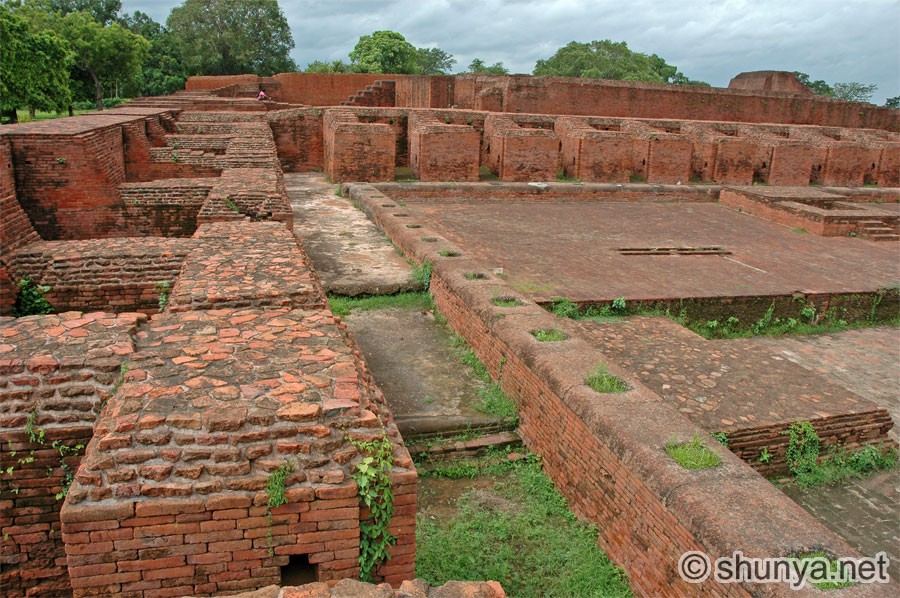 |
Steps & passages (more) 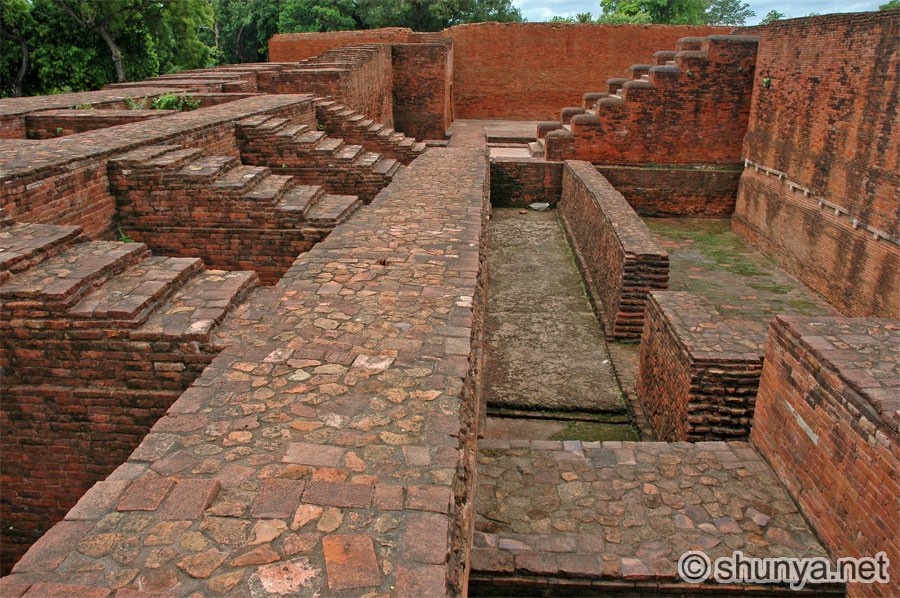 |
Well inside monastery 4 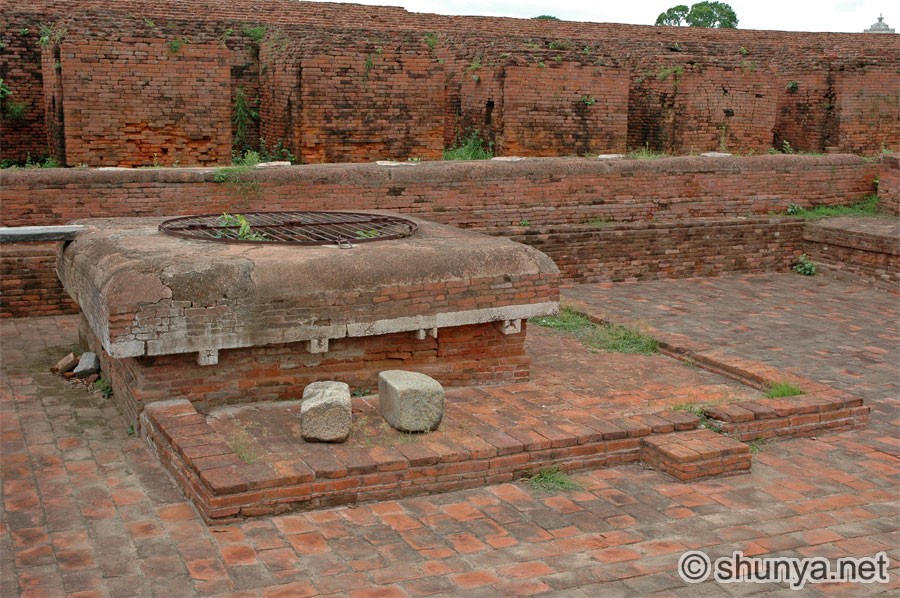 |
Monks' rooms 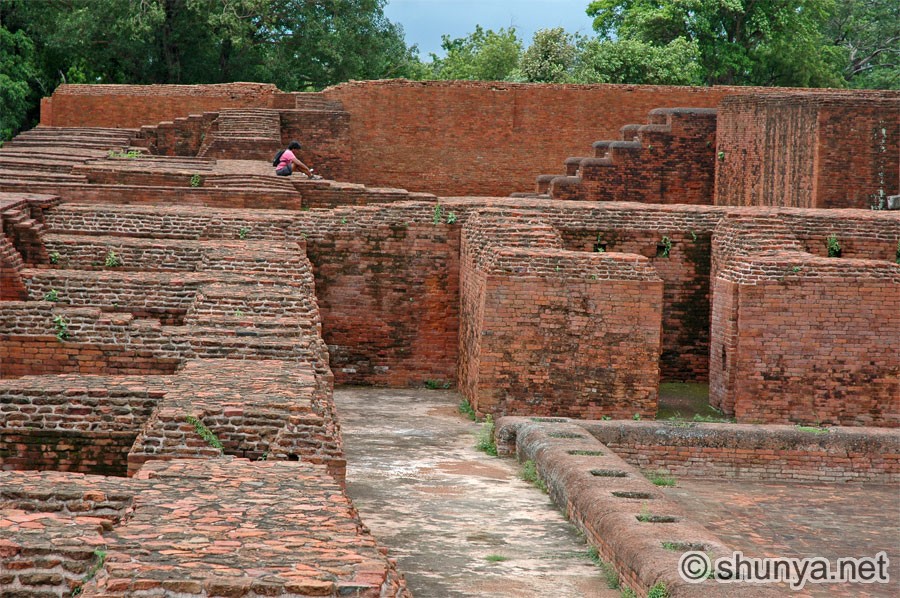 |
Monastery 4 entrance (more)  |
Shrine across Monastery 4 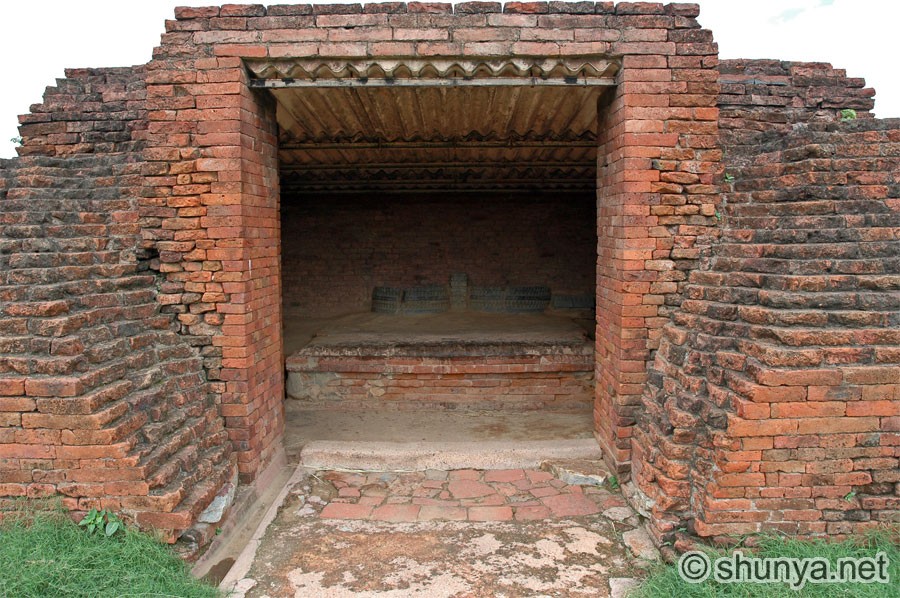 |
A monk's room 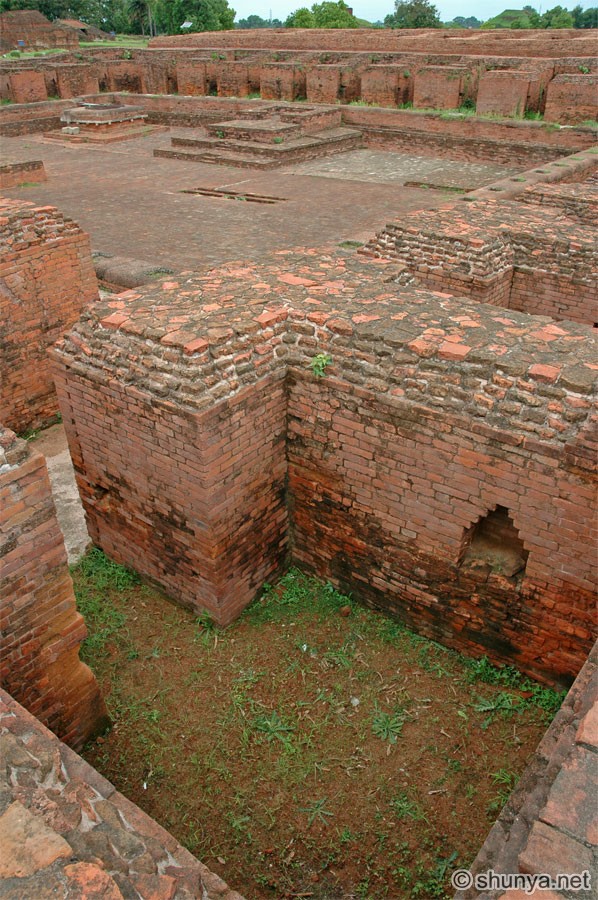 |
Passageway (more) 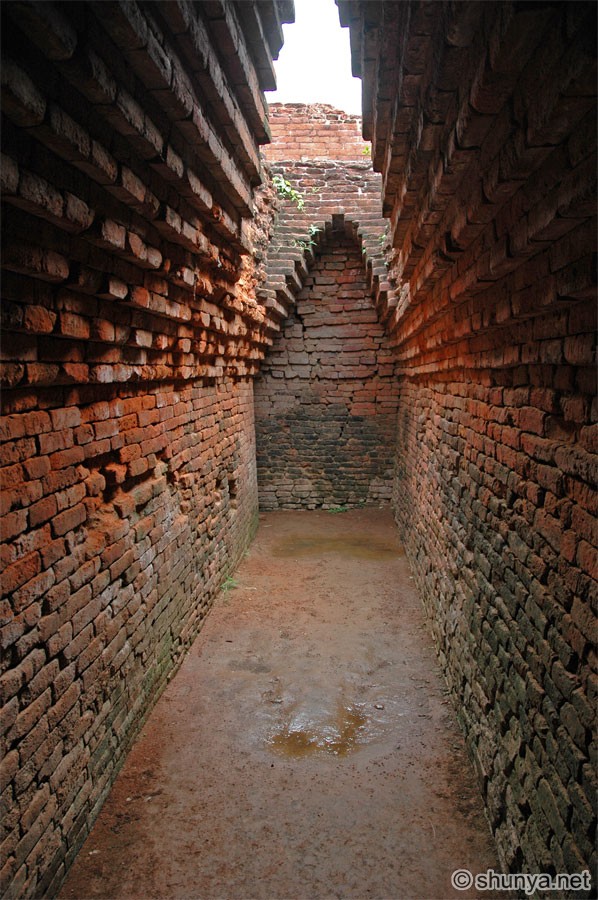 |
Wood fired ovens 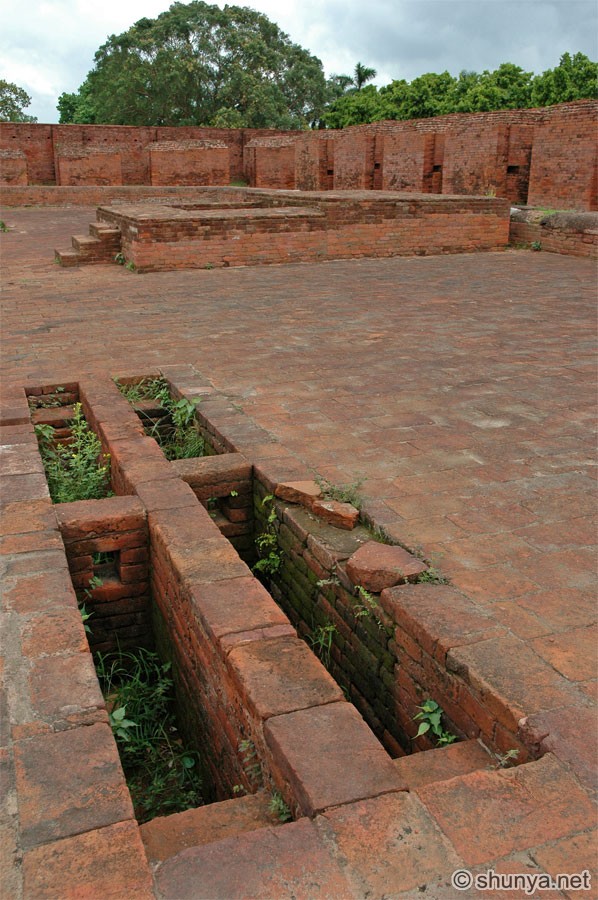 |
Bathroom with drains 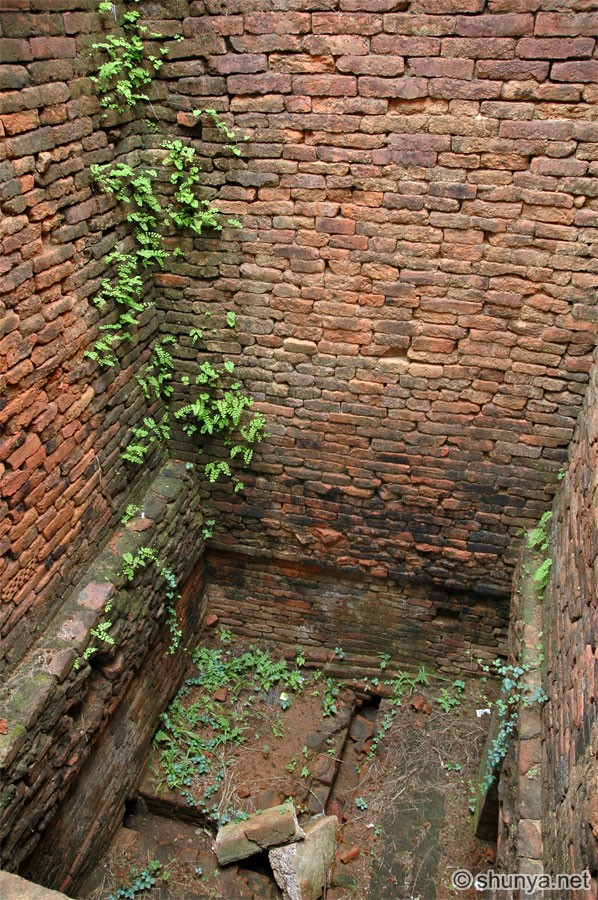 |
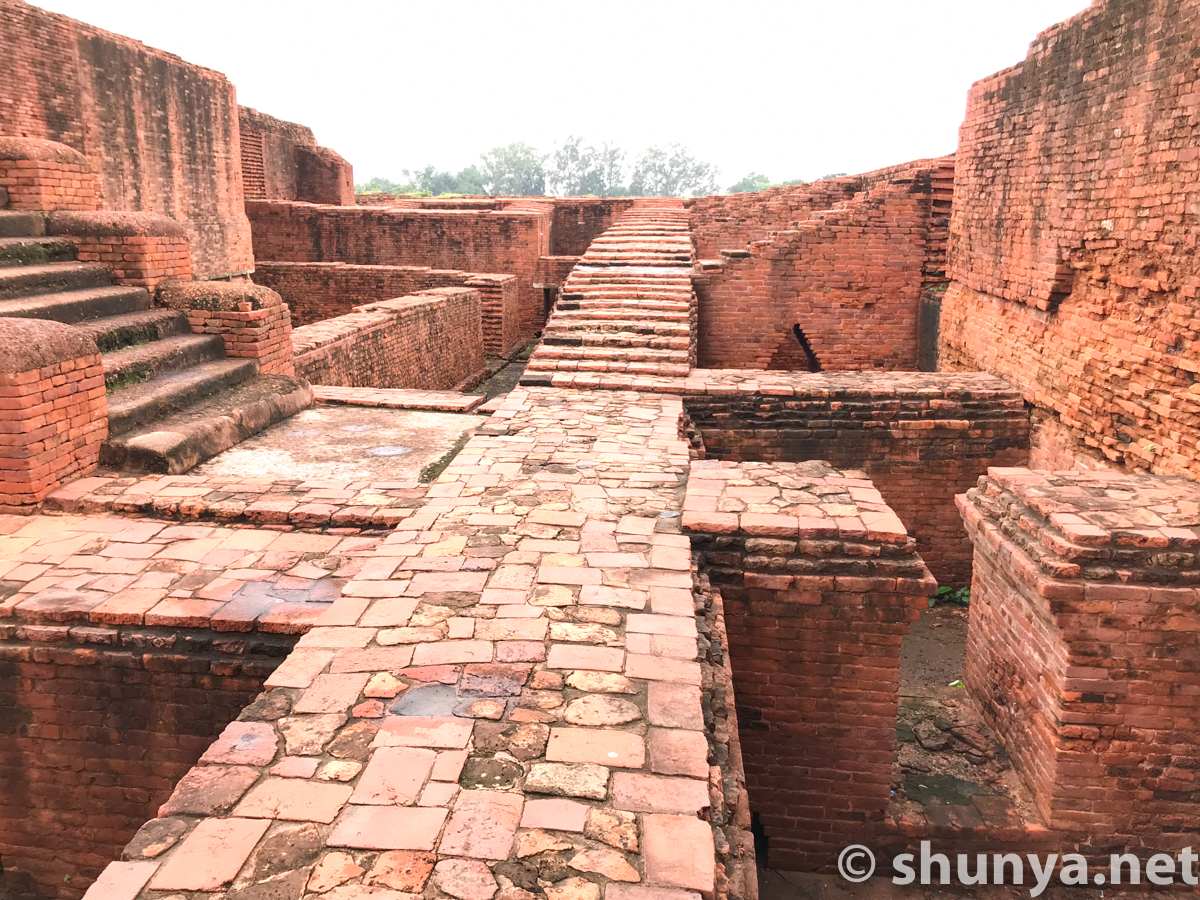
Catwalk
between 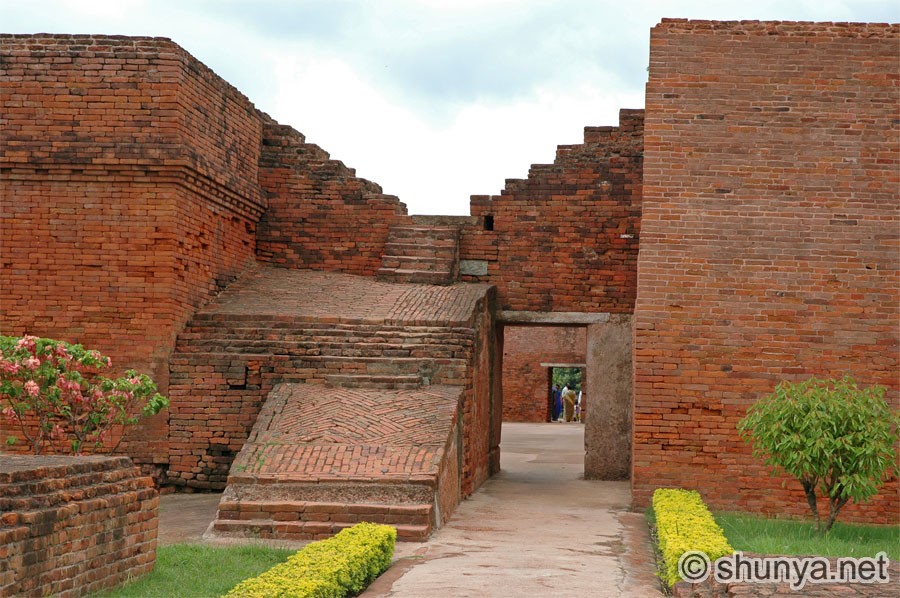 |
View of Temple
#3 from 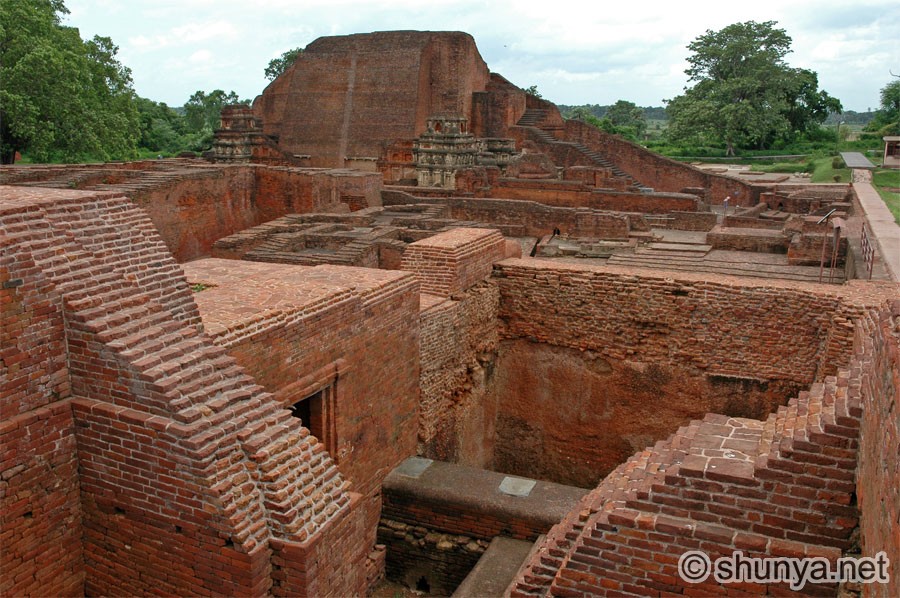 |
One monk per
room, 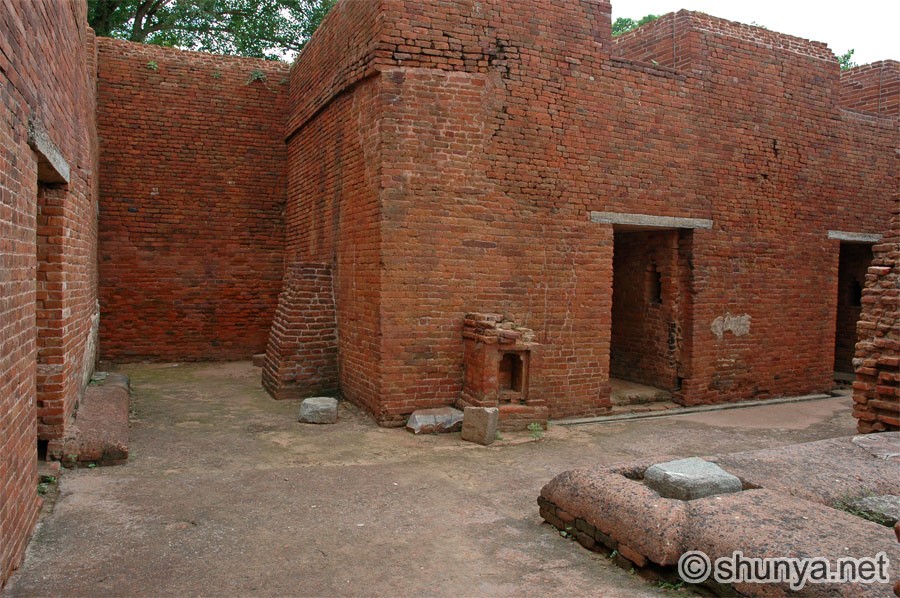 |
Monastery 1
courtyard 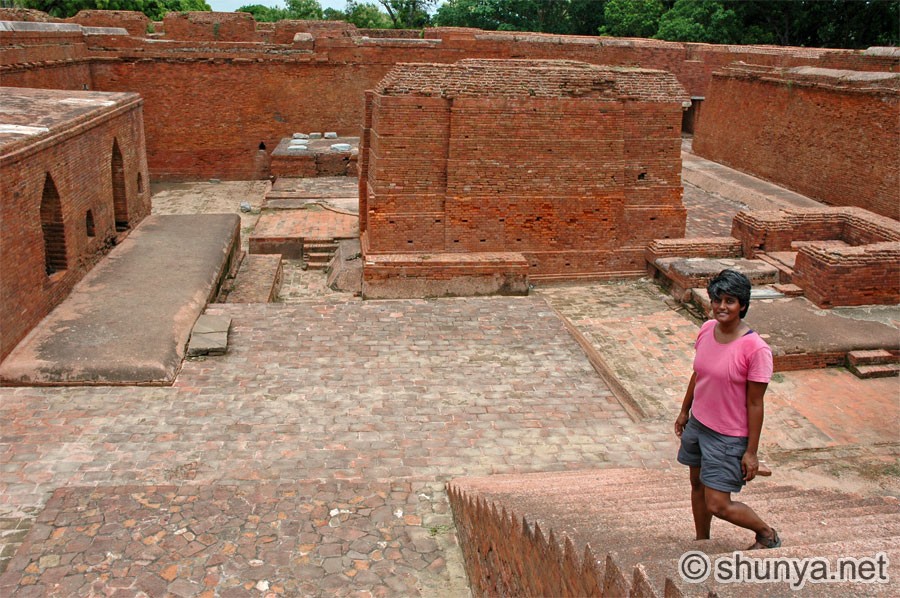 |
 |
Temple 12 steps etc. 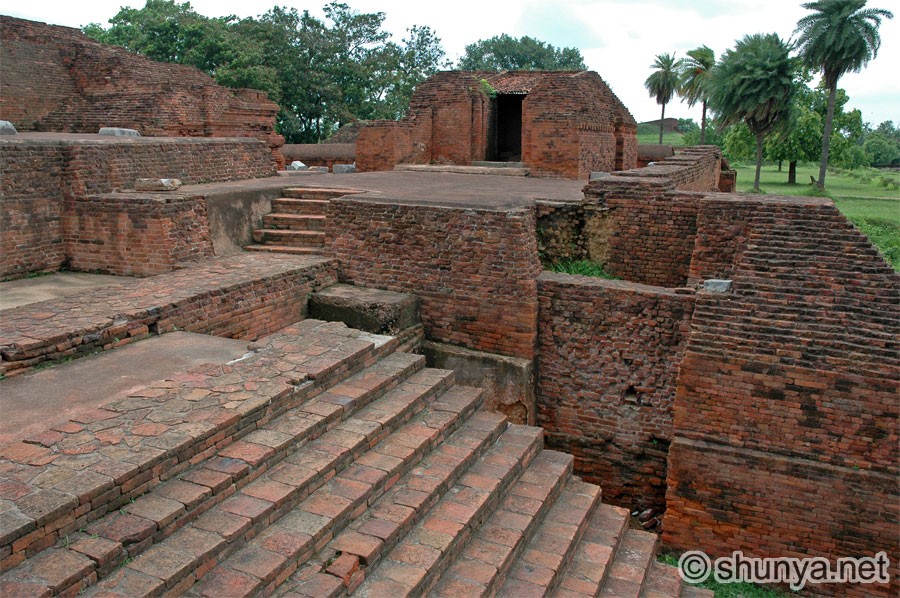 |
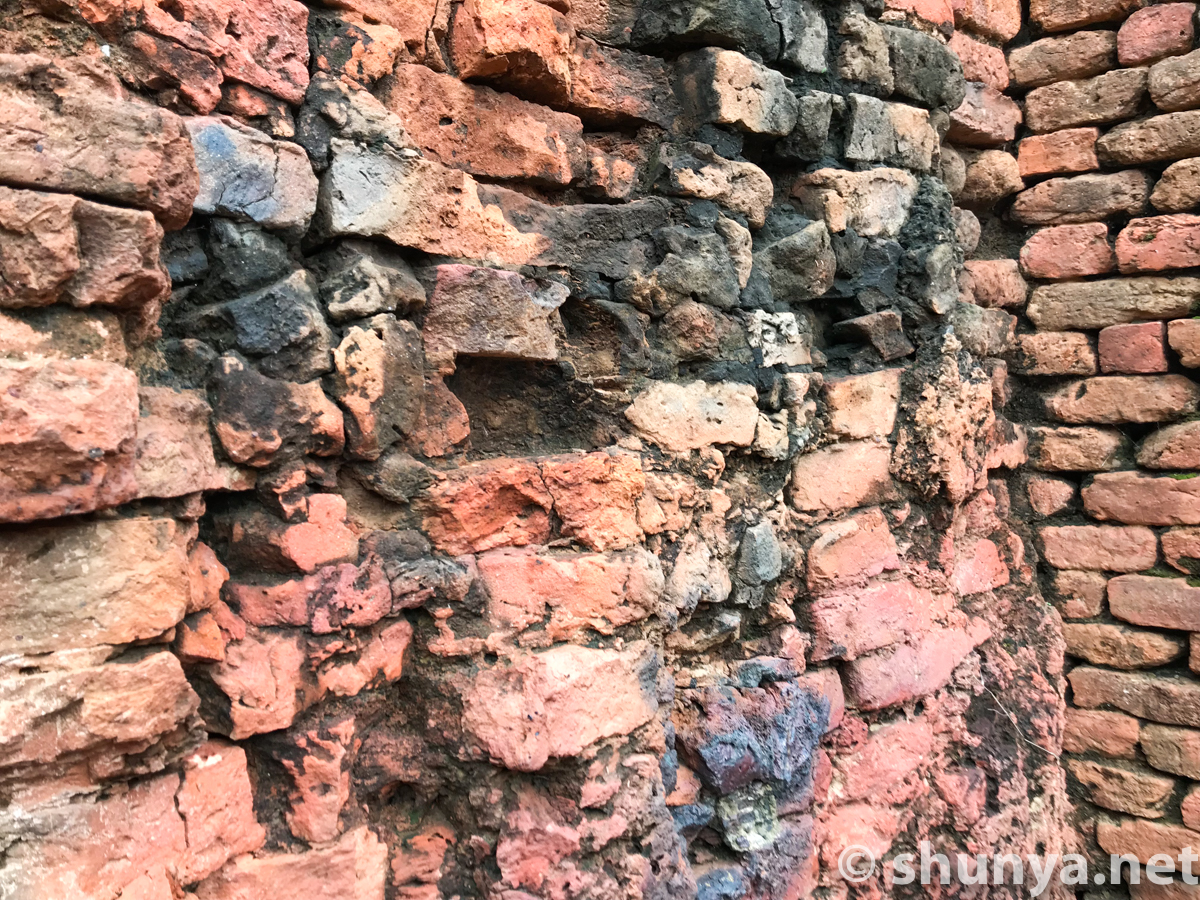
Brickwork sample 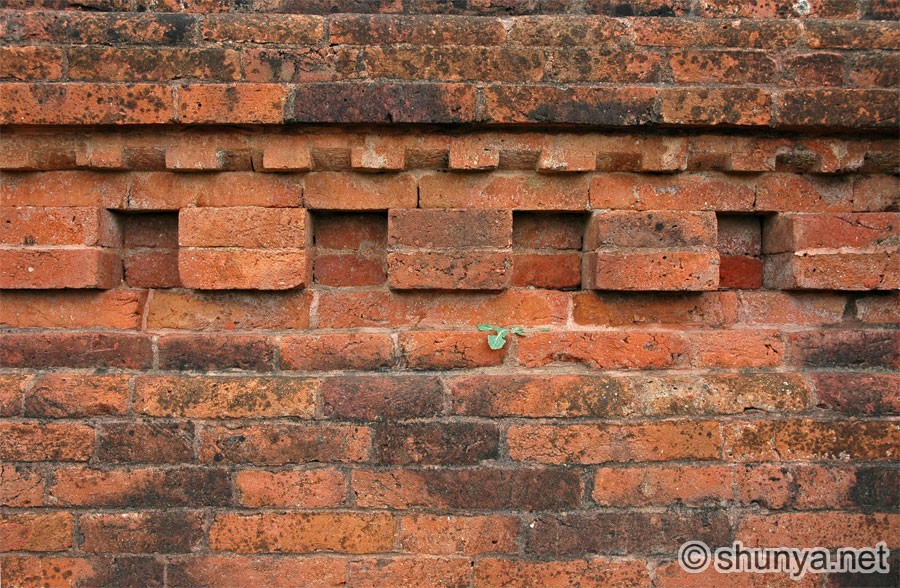 |
View from temple 12 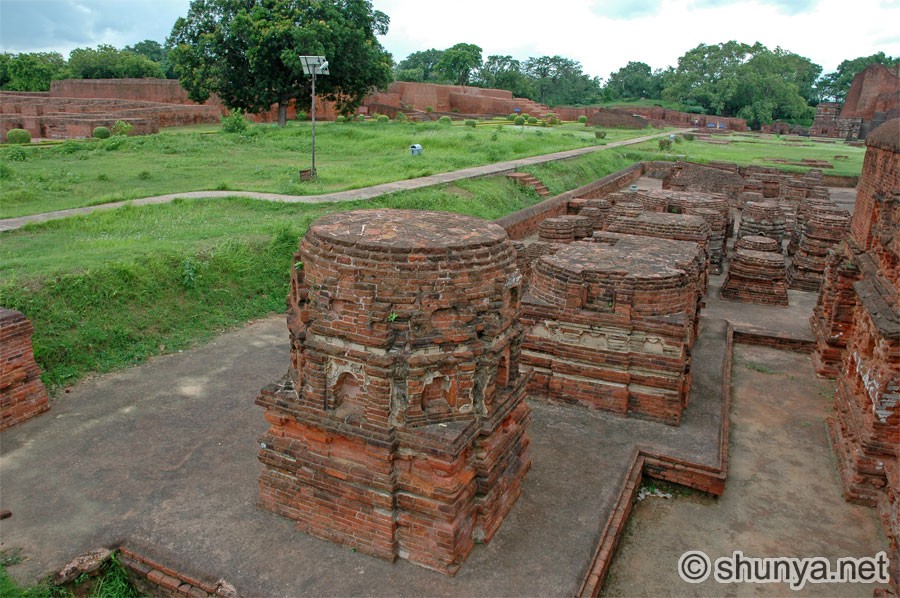 |
 |
Monastery 9 ▒ 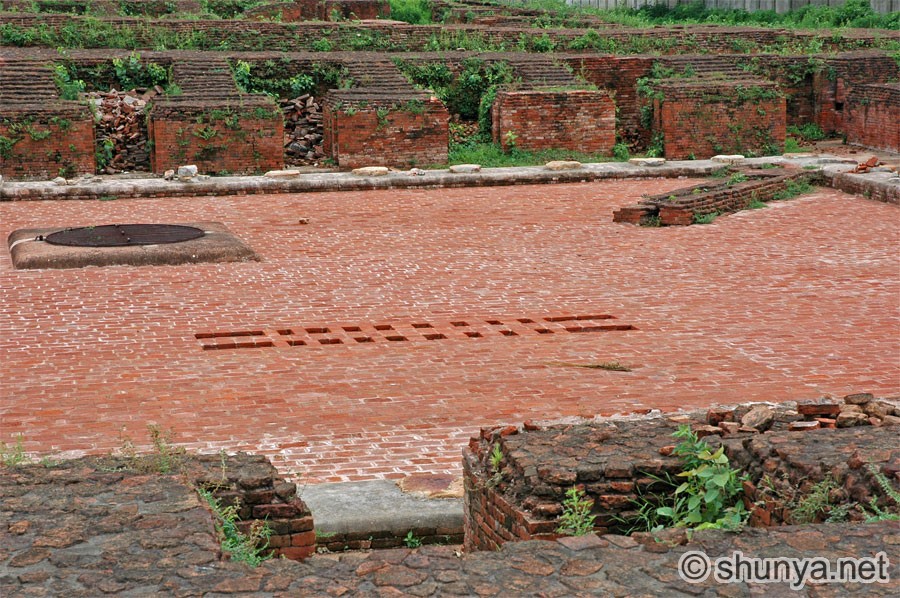 |
Octagonal well 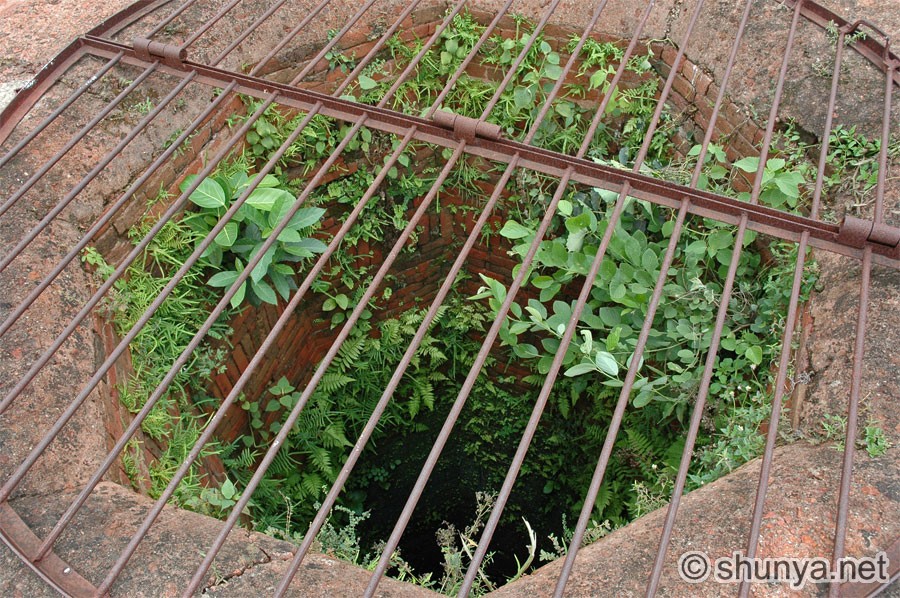 |
Podium in Monastery 9 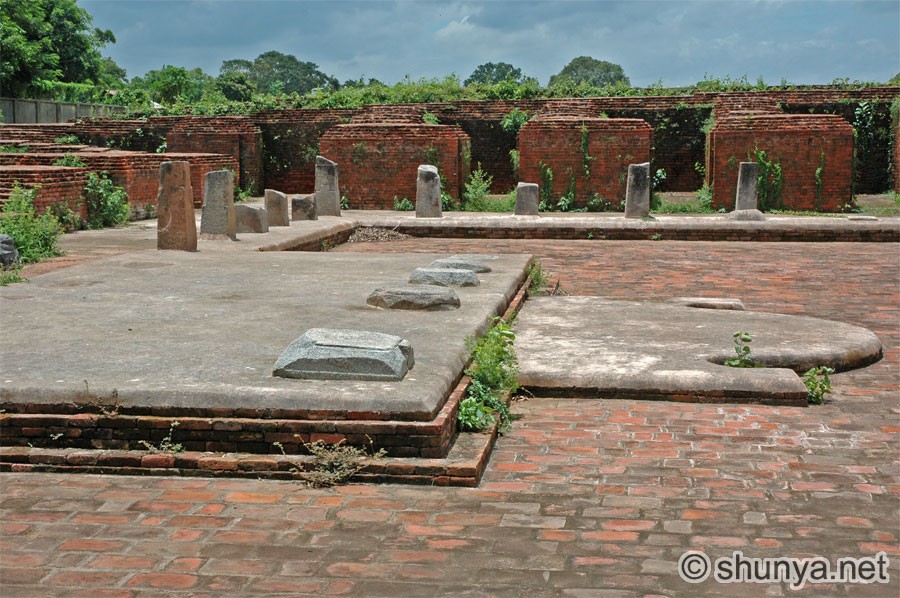 |
|
Former monks' quarters 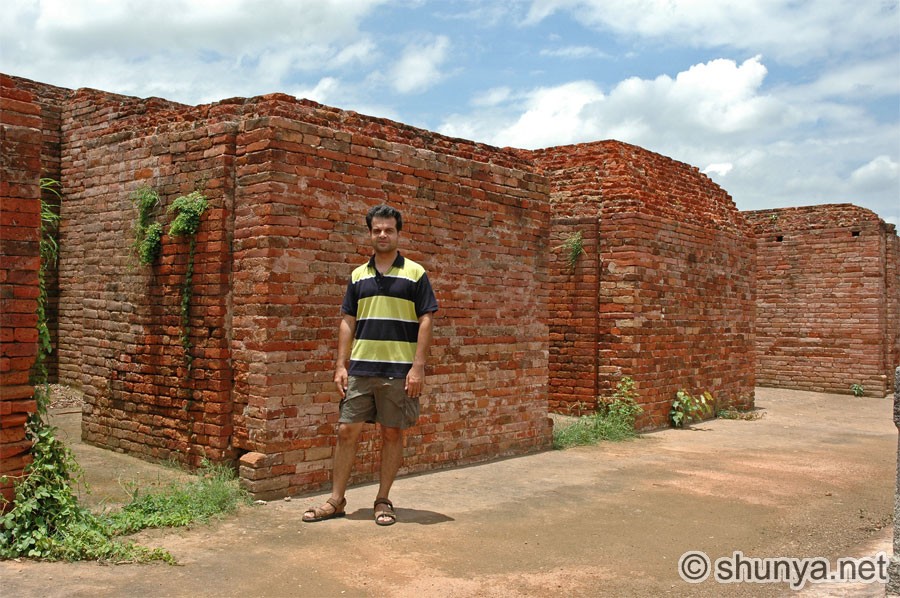 |
 |
Area near Monastery 4 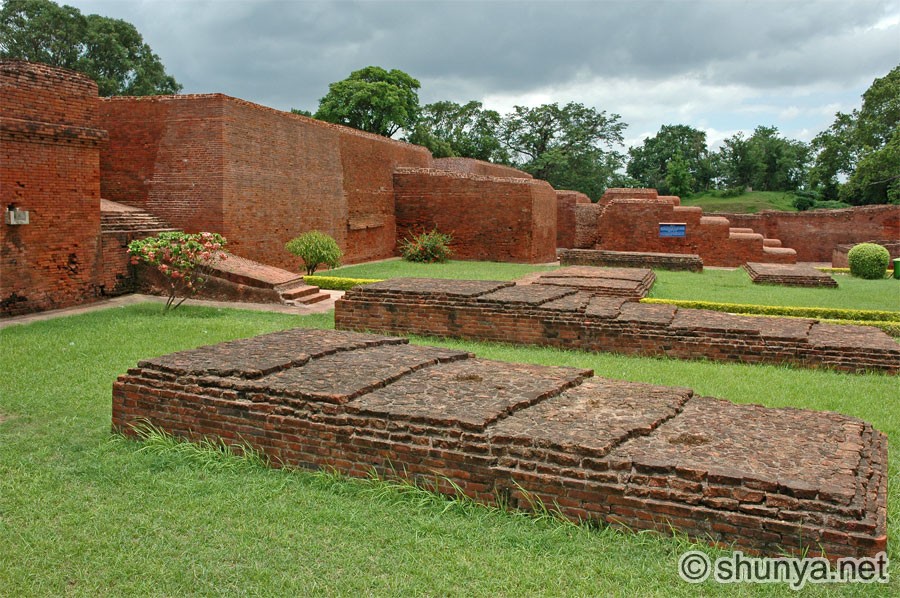 |
Temple 13 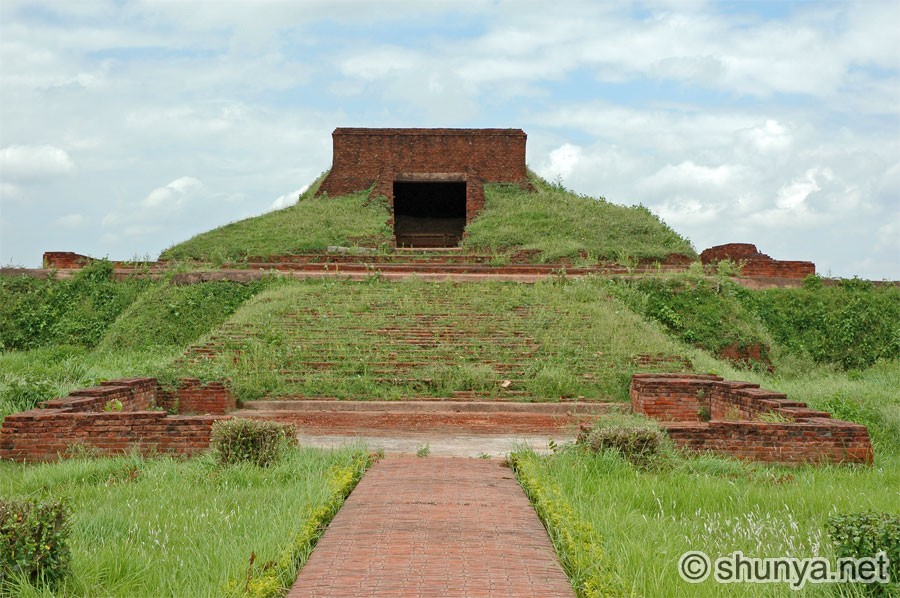 |
|
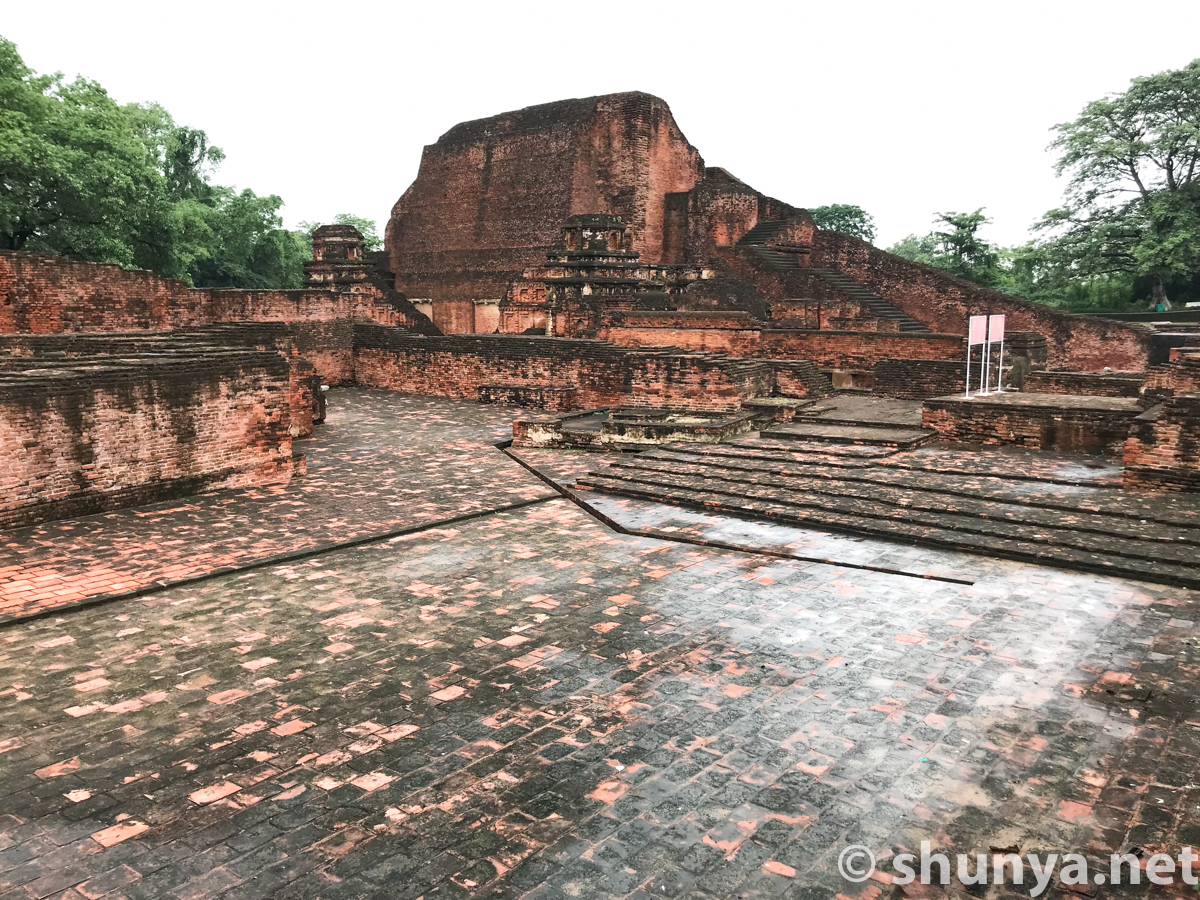
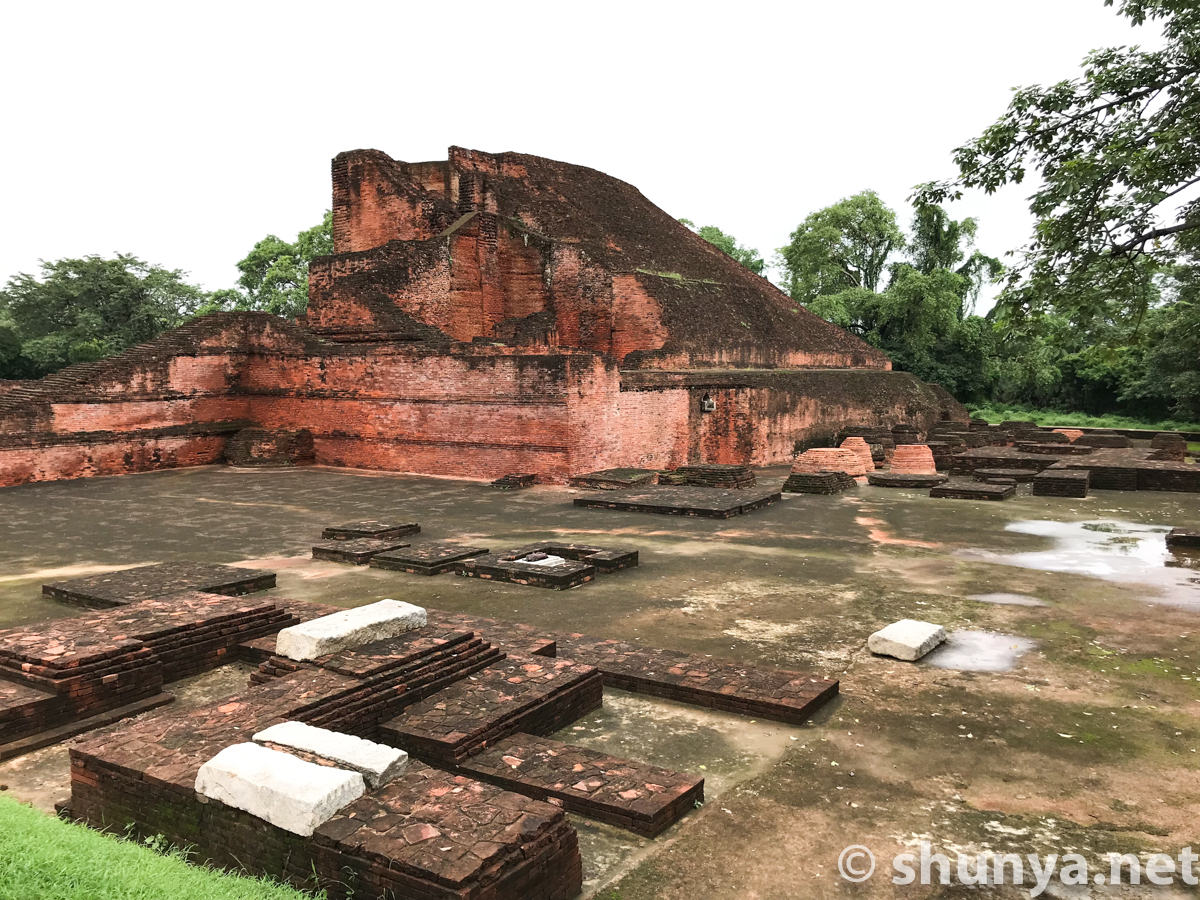
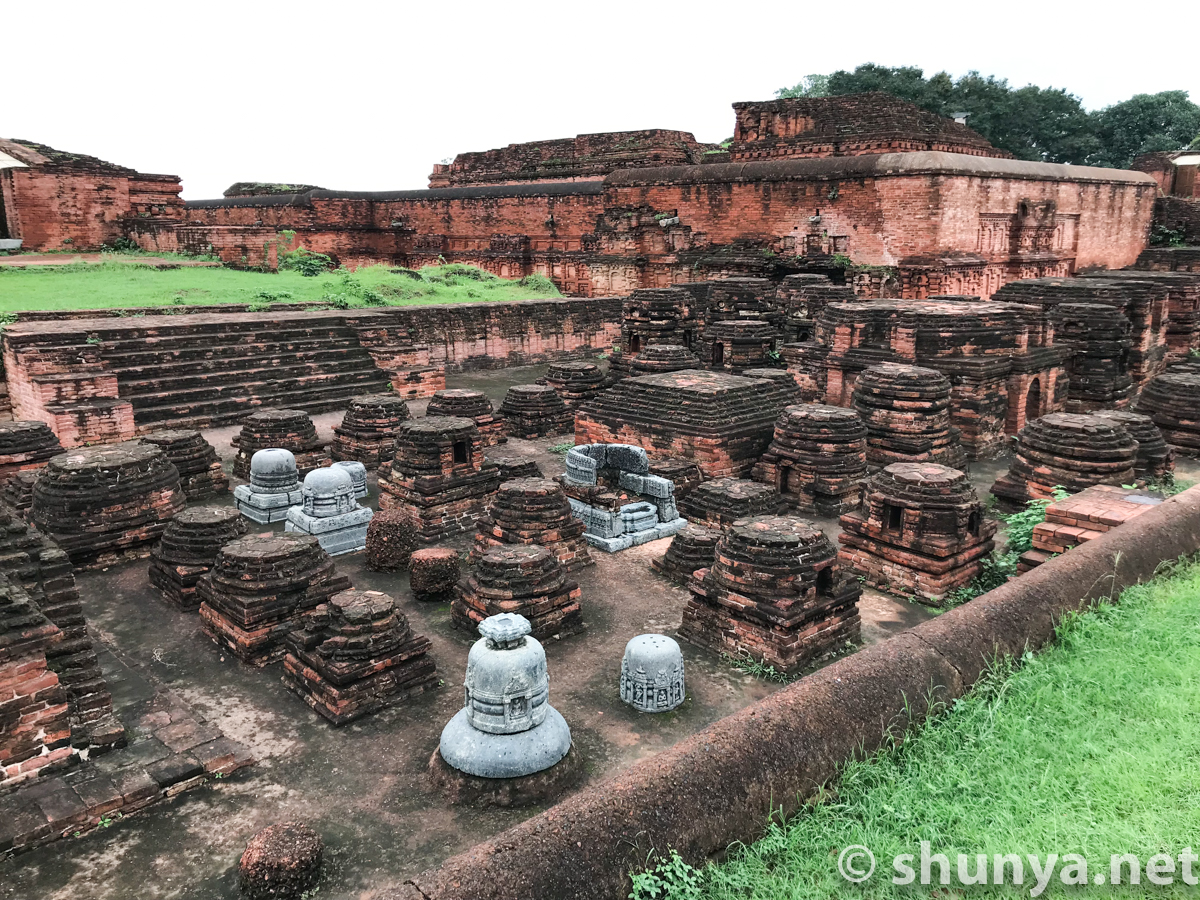
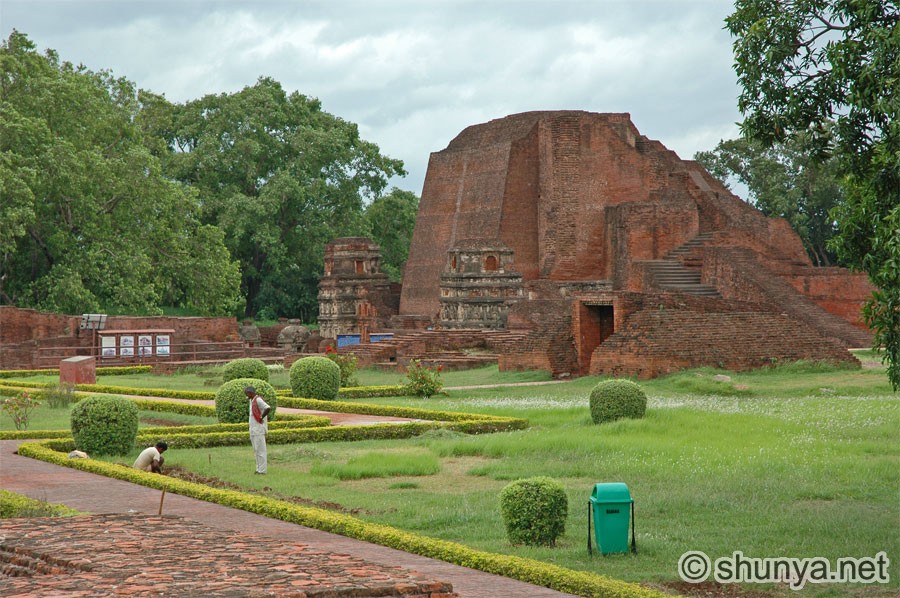
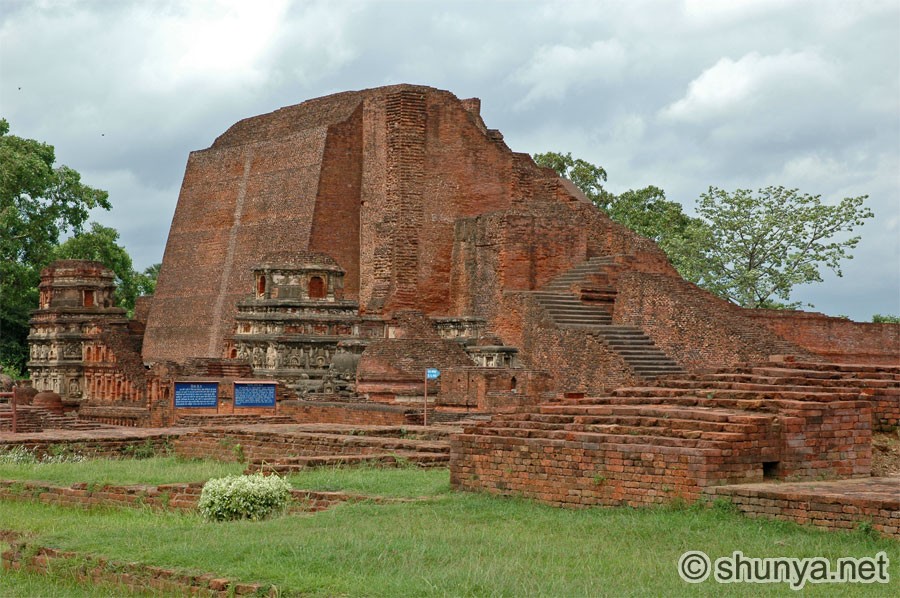
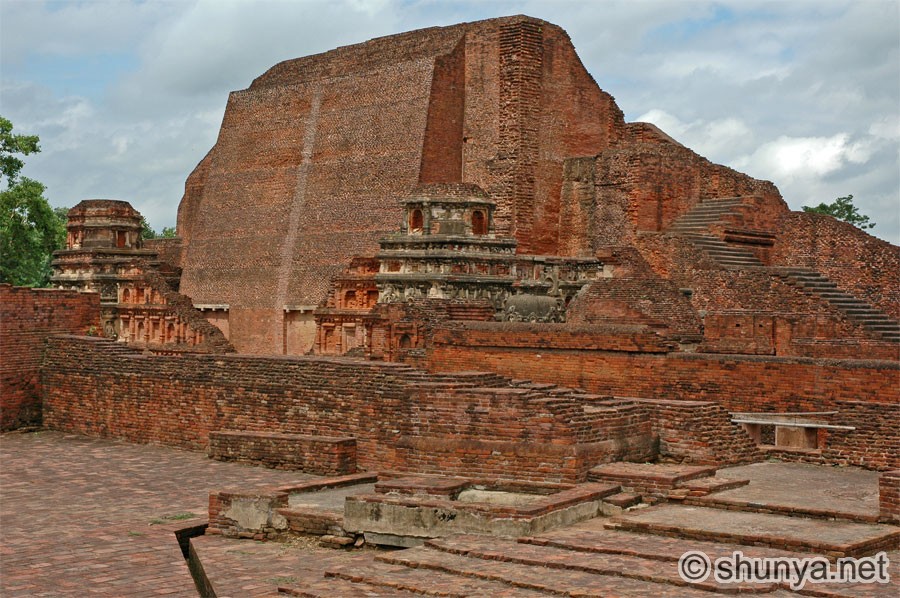
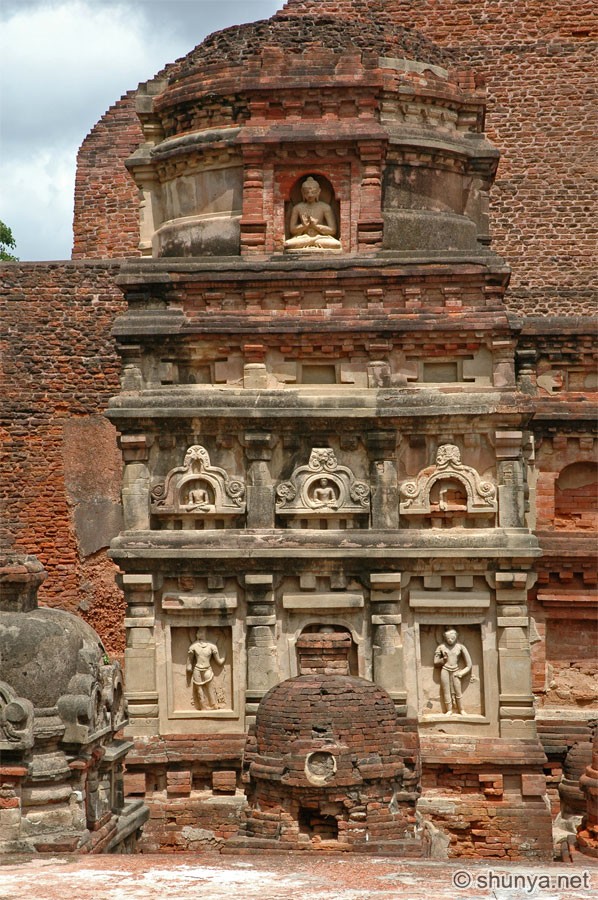
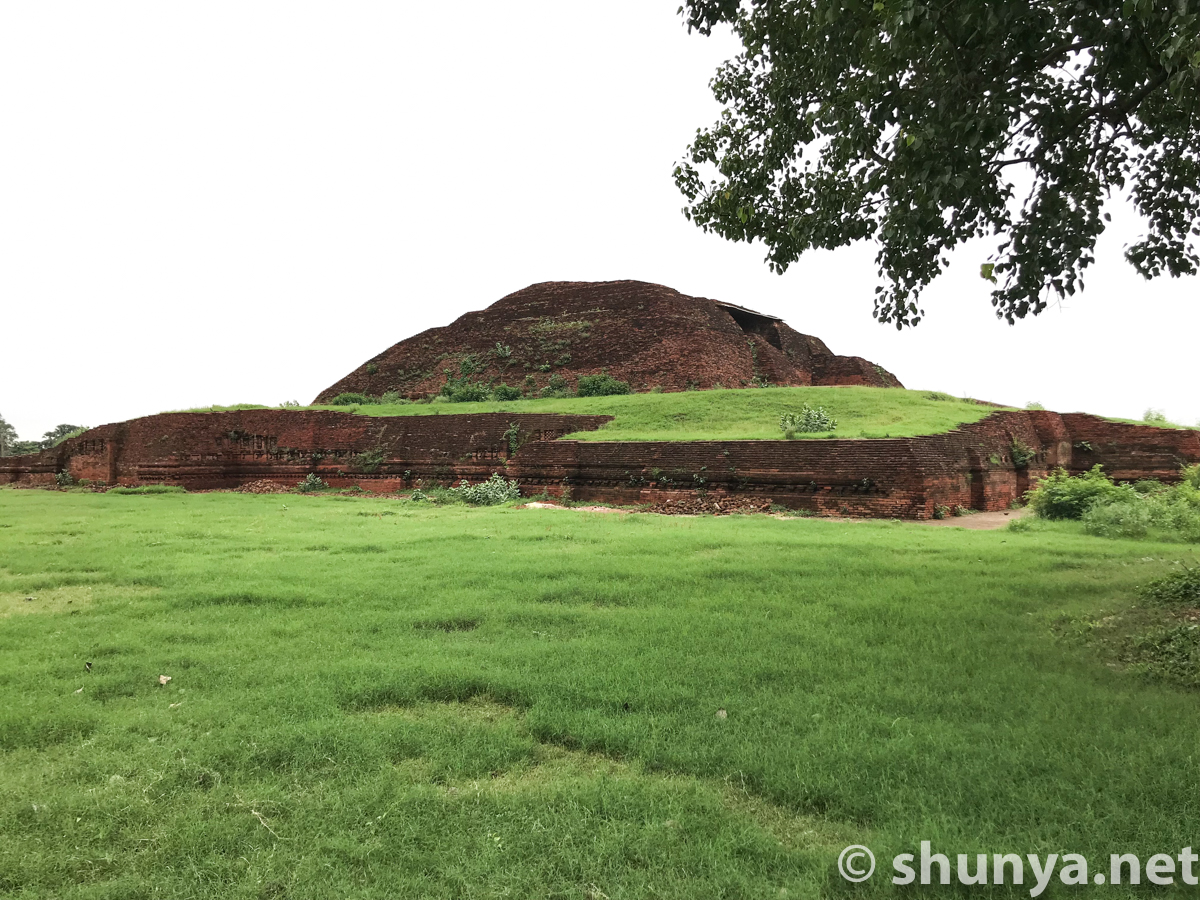
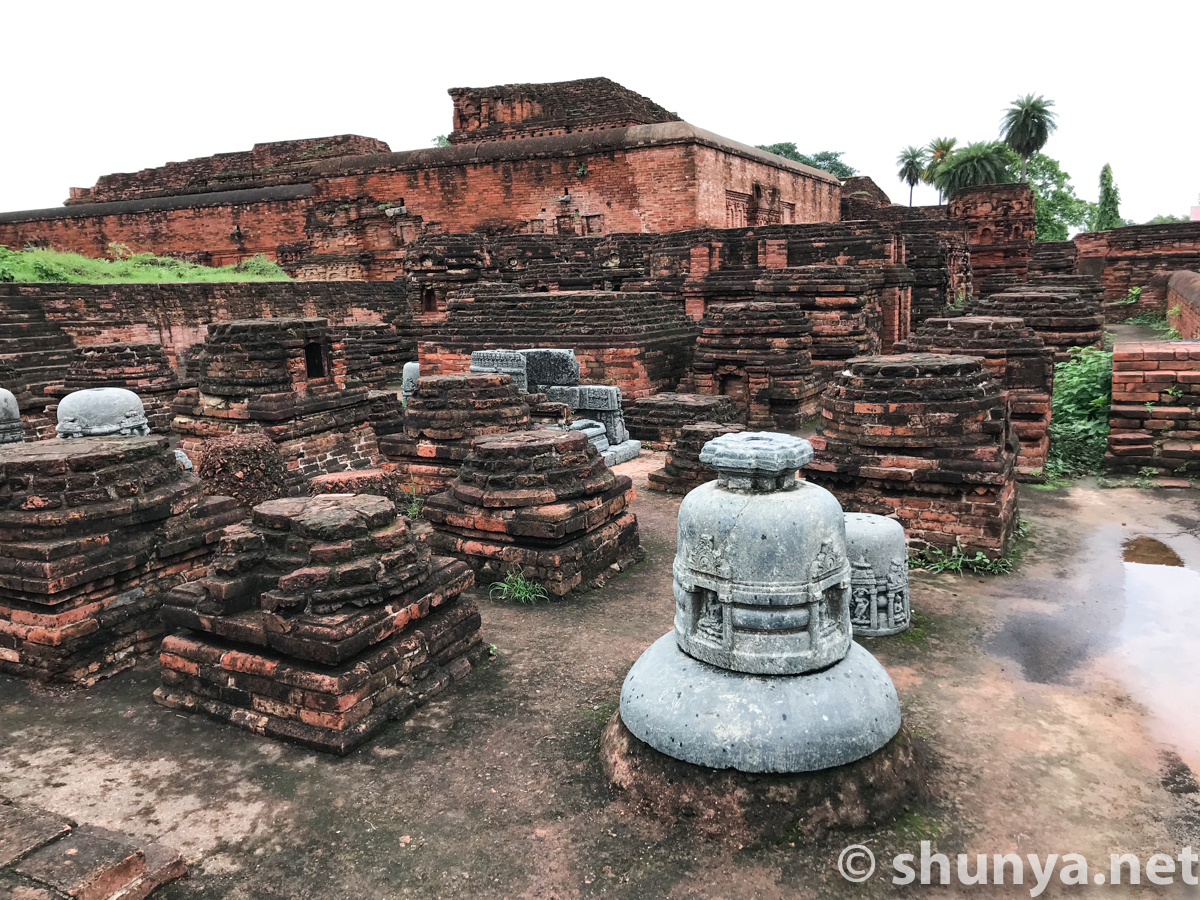
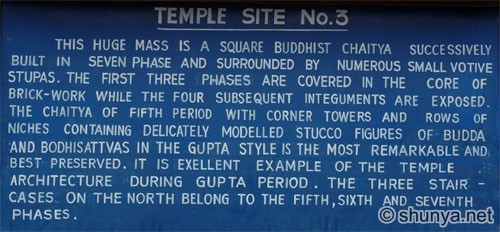
'Great Monument', or Temple 3 ▒ "This temple is a huge solid structure standing in the middle of a court surrounded by a number of small votive stupas ... [excavations have revealed that a] small original structure was enlarged by later temples built over and around the ruins of earlier ones, the present mound being the result of seven successive accumulations. The three different staircases that can be seen to the north belong to the fifth, sixth and seventh periods respectively ... The fifth of these successively-built temples is the most interesting and the best preserved. It has four corner towers, of which three have been exposed, and was decorated with rows of niches containing well-modeled stucco figures of the Buddha and Bodhisattvas ... The votive stupas sometimes contain in their core bricks inscribed with sacred Buddhist texts. The inscriptions belong to the sixth century A.D., so that it is possible to ascribe the fifth temple to that period. The same period is indicated by the stucco figures, which are fine specimens of Gupta art. Considering the huge accumulations over which the fifth temple was built, it seems that the foundation of the original structure must have been laid at least two centuries earlier. [--Nalanda, by the Archaeological Survey of India] |
|||
|
|
|
|
|
|
|
|
|
 |
|
Temple 2 ▒ |
|||
Stone base, brick top 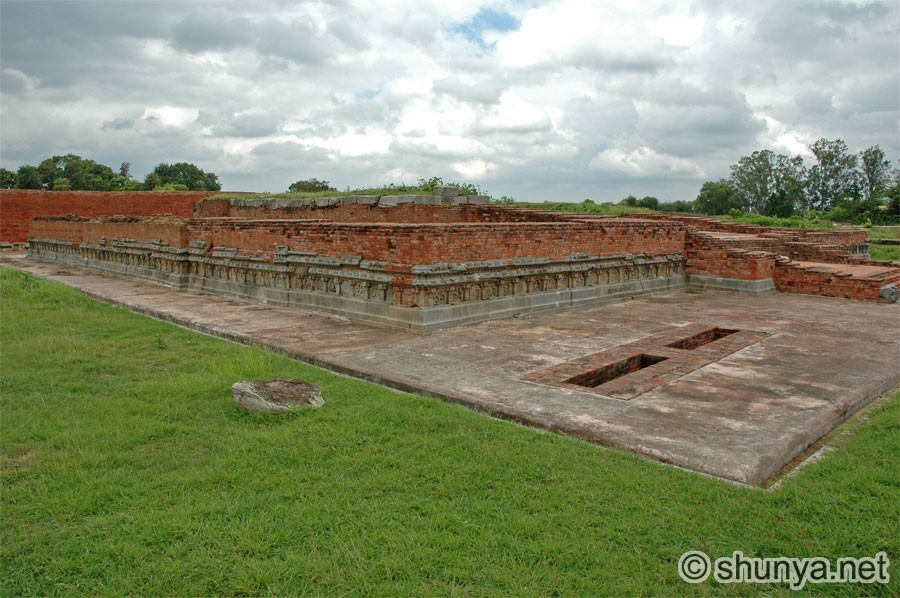 |
Musician woman 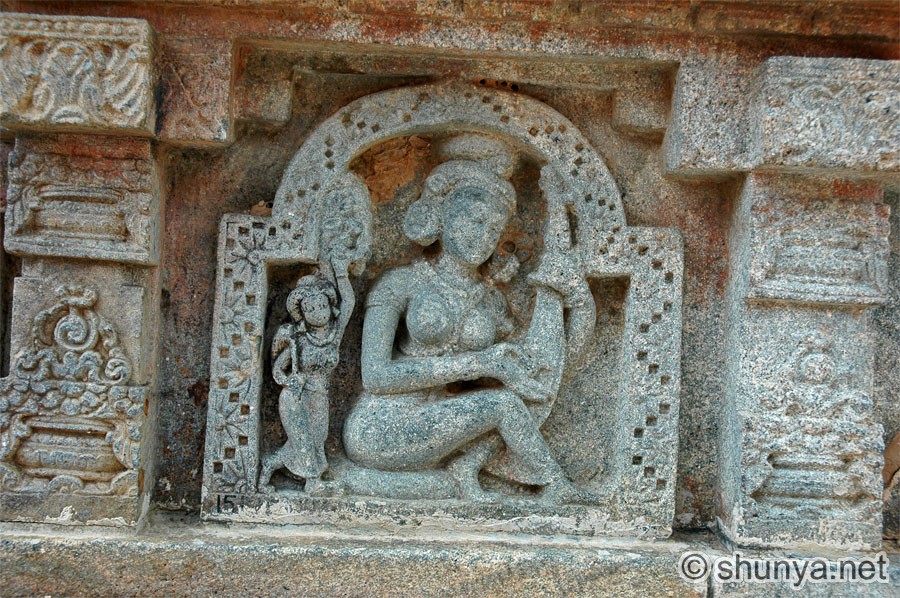 |
Amorous couple 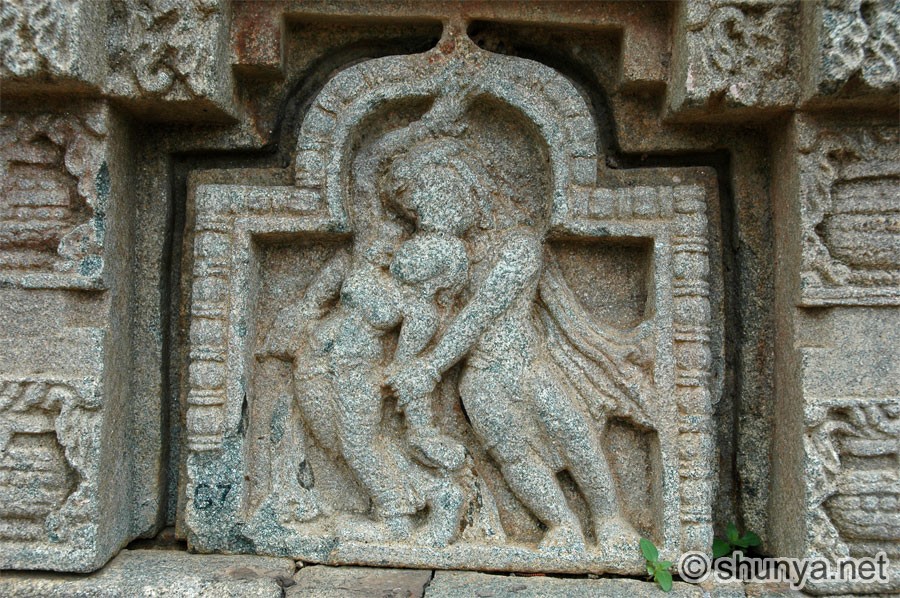 |
Musicians 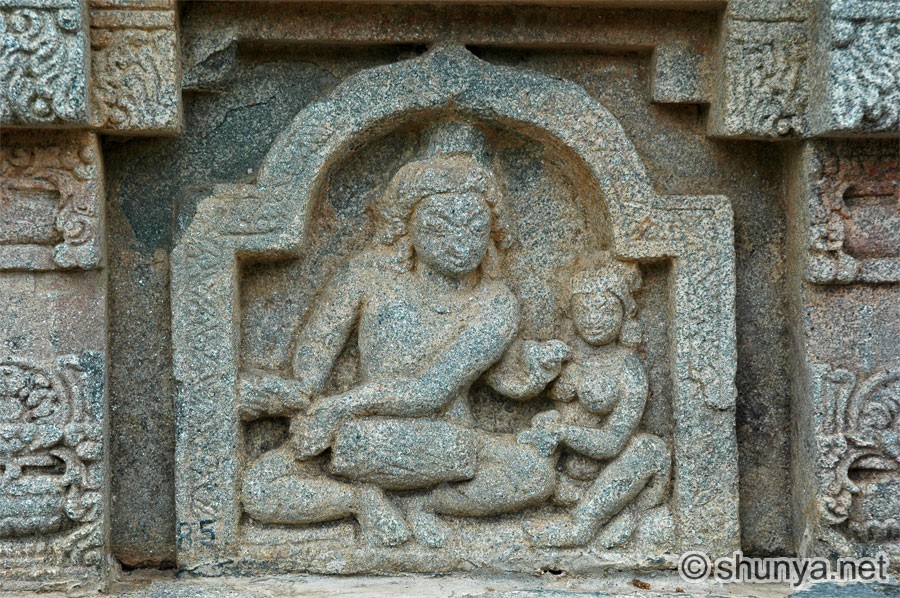 |
|
Amorous couple 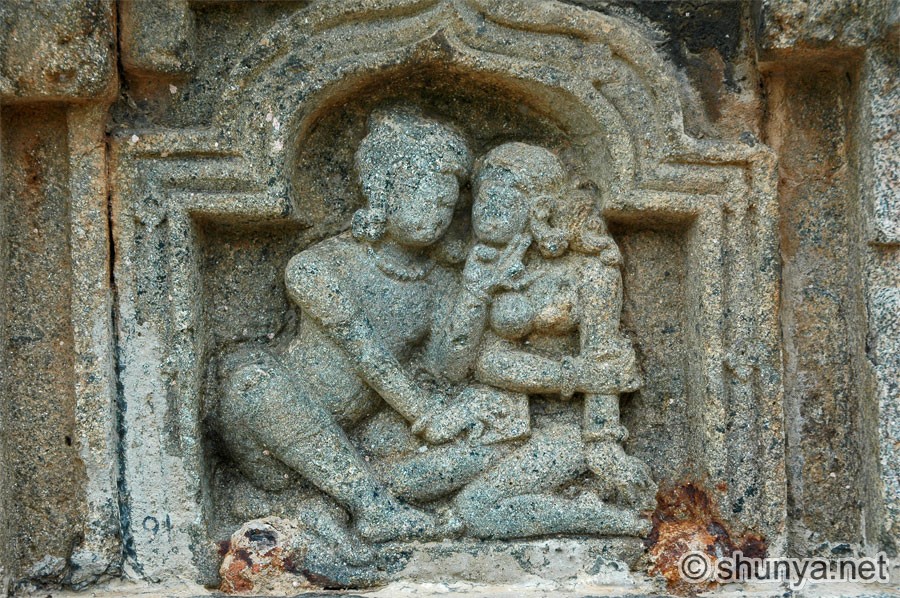 |
Amorous couple 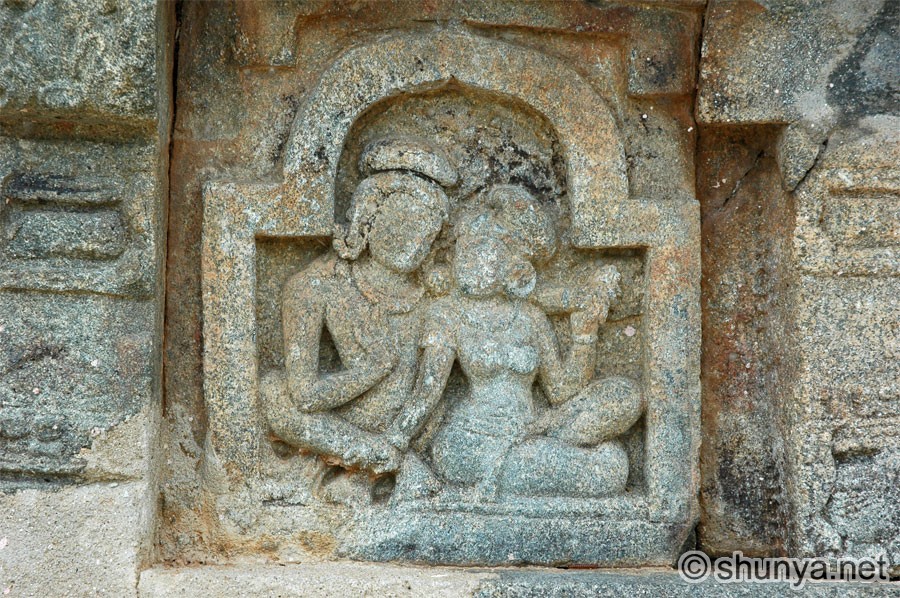 |
Warrior with sword 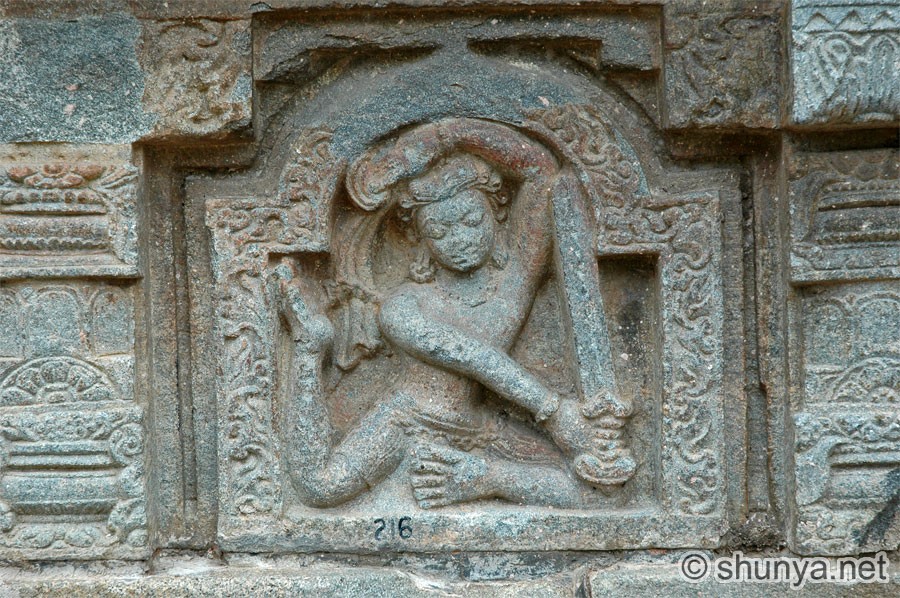 |
Half-human musician 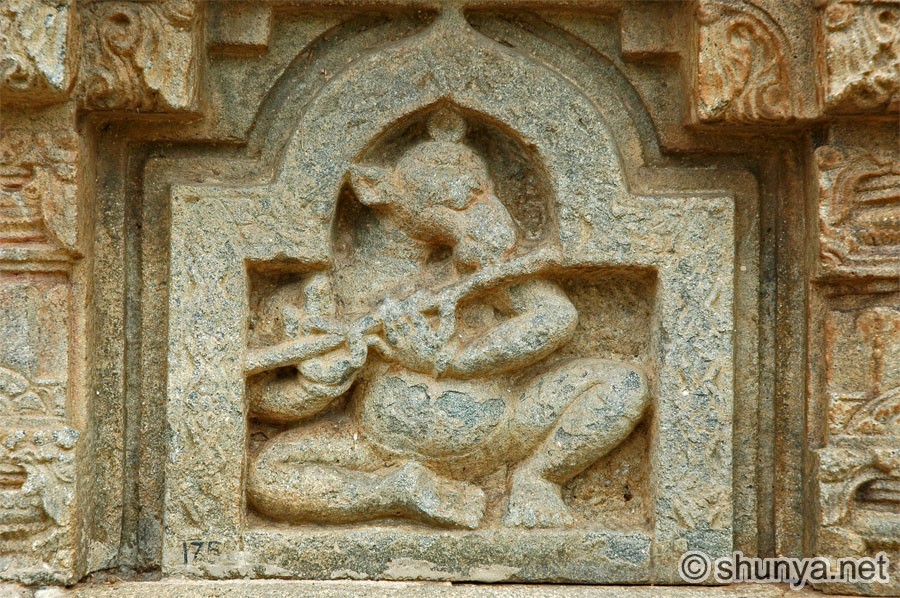 |
Path leading to the ruins 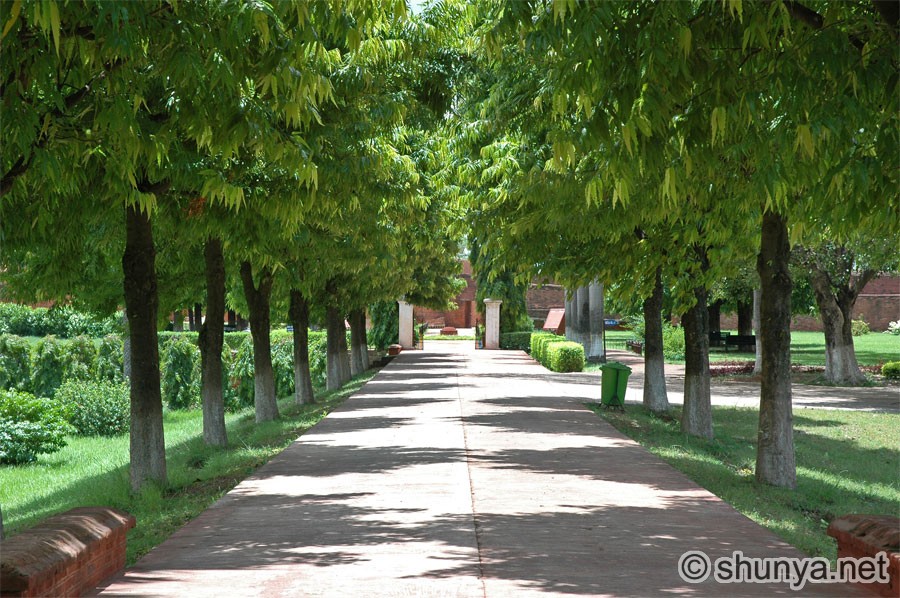 |
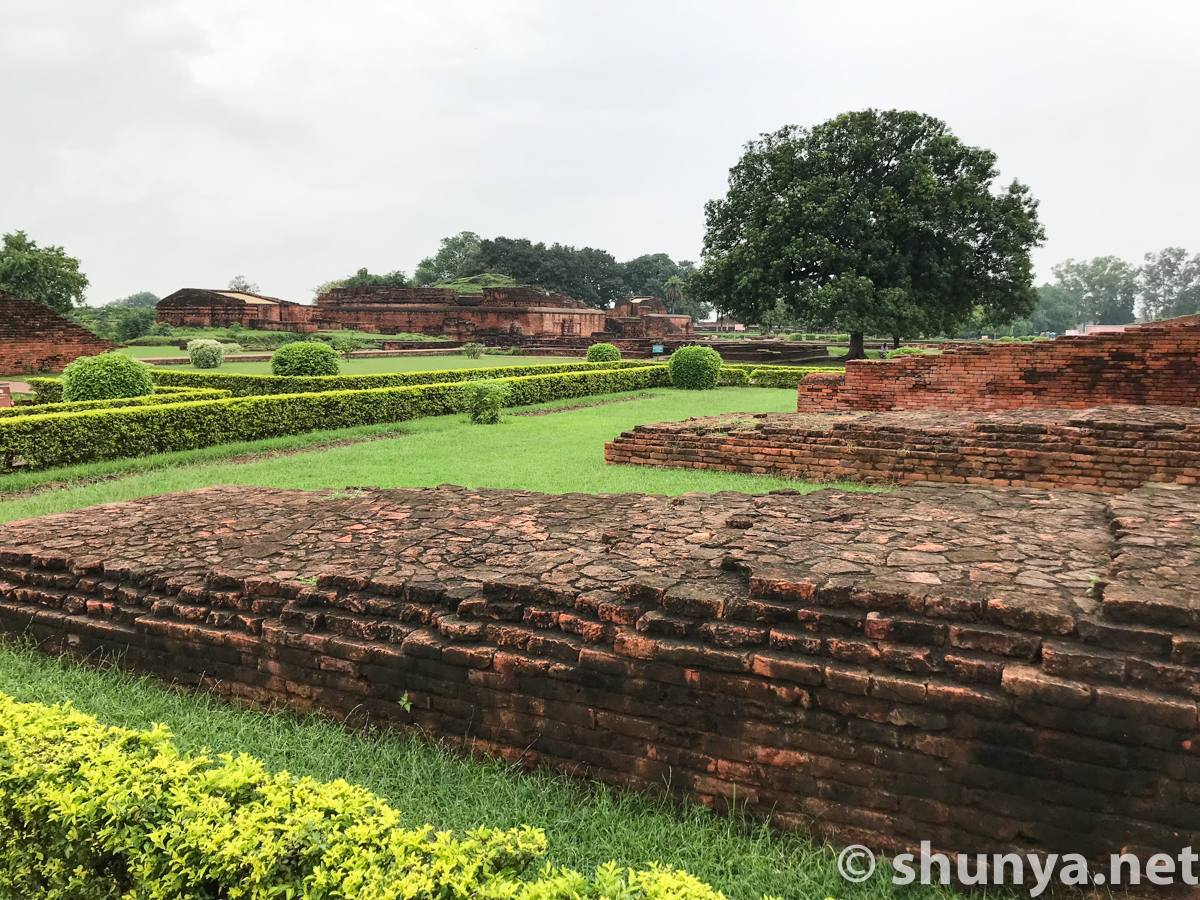
Bodhi trees in the park 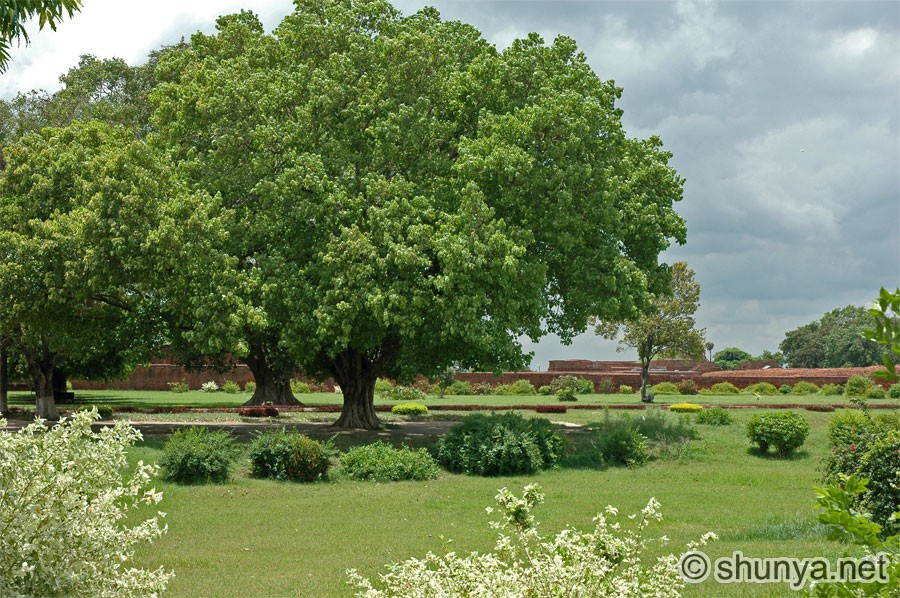 |
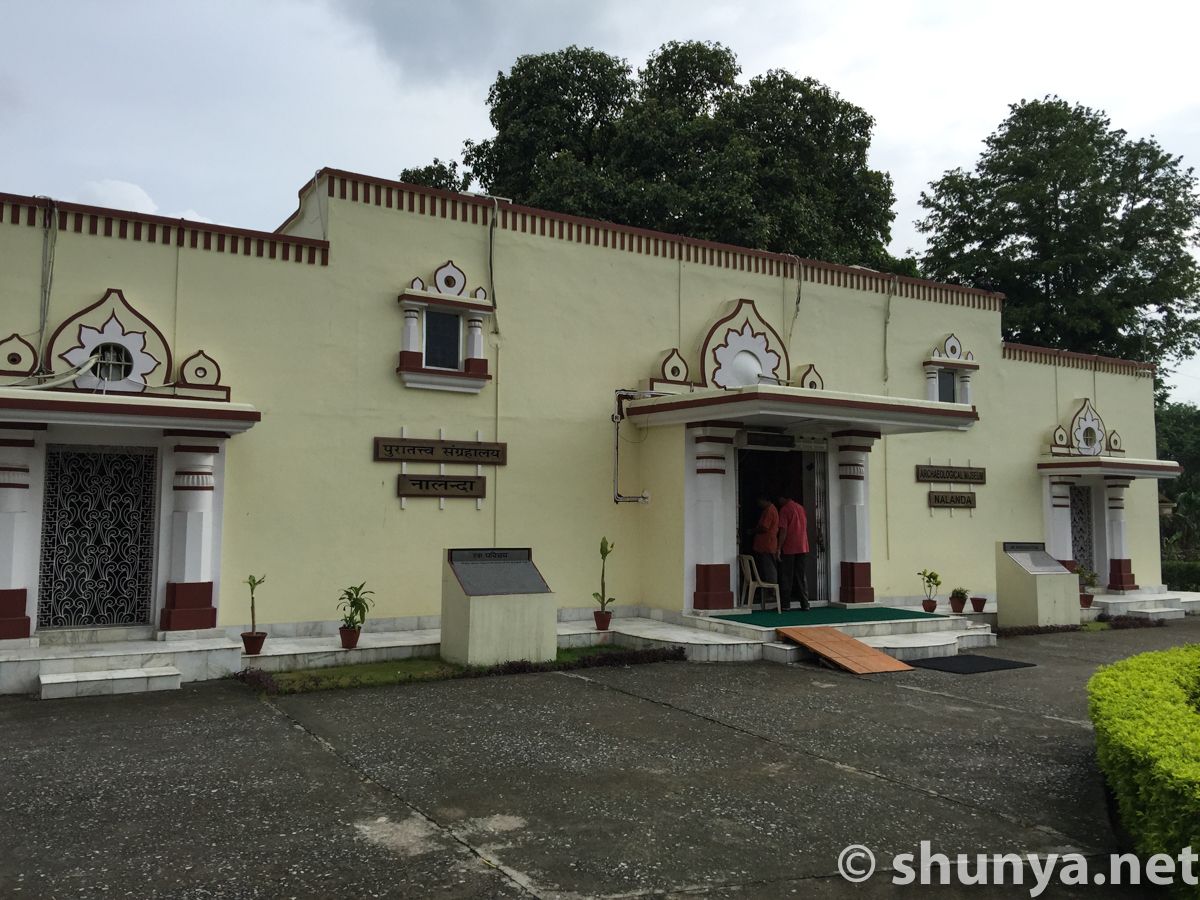
ASI museum at Nalanda 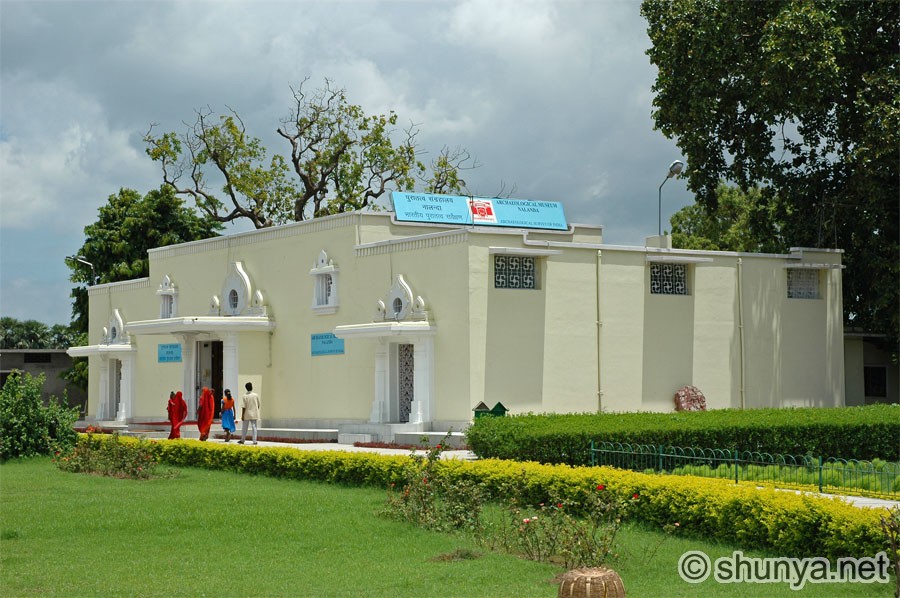 |
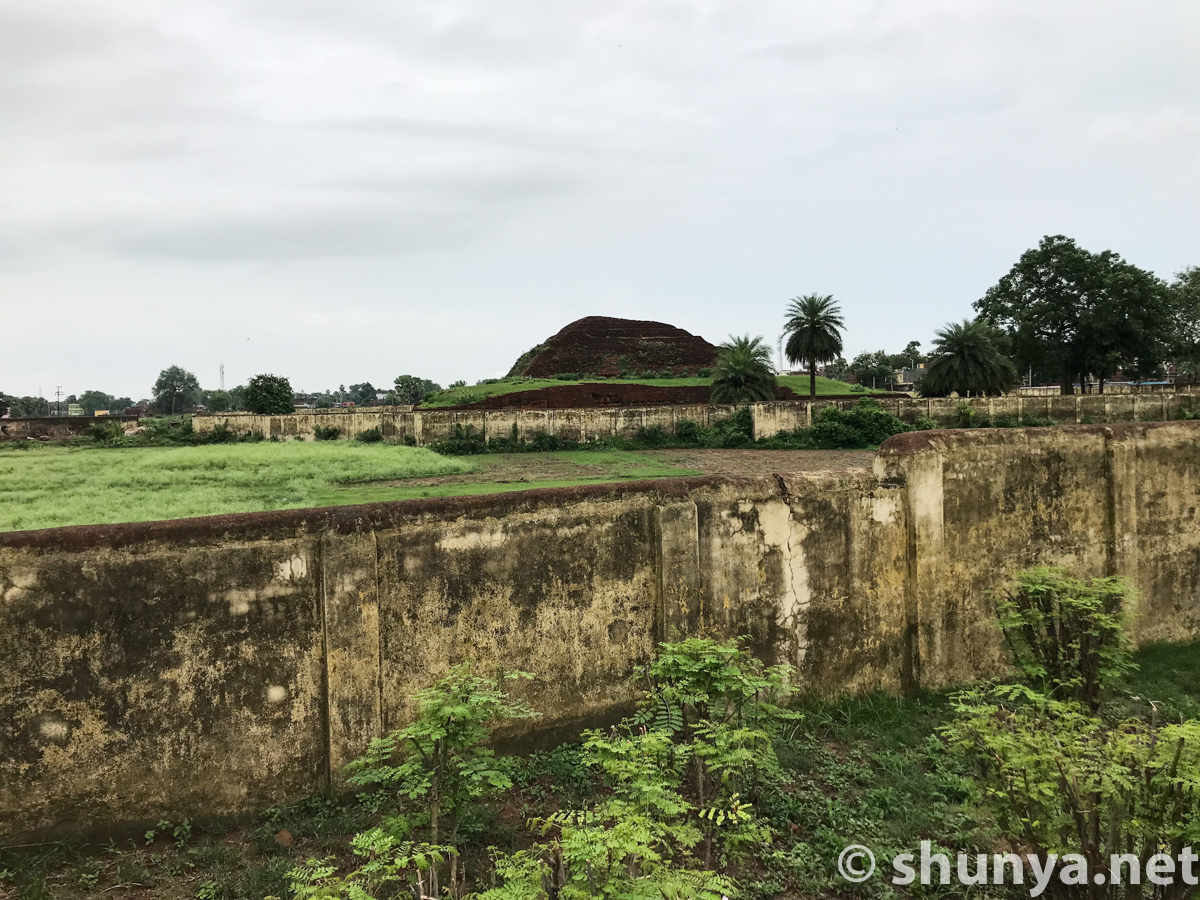
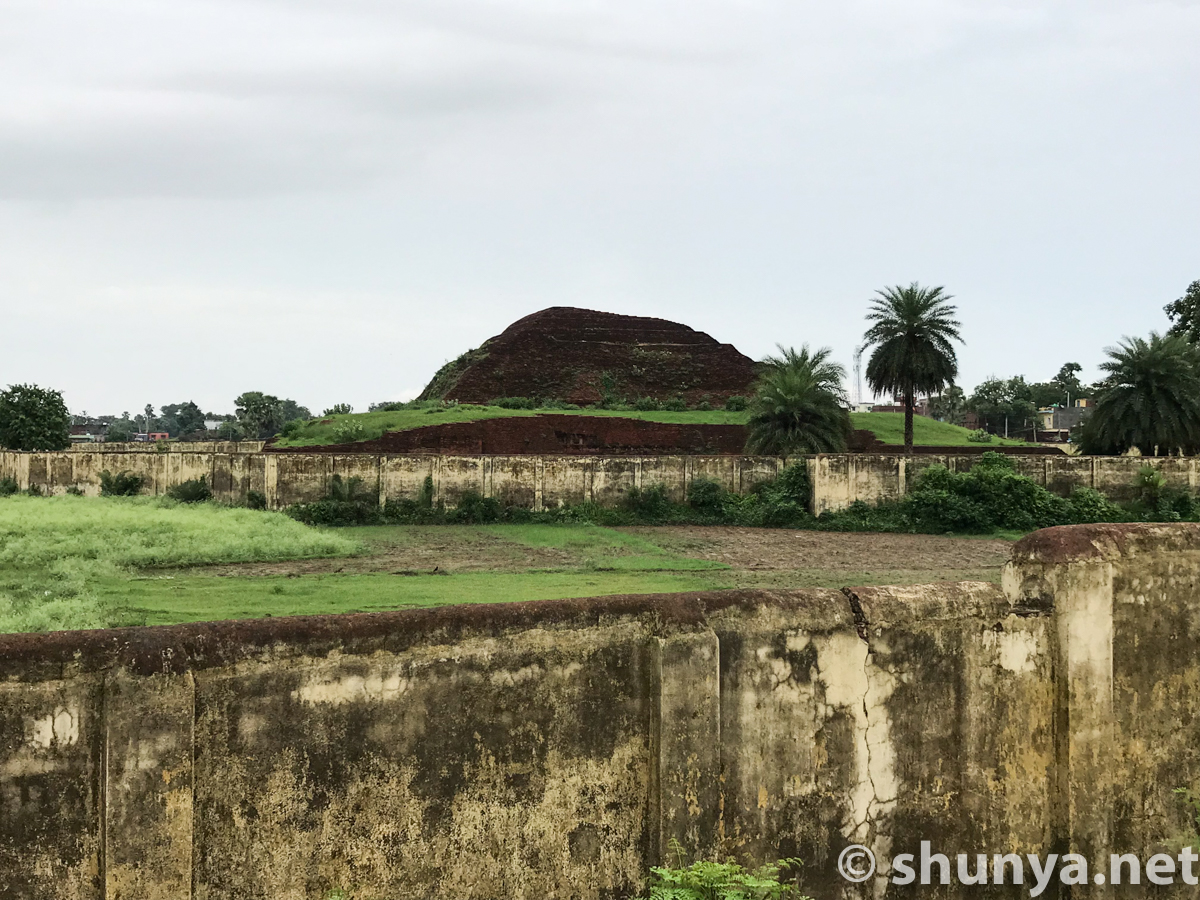
Nalanda Overview  |
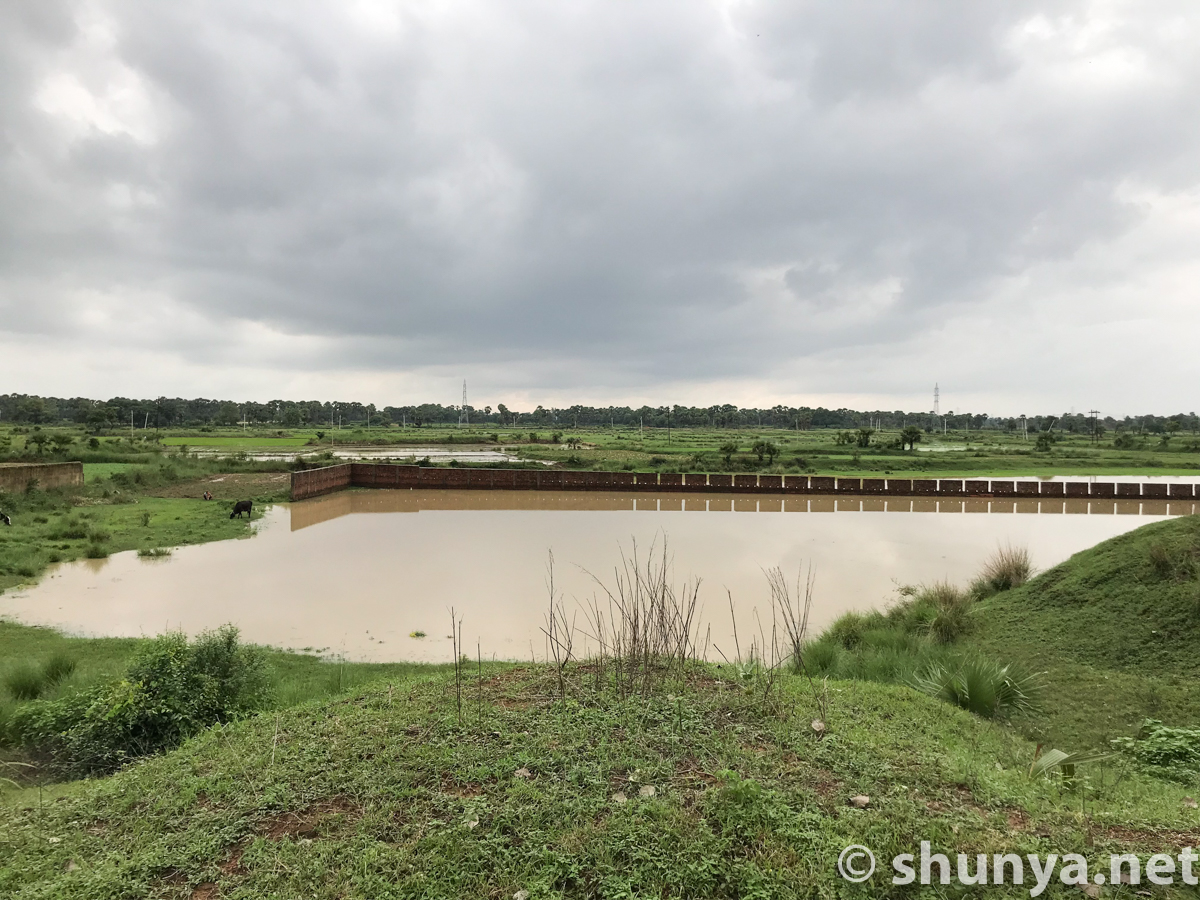
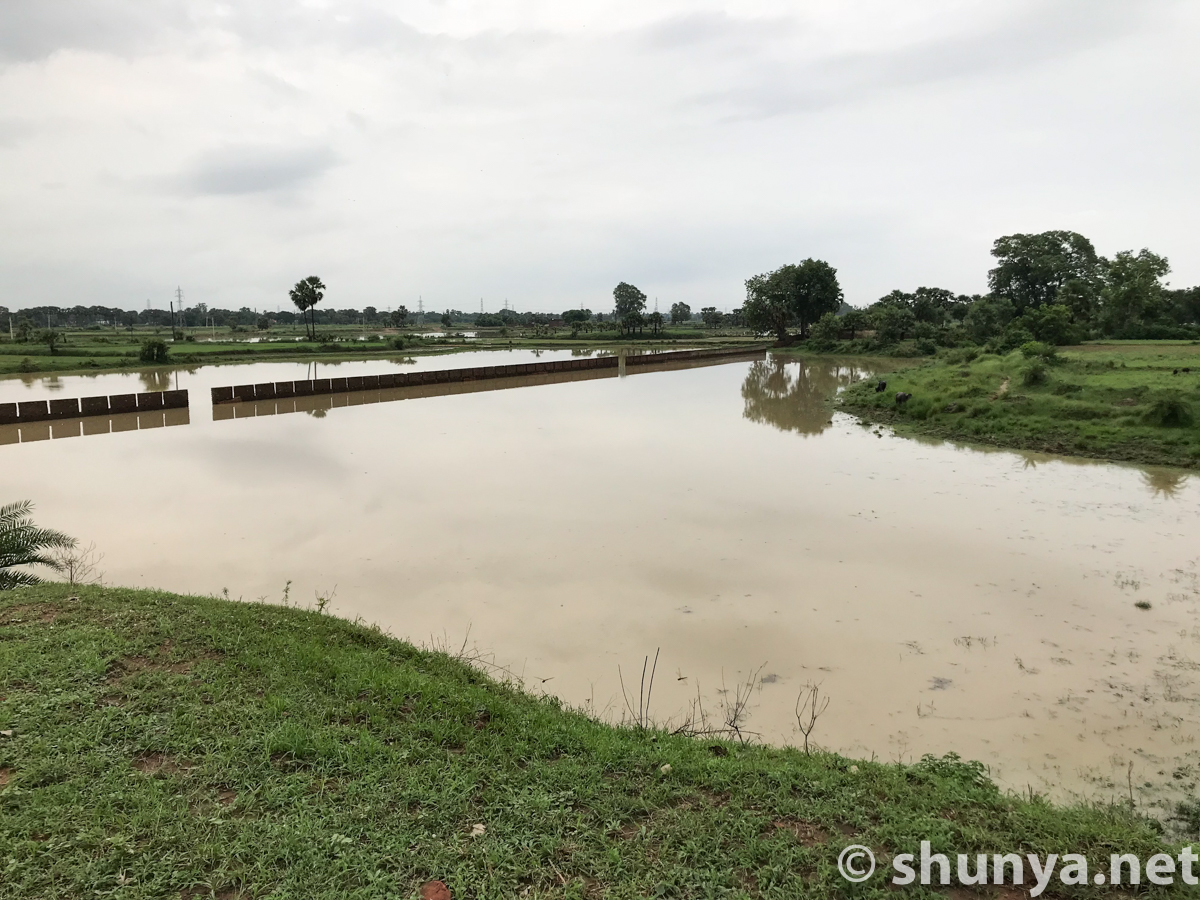
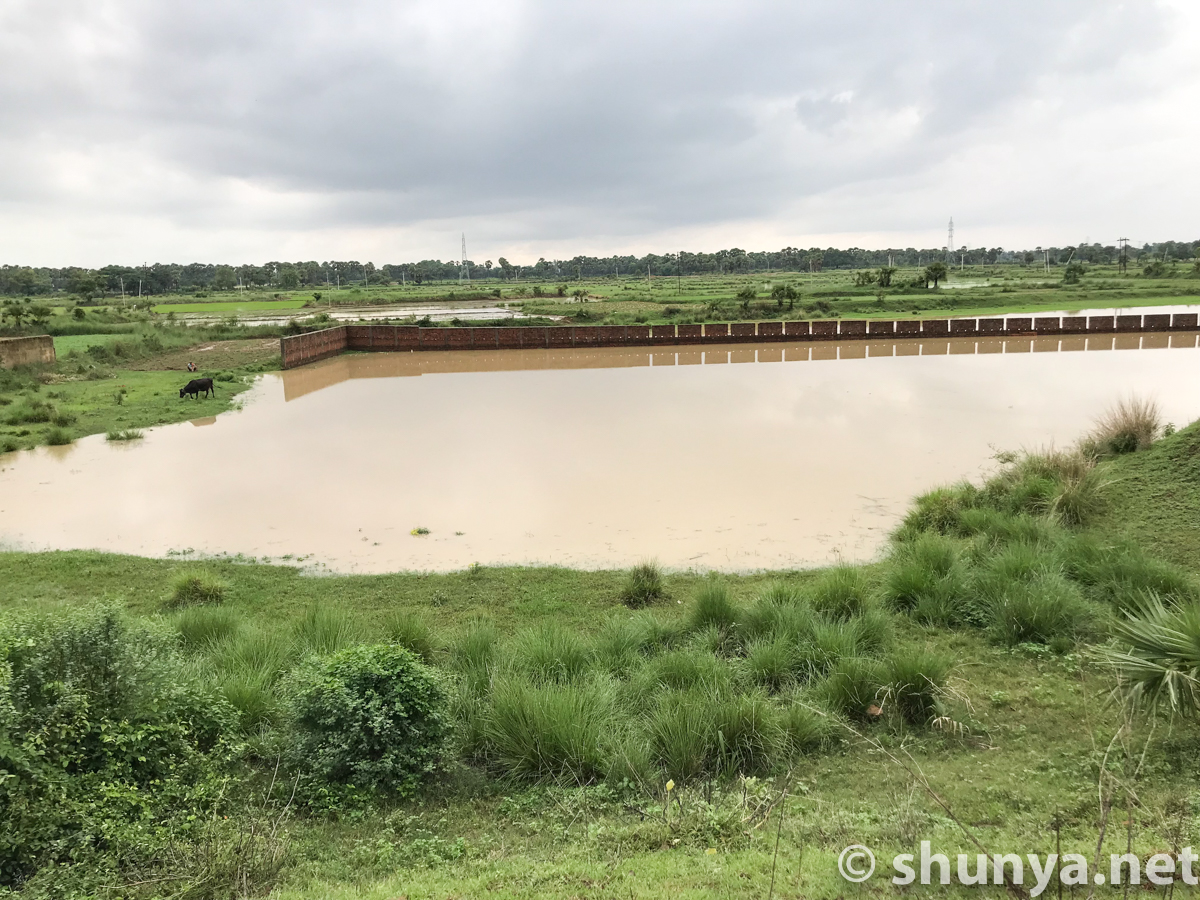
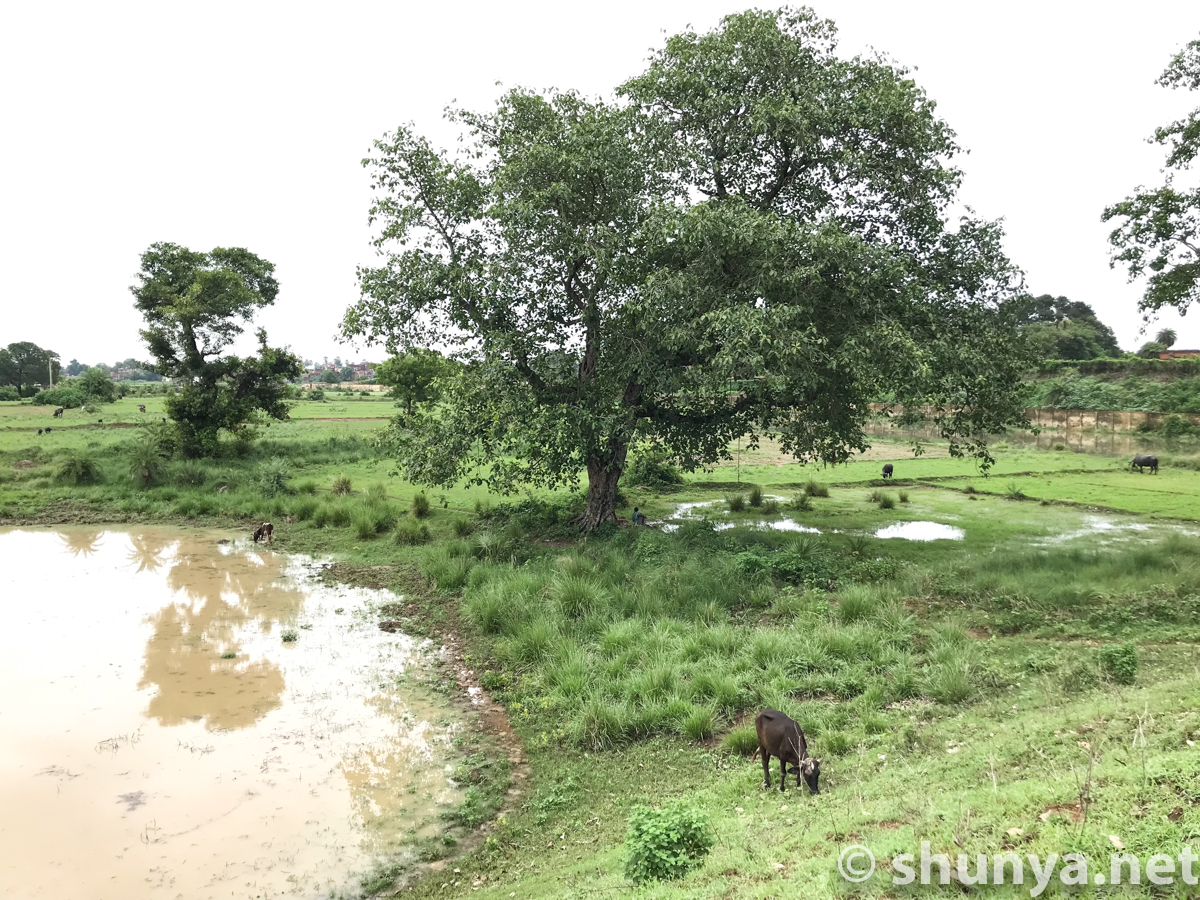
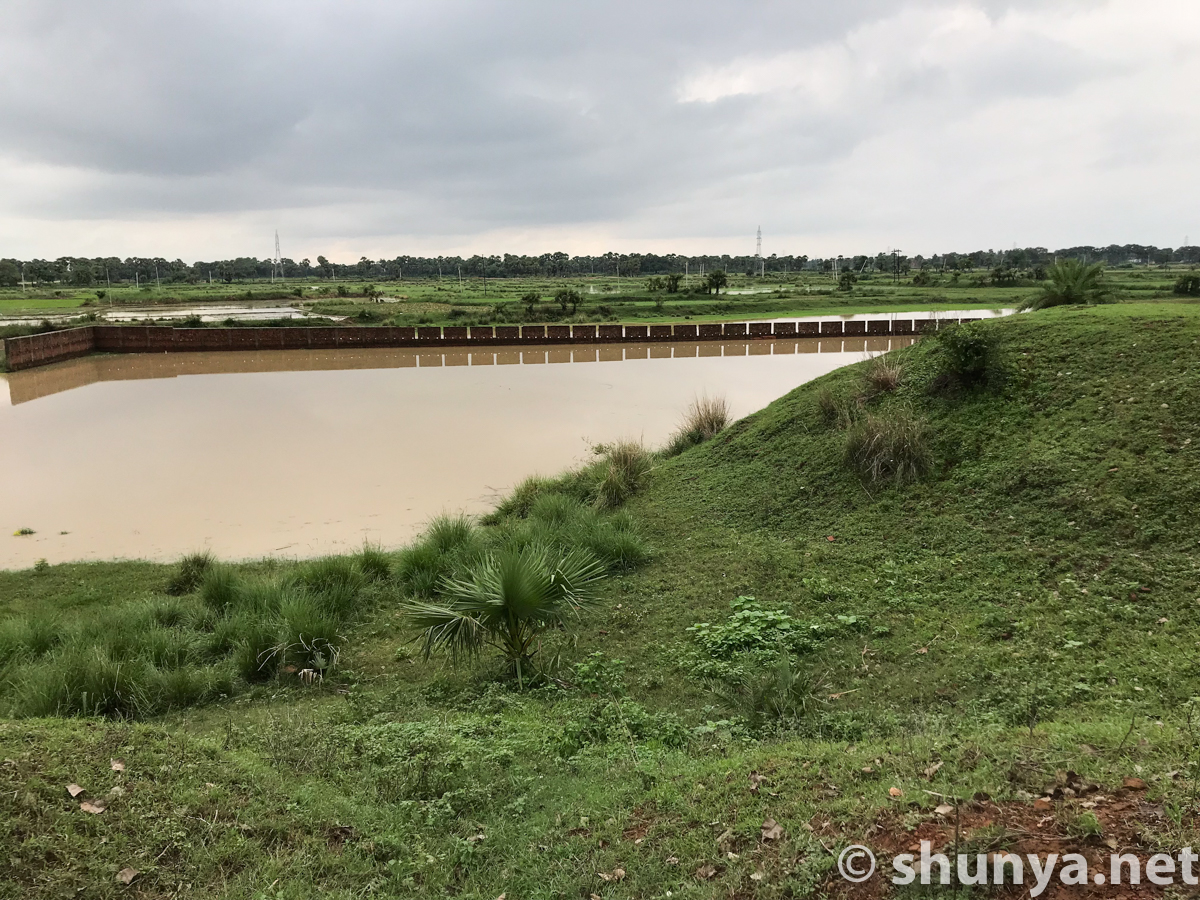
Ponds around Nalanda
|
|
Back then monks bathed
|
|
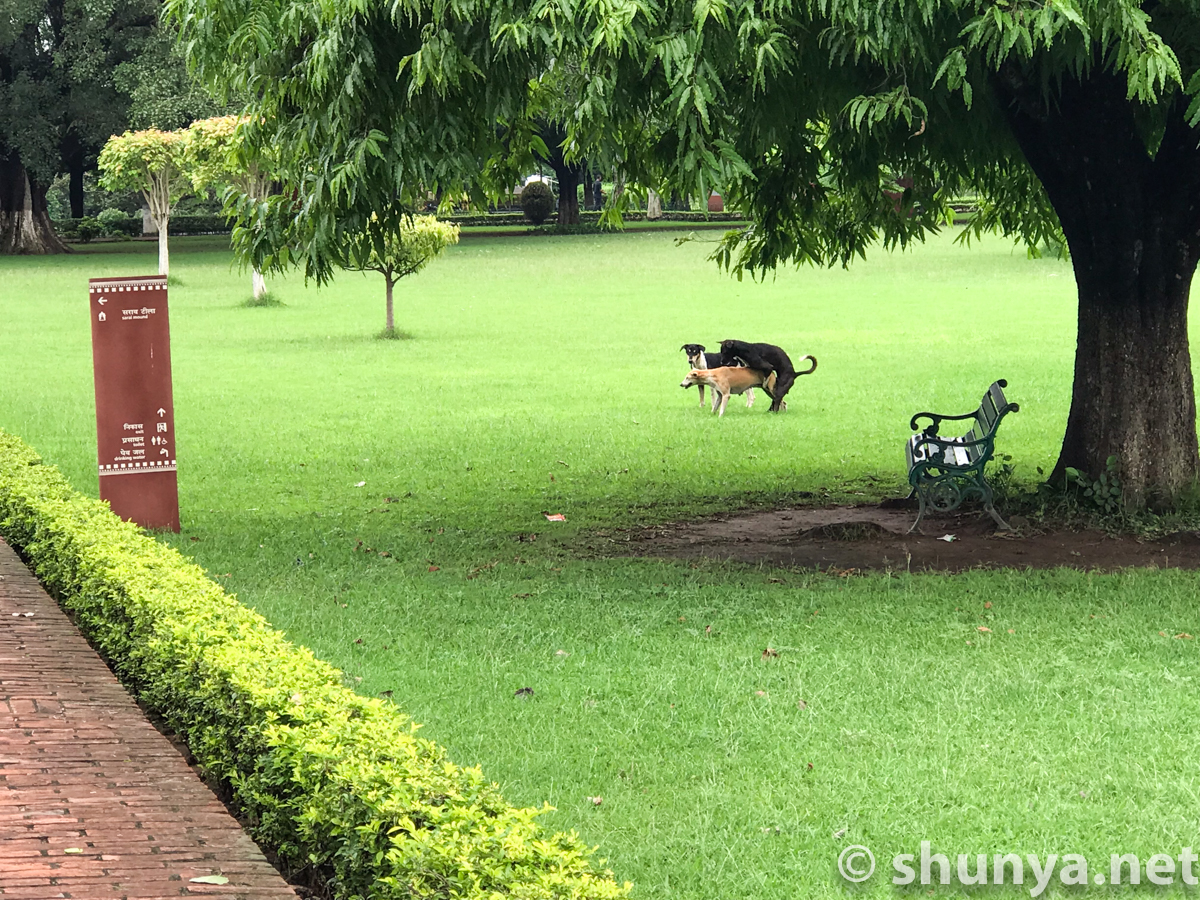
All hot and bothered
|
Vegetation keen to cover
|
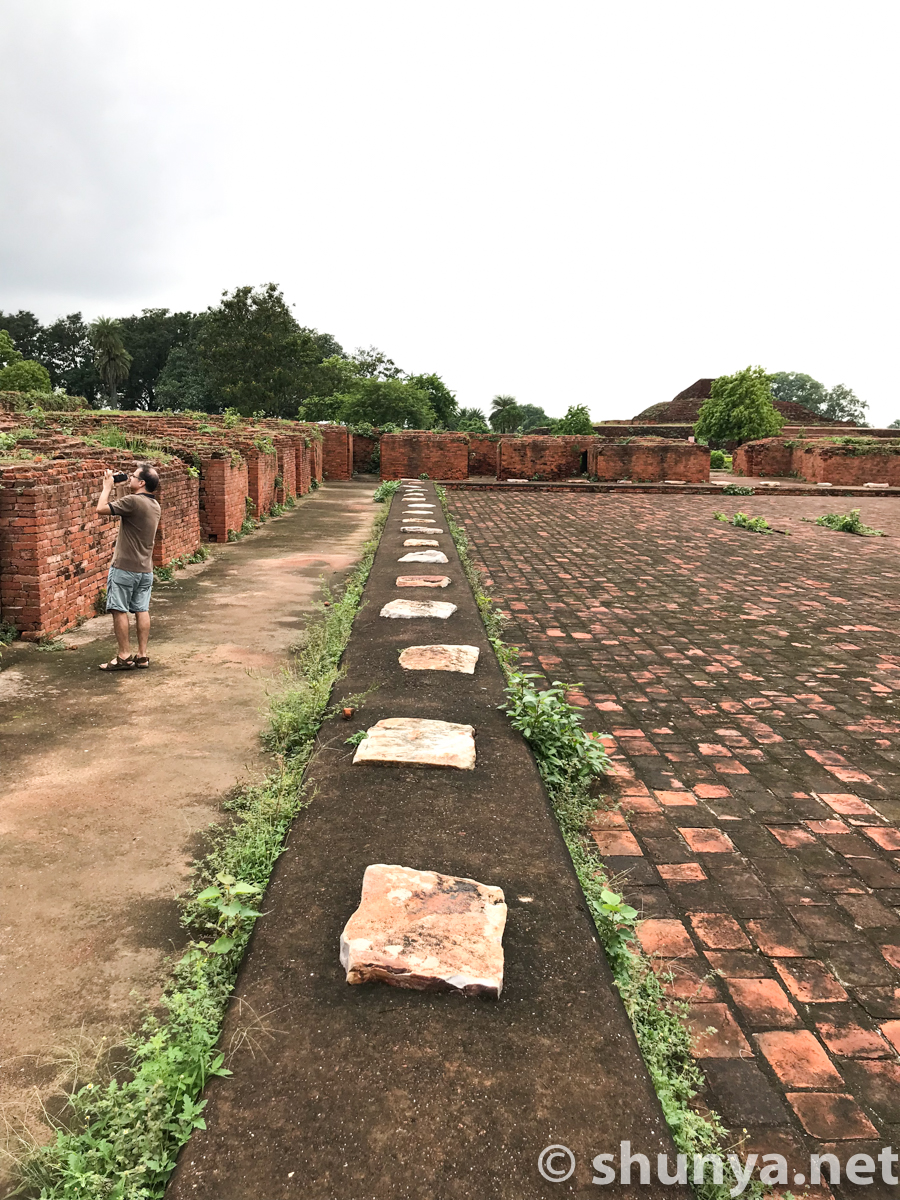
Visitor (more)
|
Ads on village walls
|
|
Nalanda ASI Museum |
|||
Official introduction
|
Museum building
|
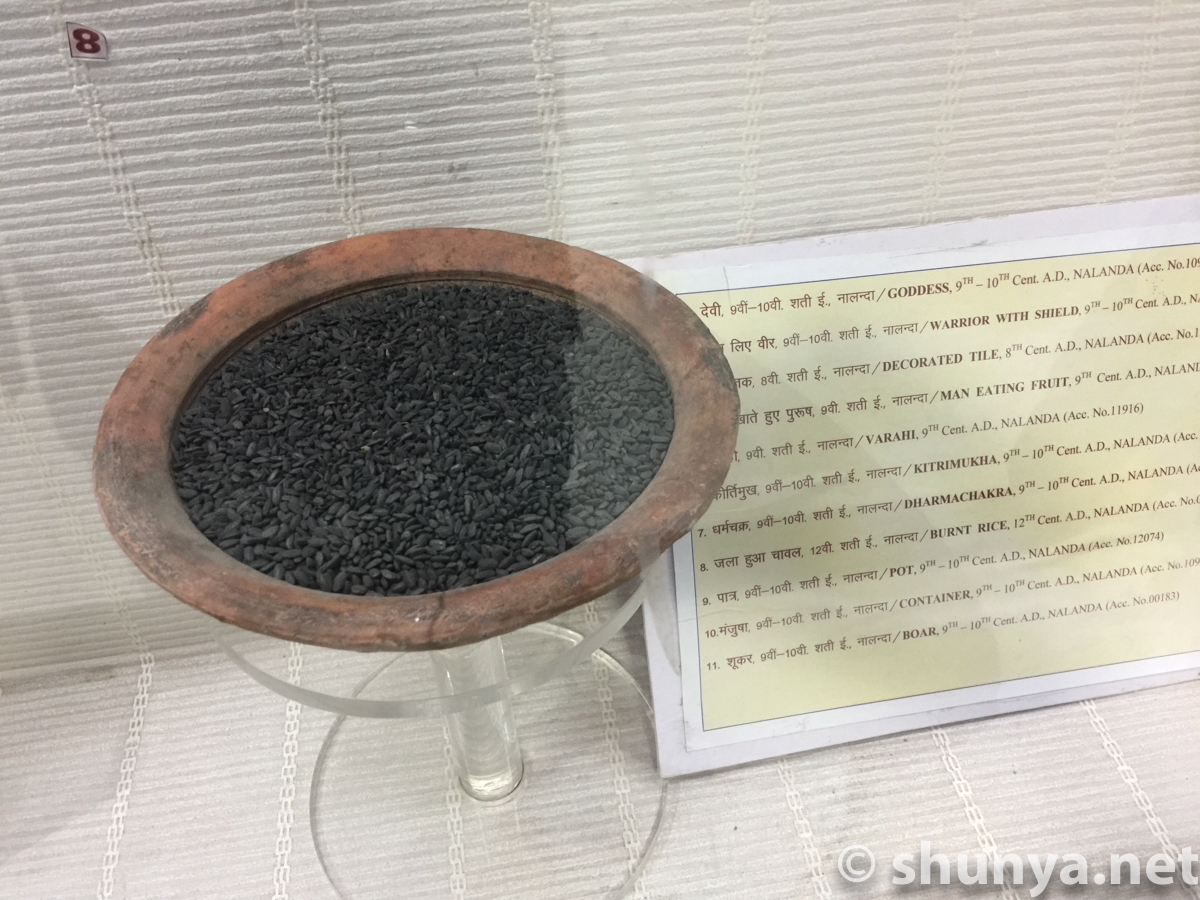
Burnt rice, 12 cent. CE
|
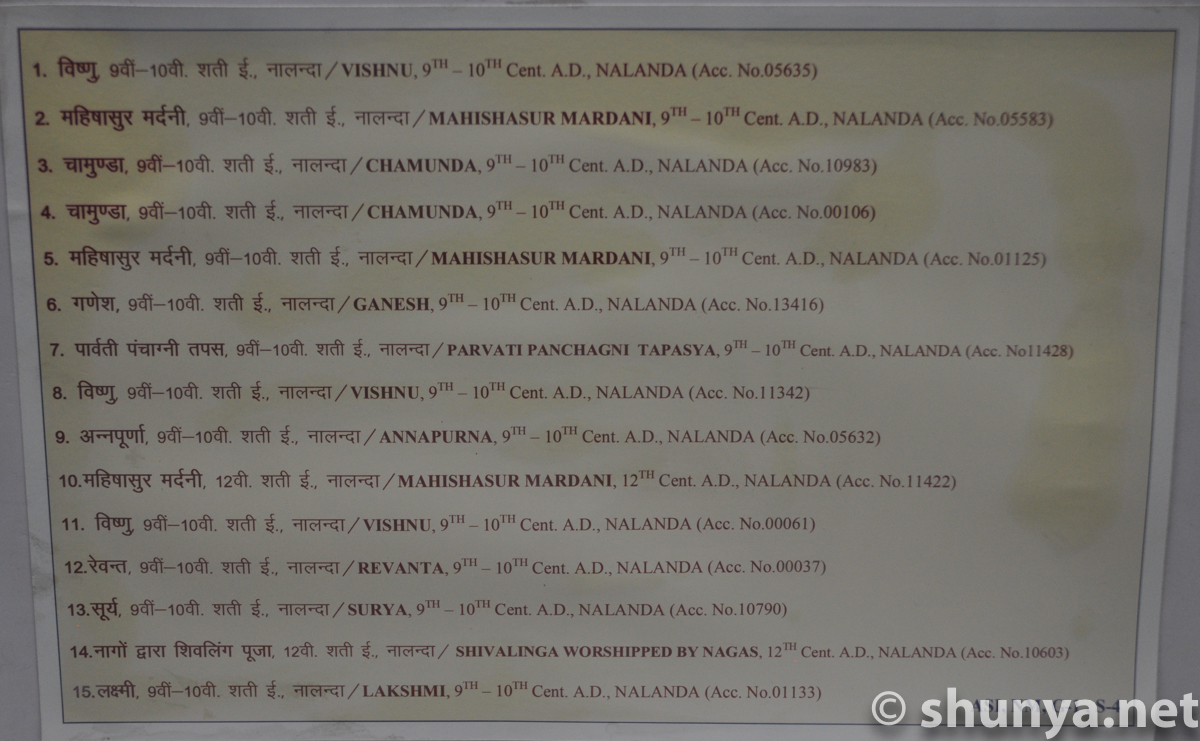
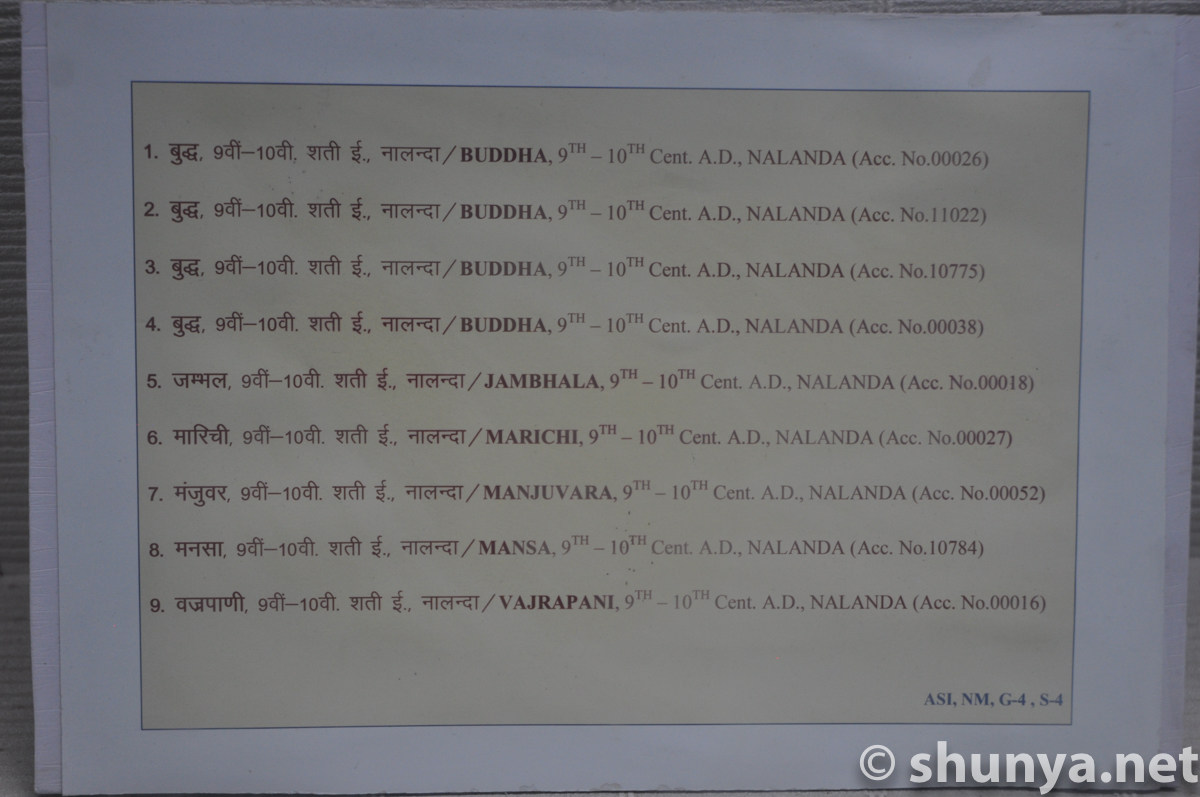
Hindu deities (info)
|
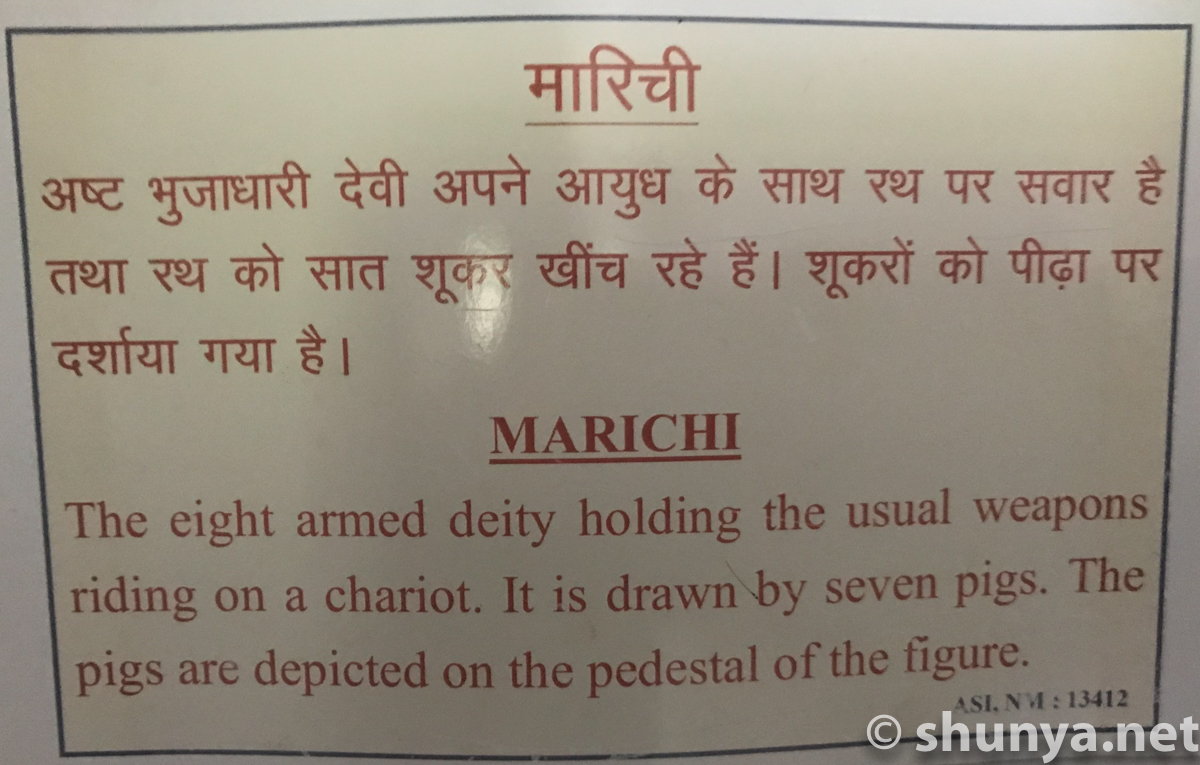
Marichi
|
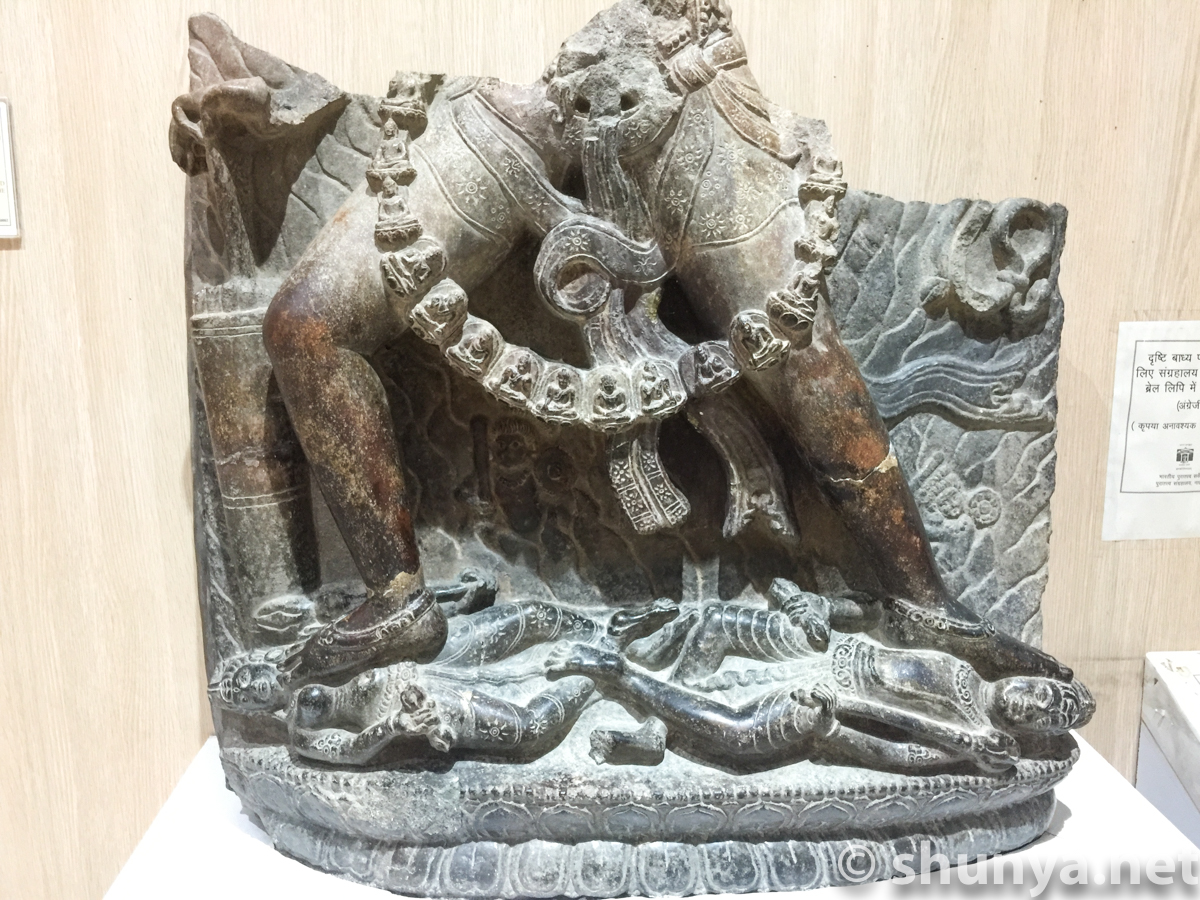
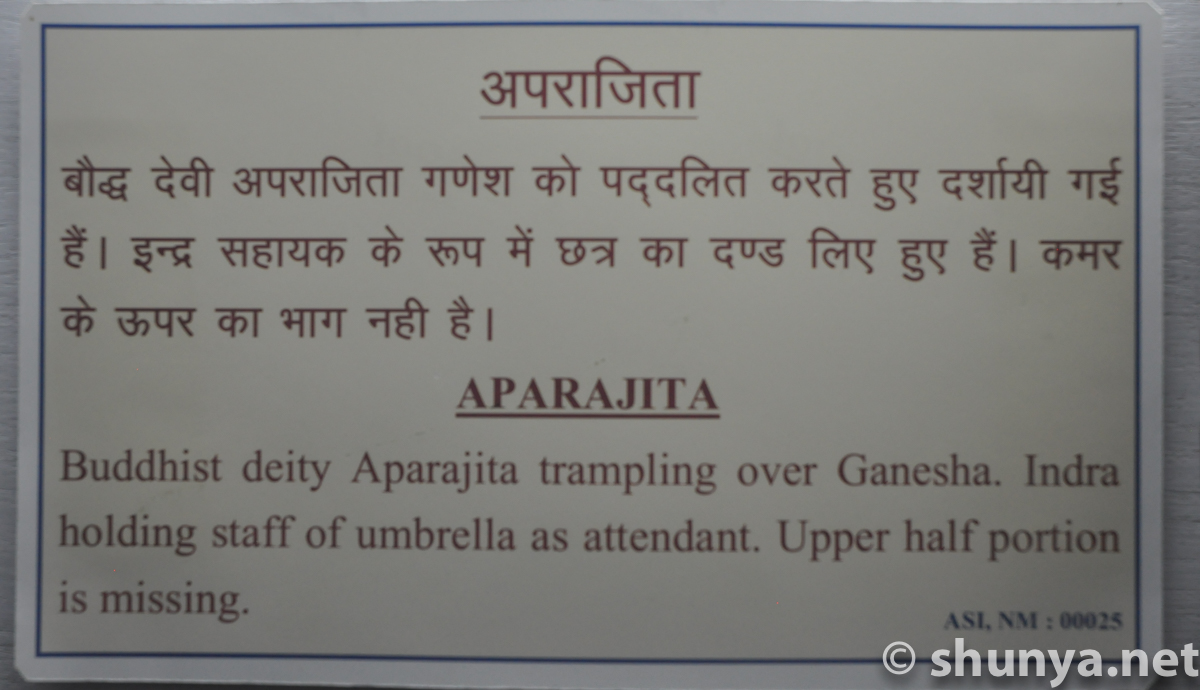
Aparajita trampling
|
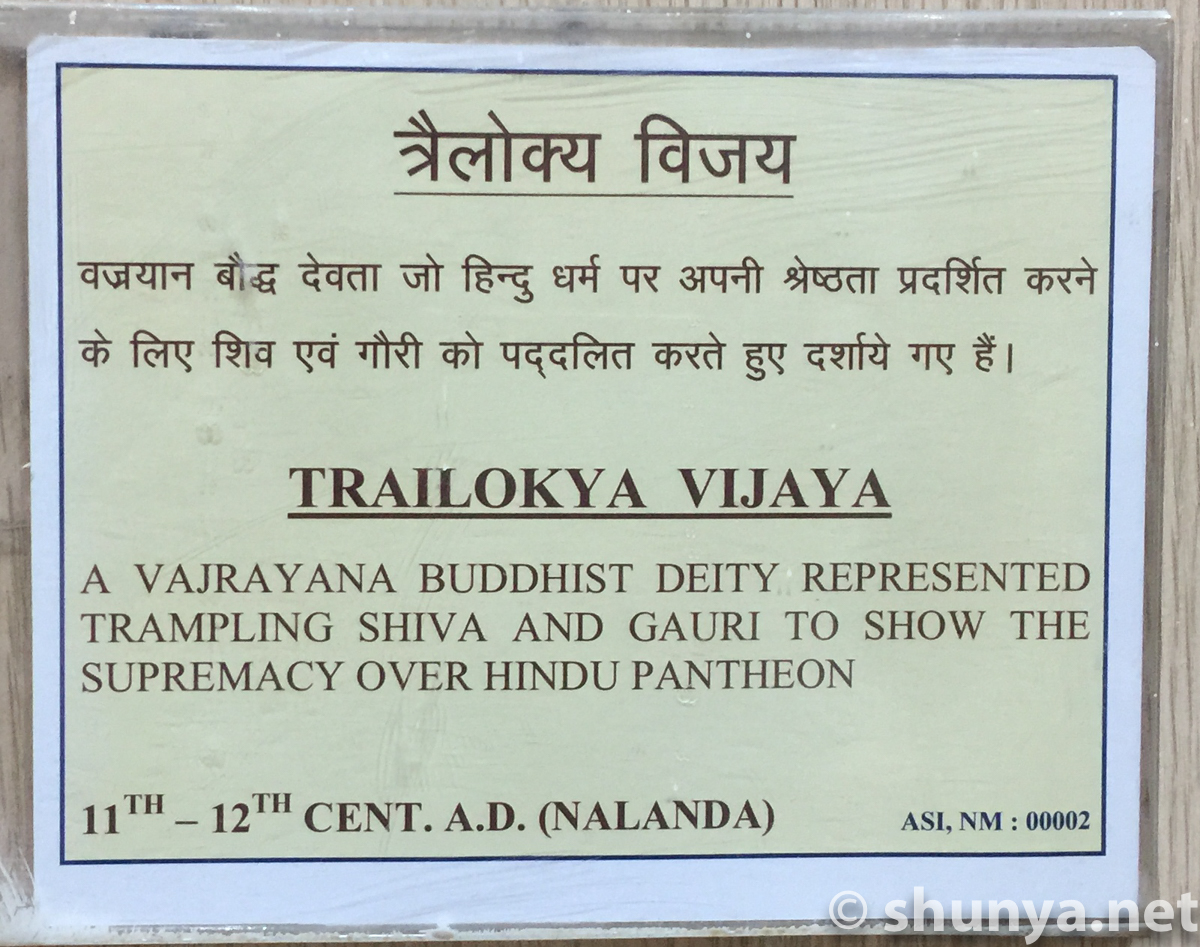
Trailokya Vijaya
|
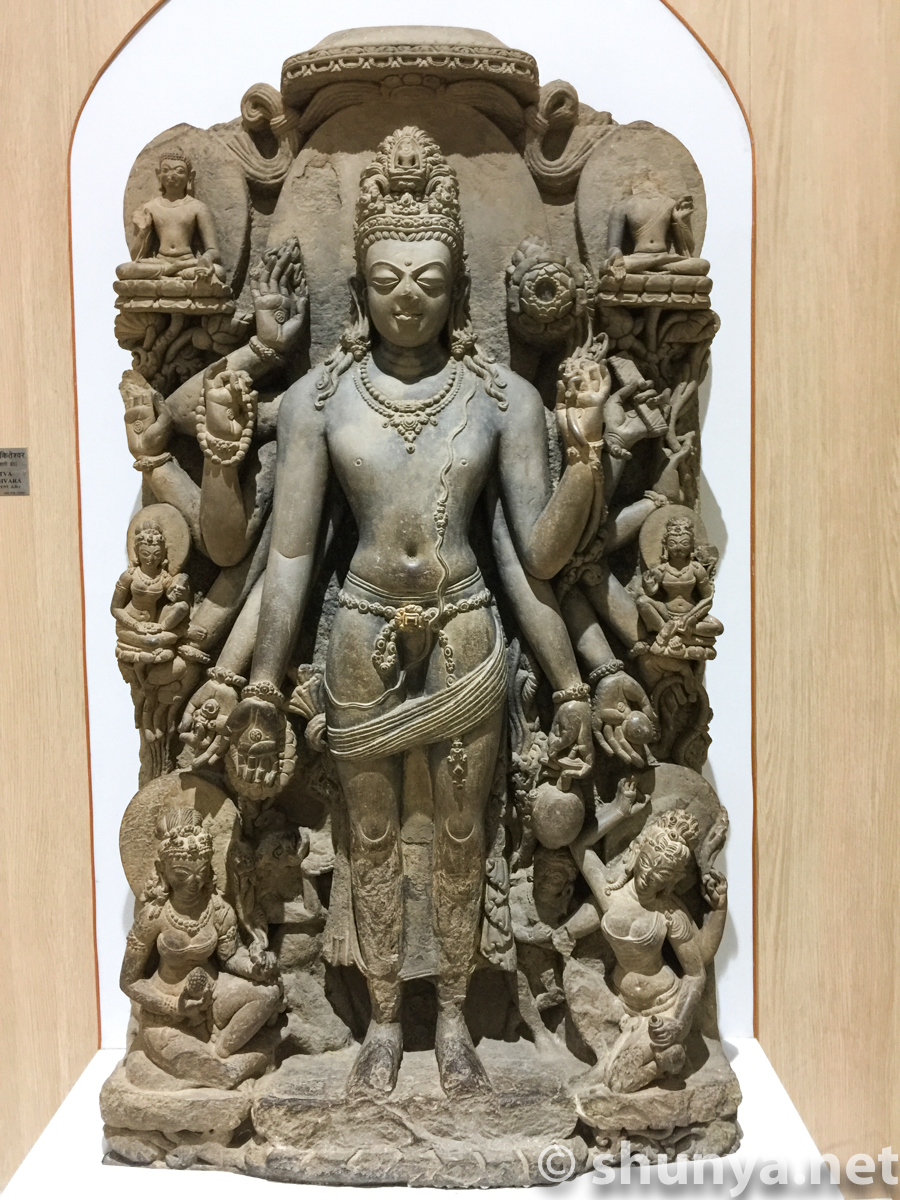
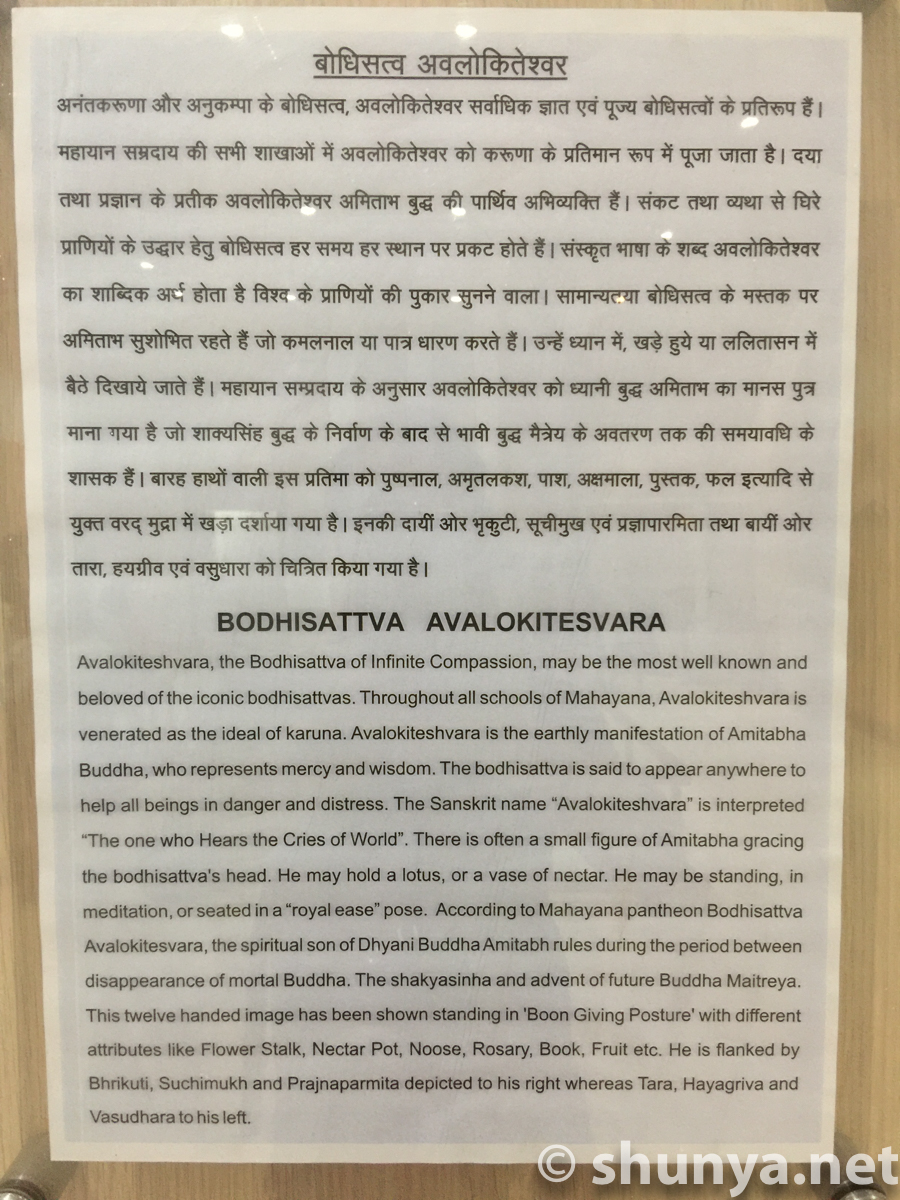
Bodhisattva
|
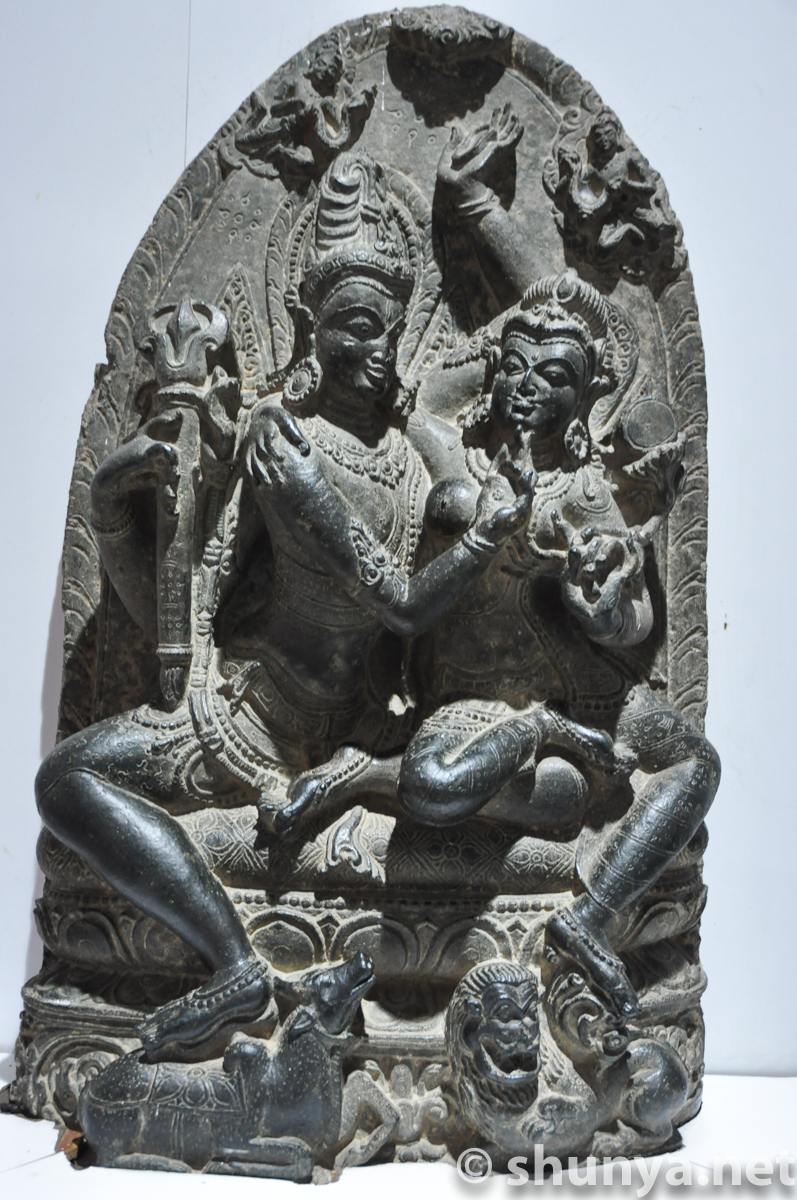
Shiva Parvati
|
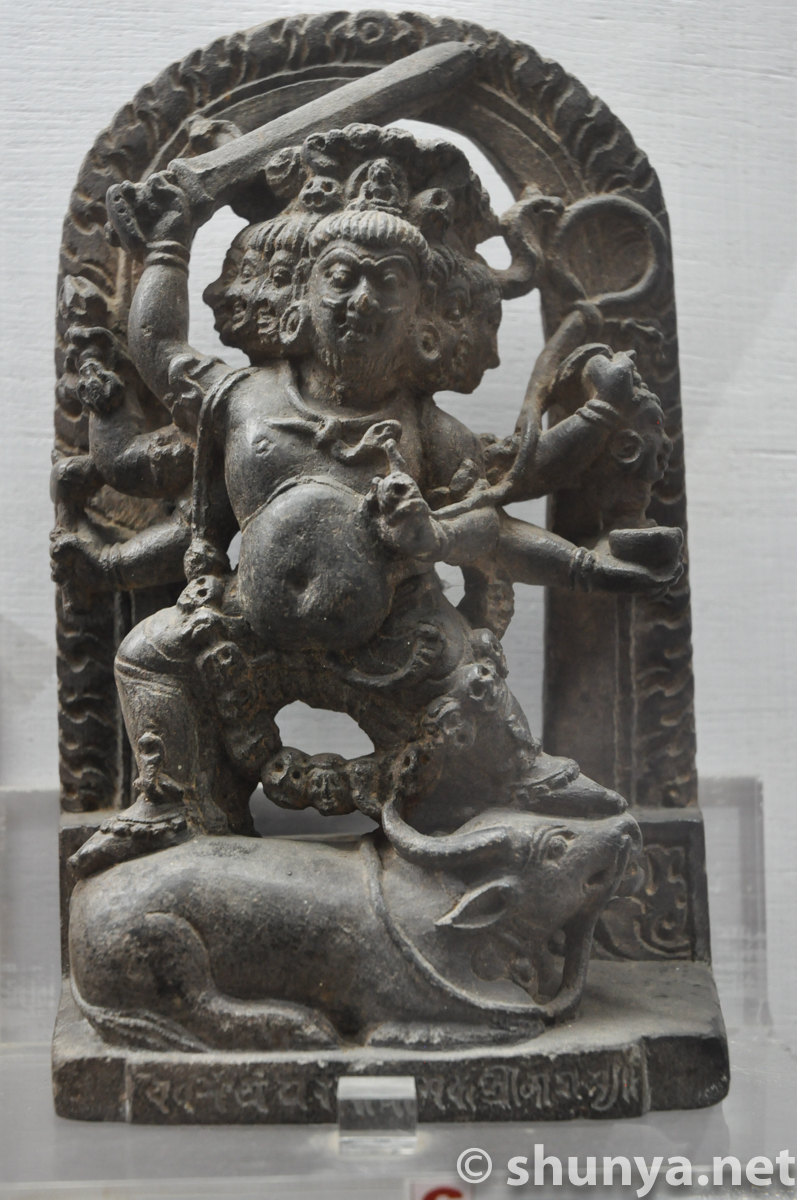
Yamantaka, a Buddhist
|
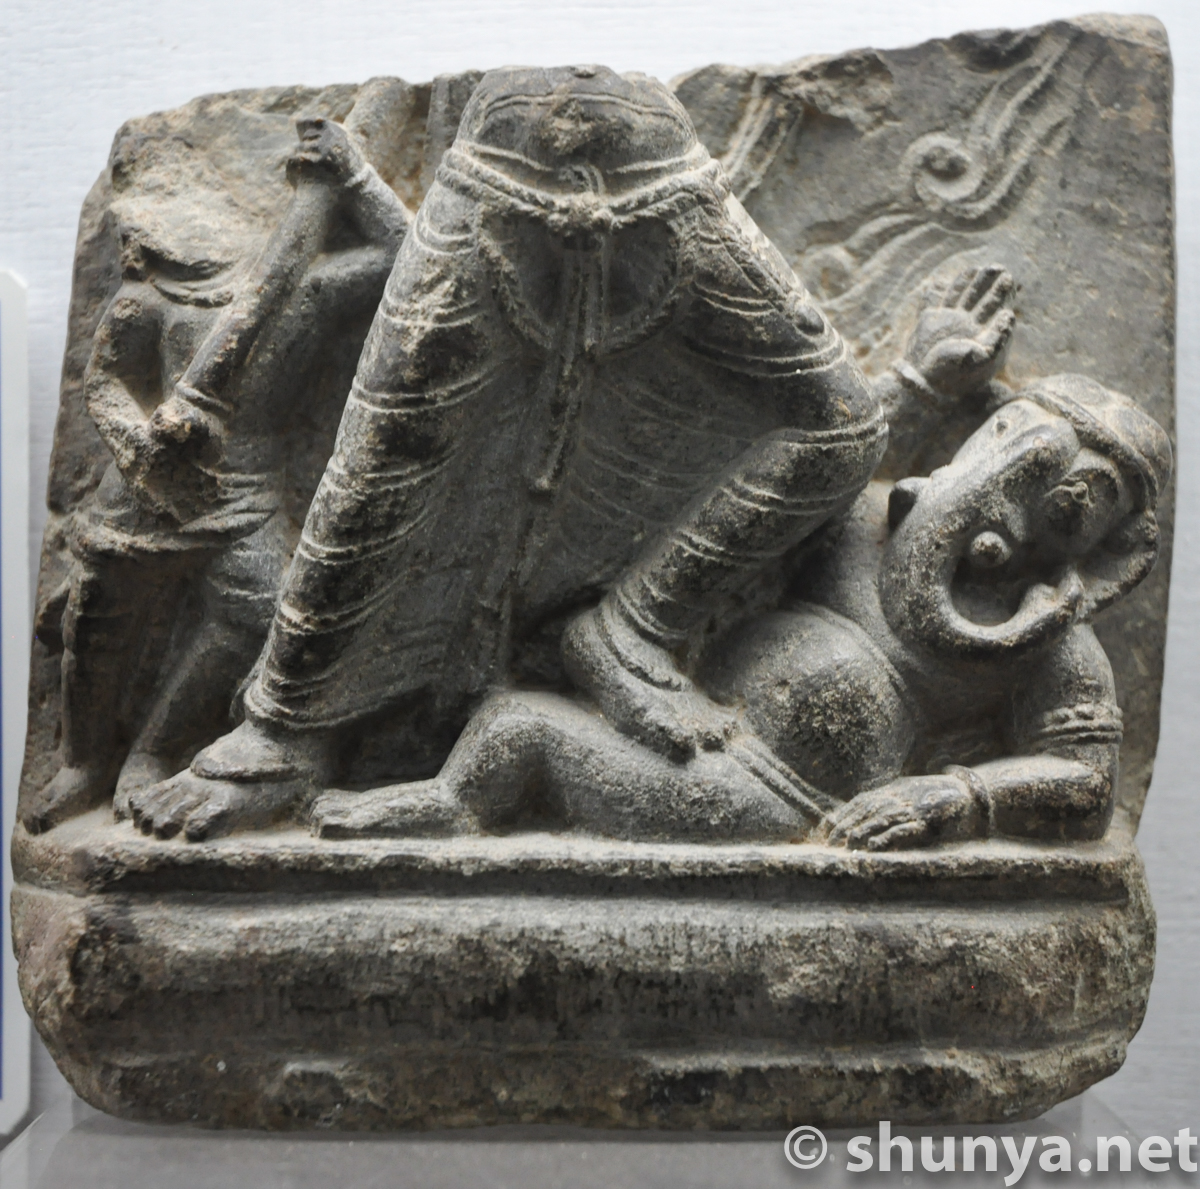
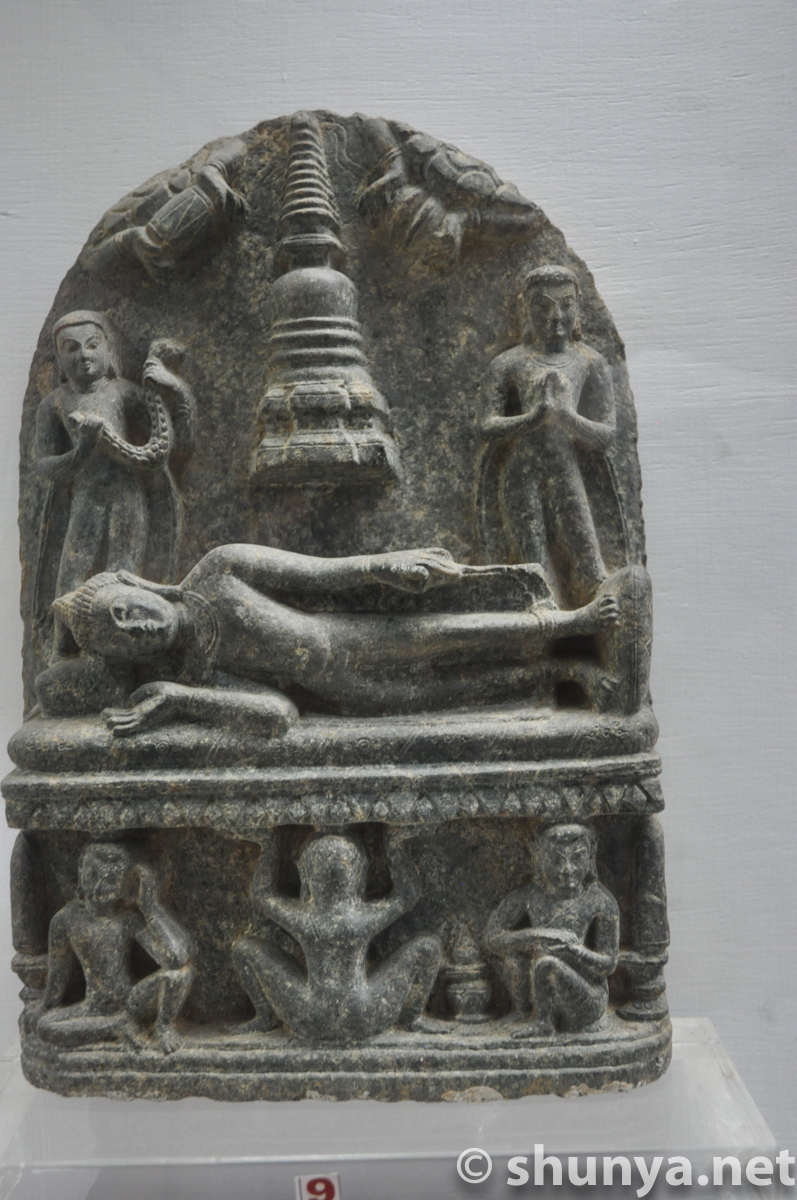
Great Demise
|
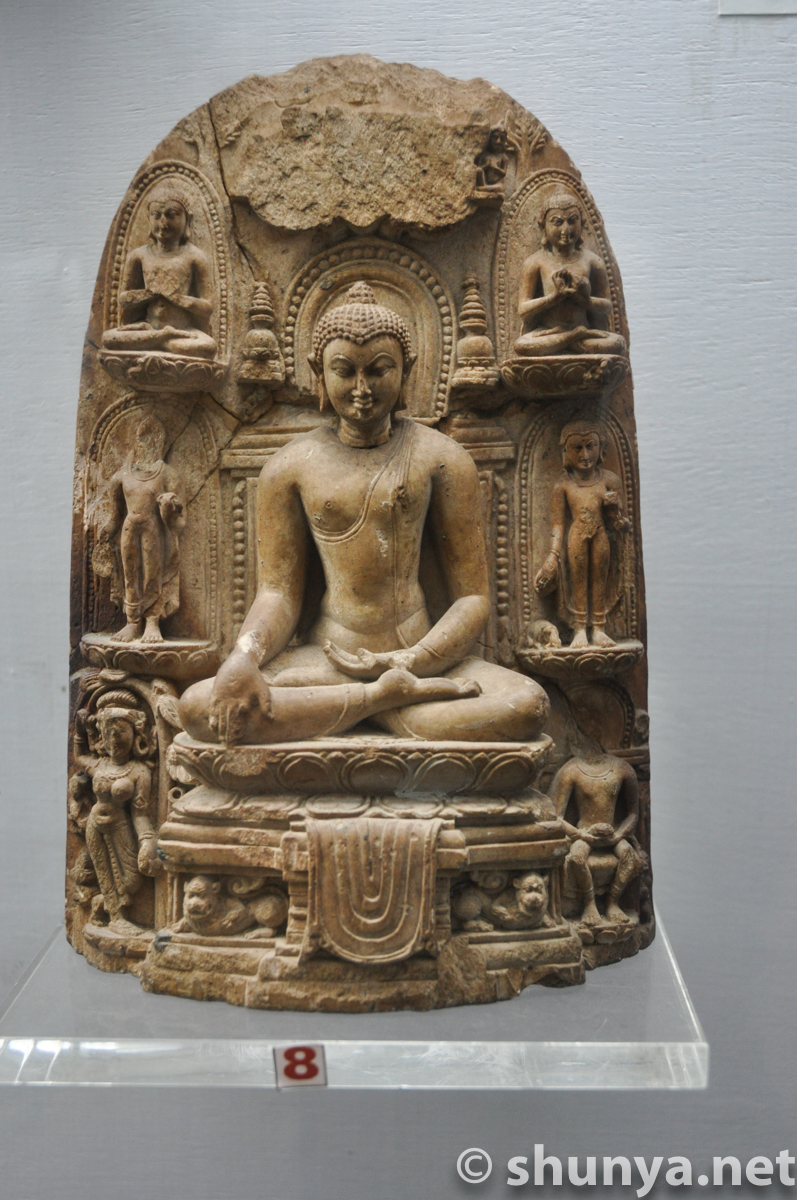
Life events of the Buddha
|
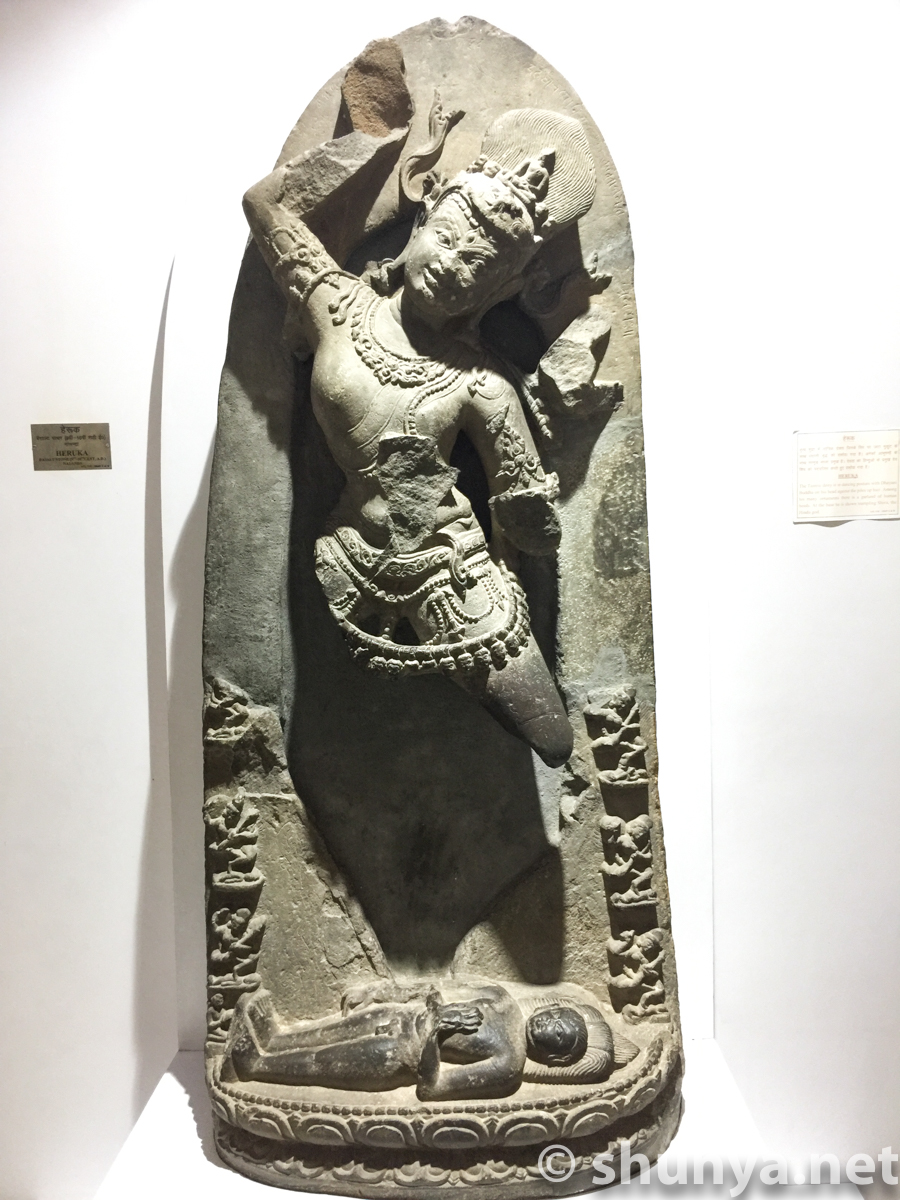
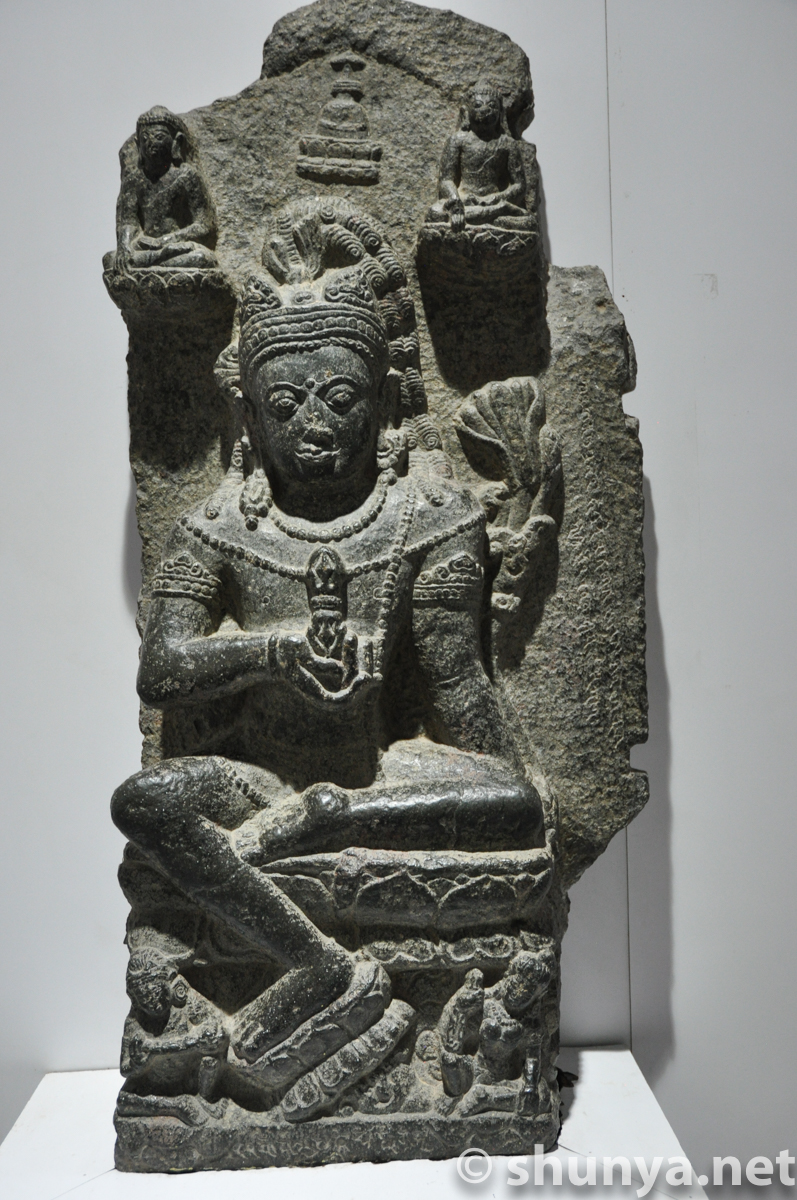
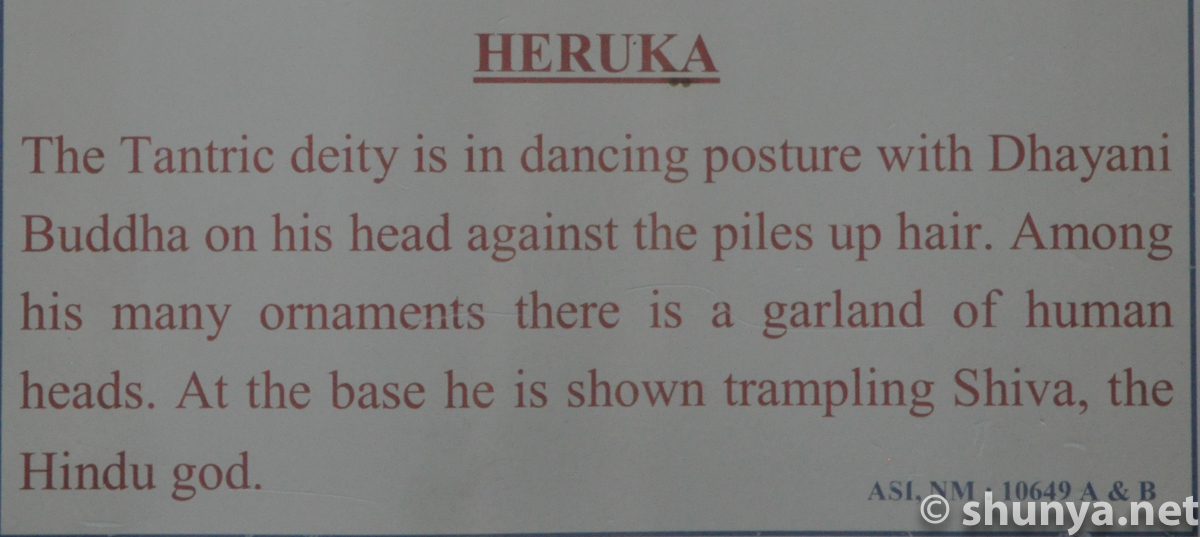
Heruka, Basalt stone
|
Heruka's dress detail
|
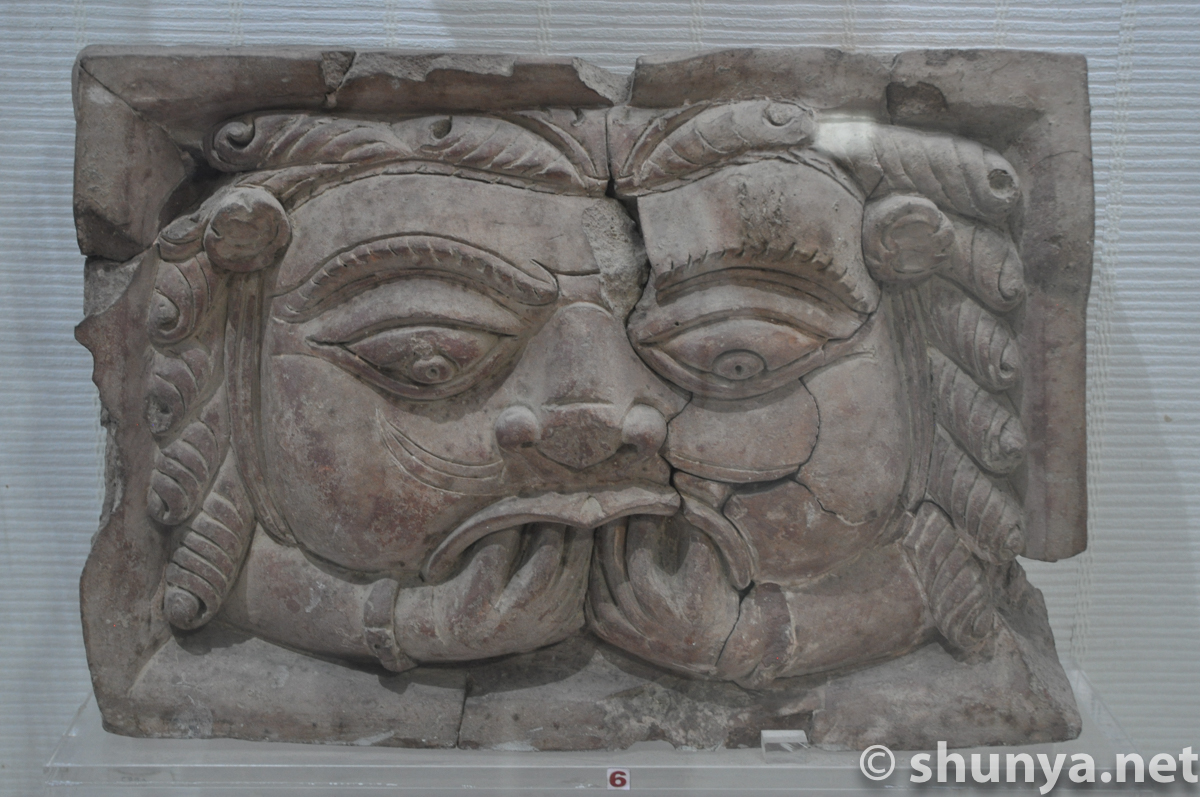
Kirtimukha (info)
|
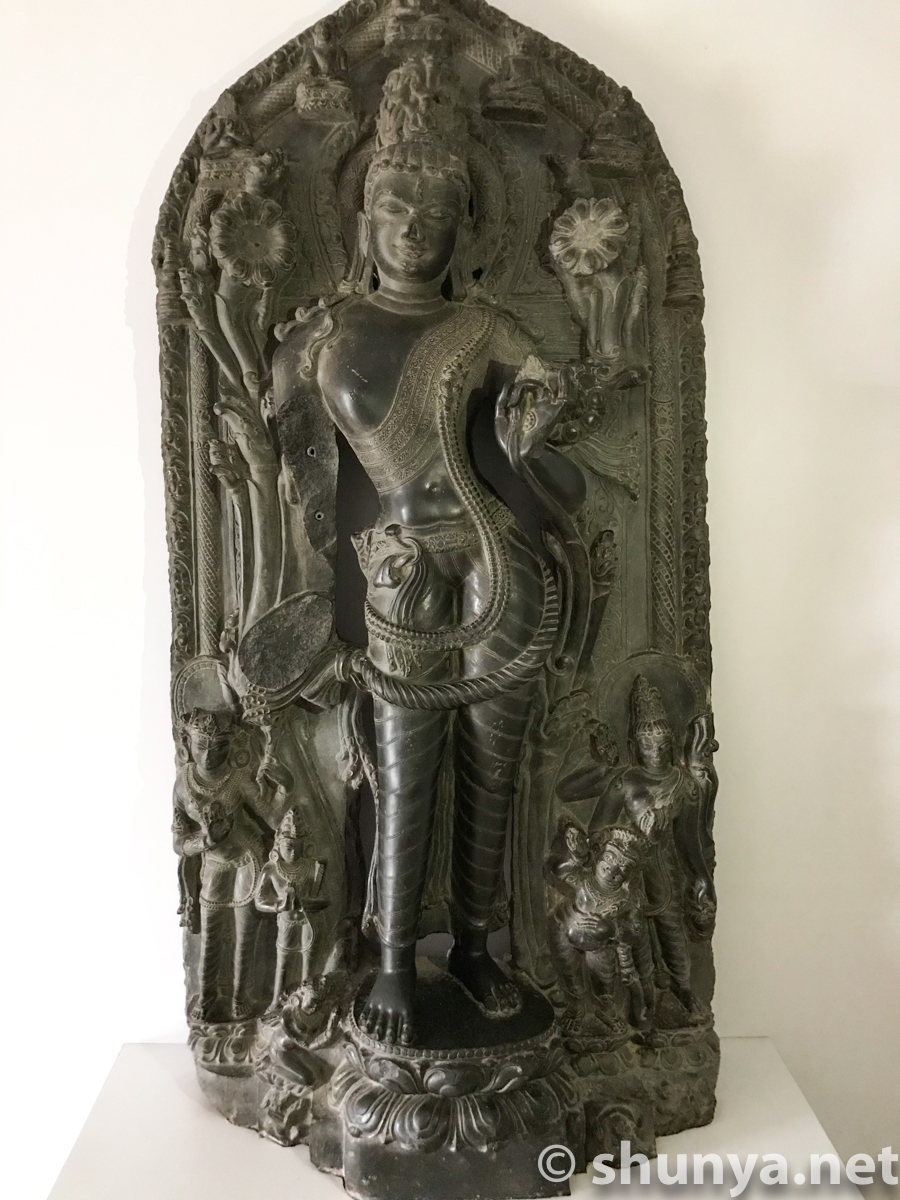
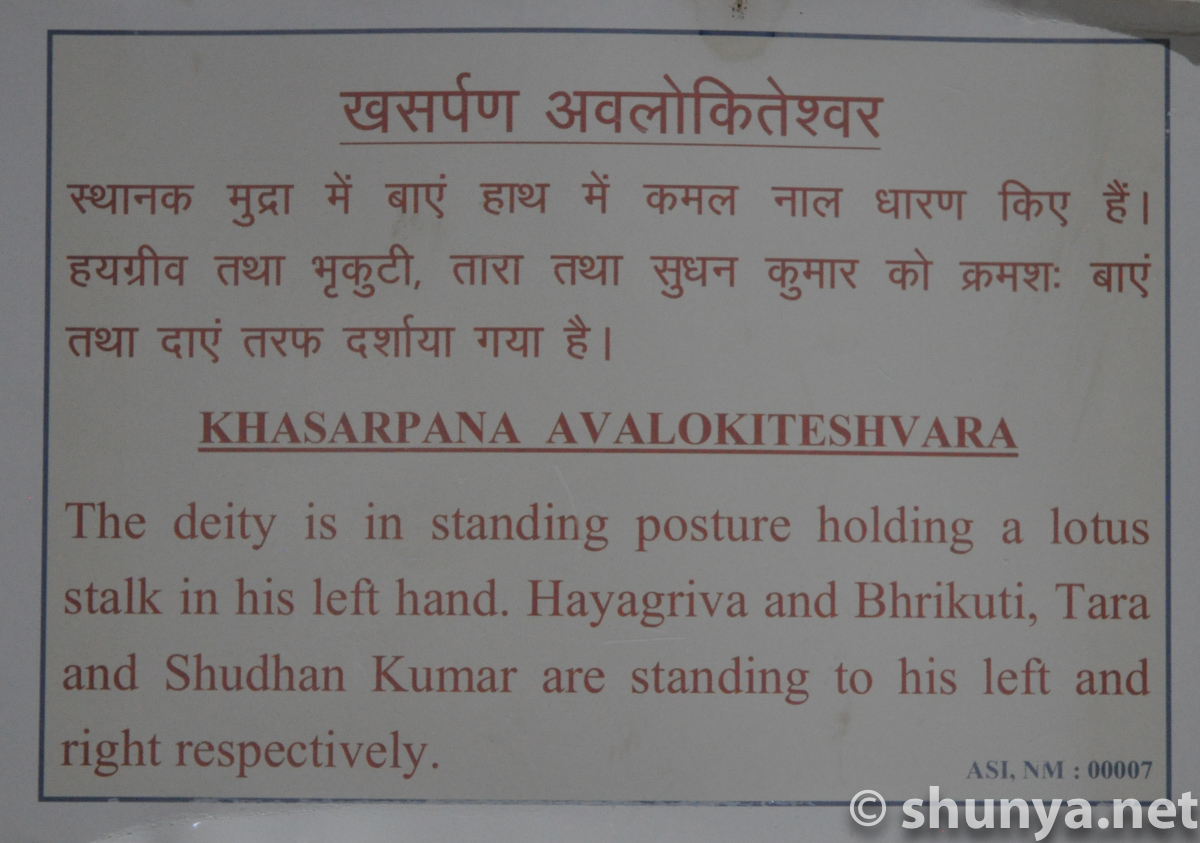
Khasarpana
|
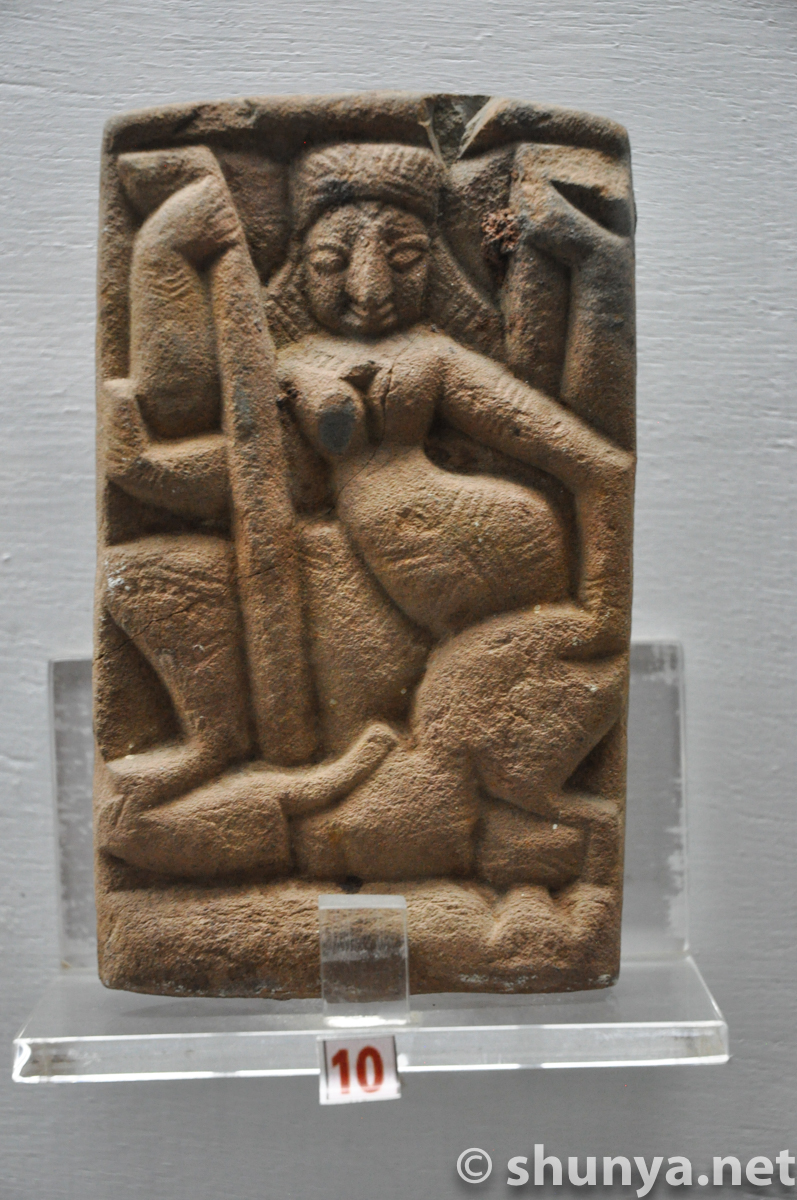
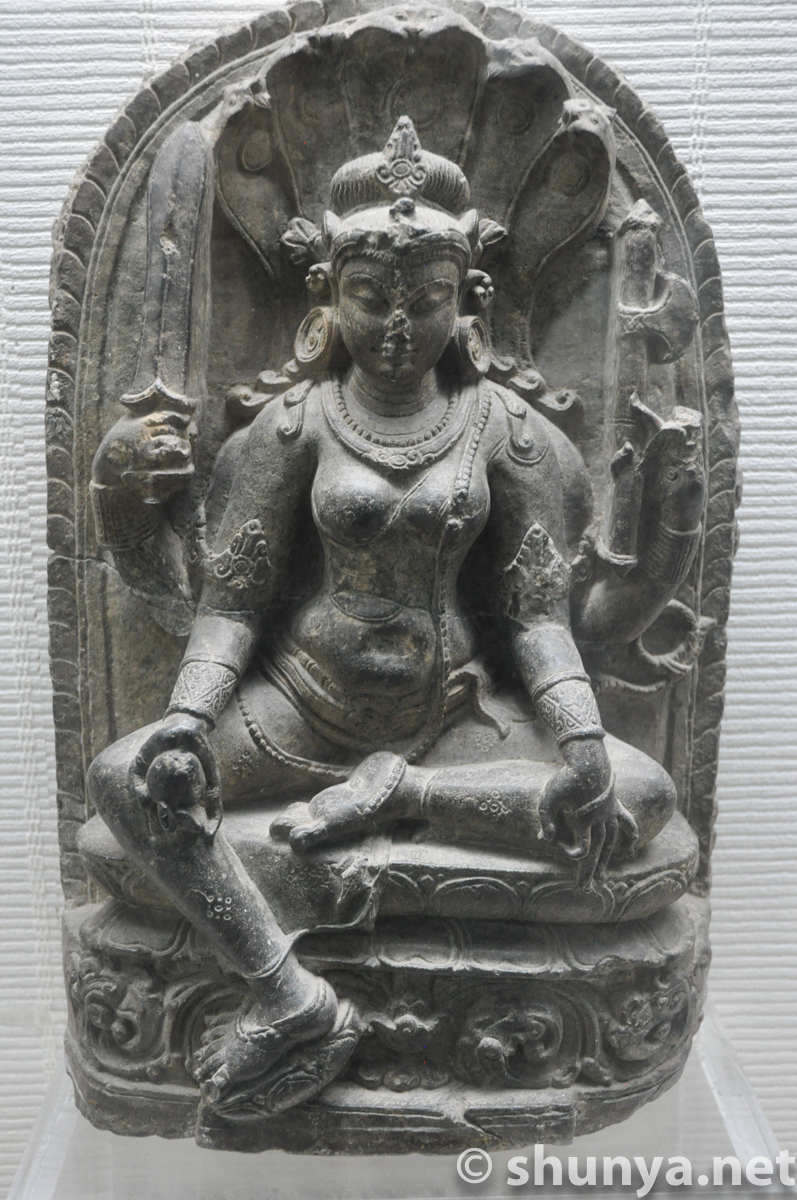
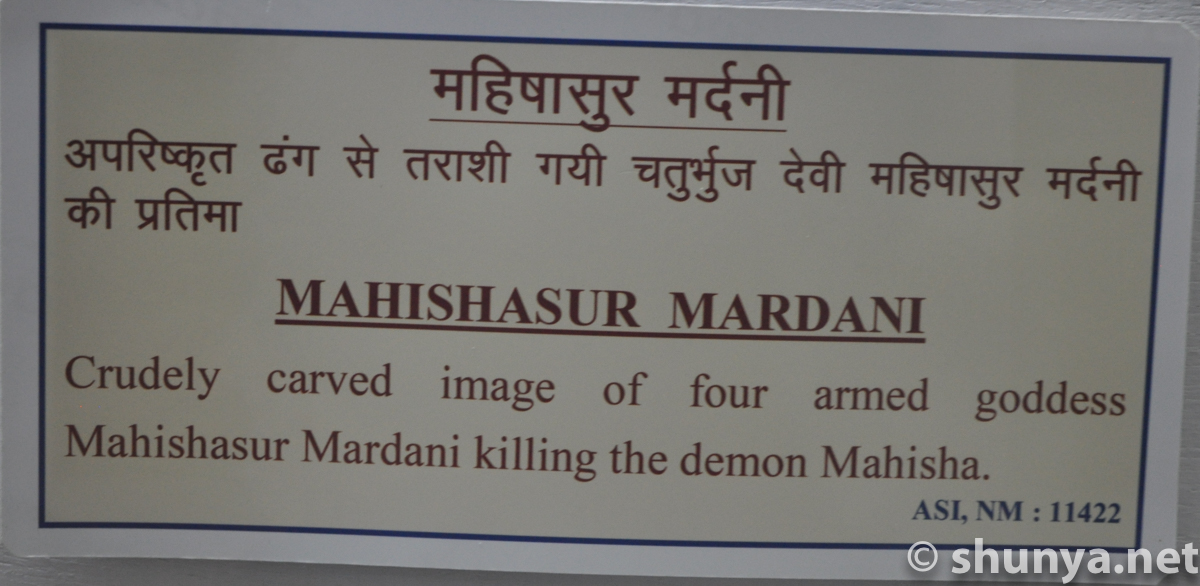
Mahishasur Mardini (info)
|
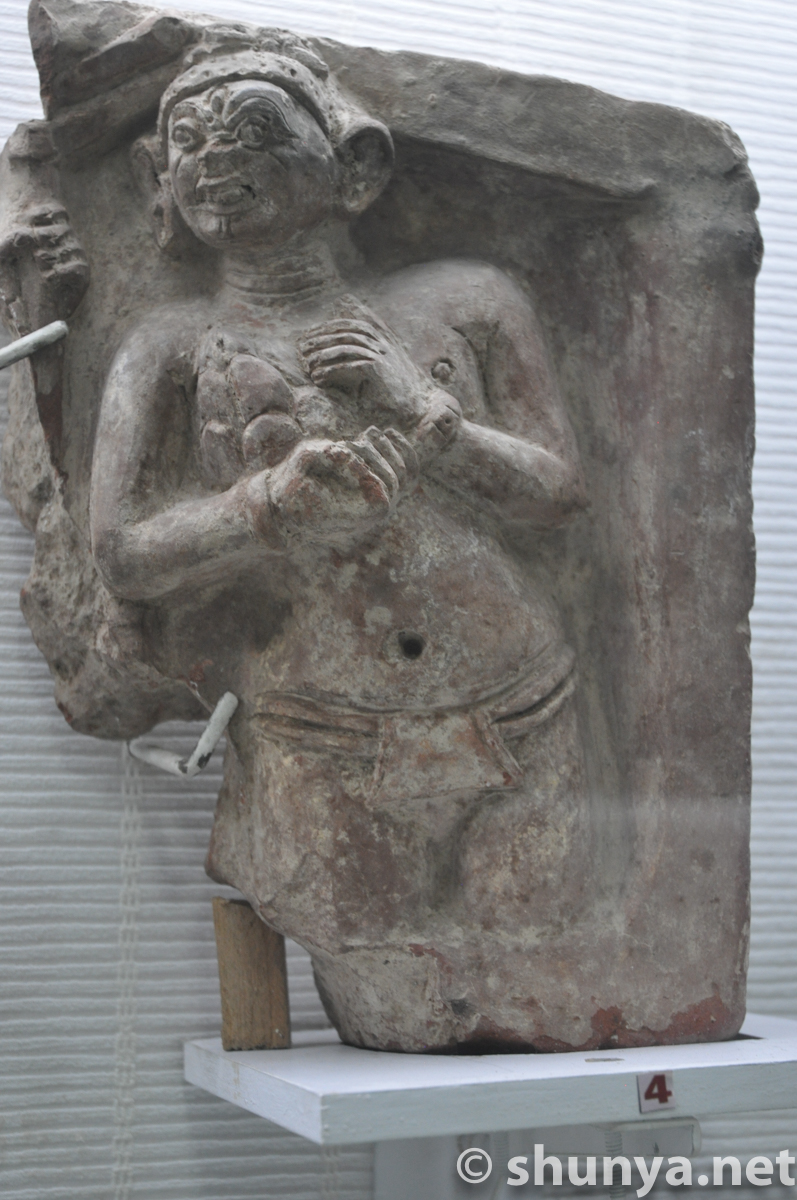
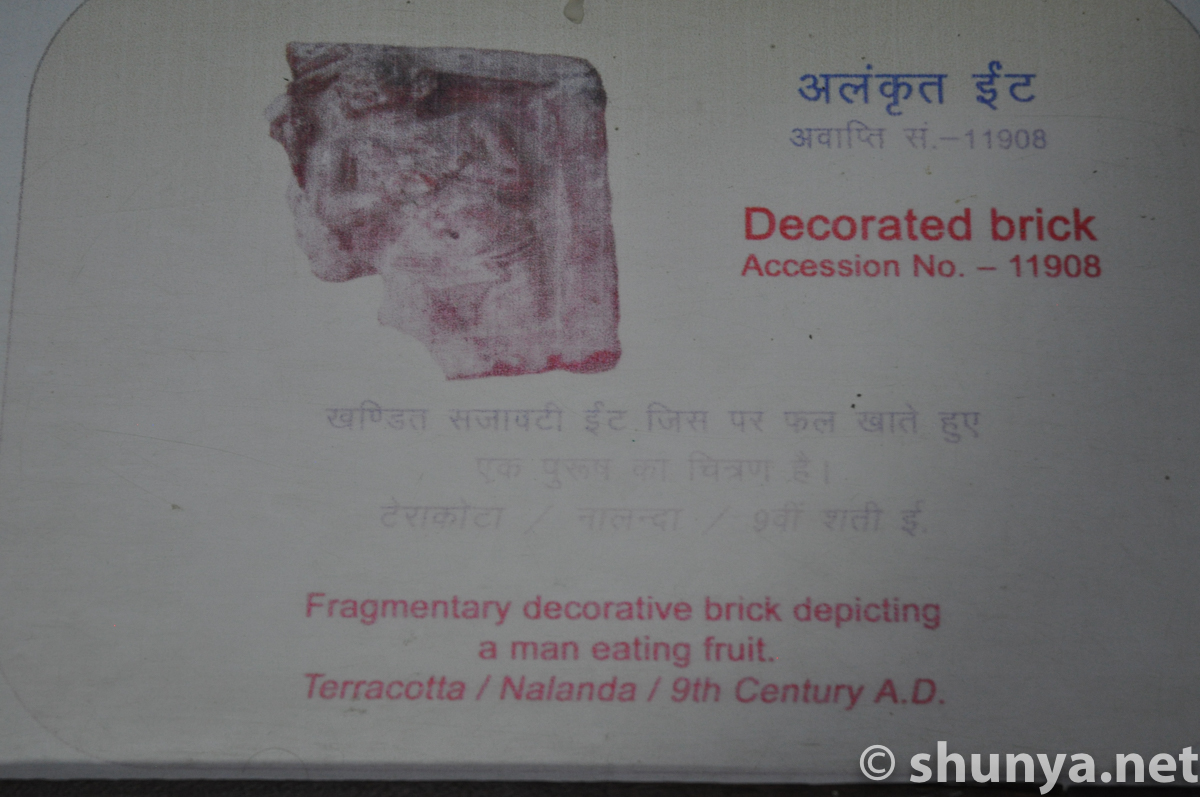
Man eating fruit (info)
|
Manjuvara
|
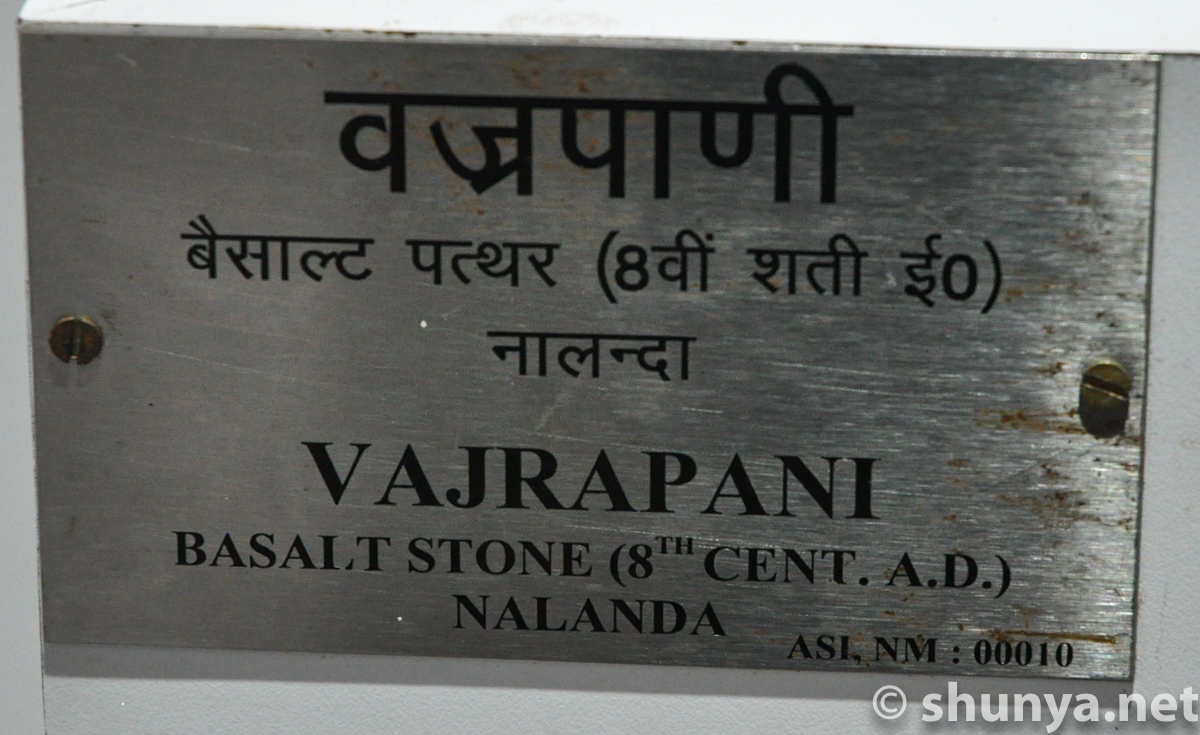
Vajrapani
|
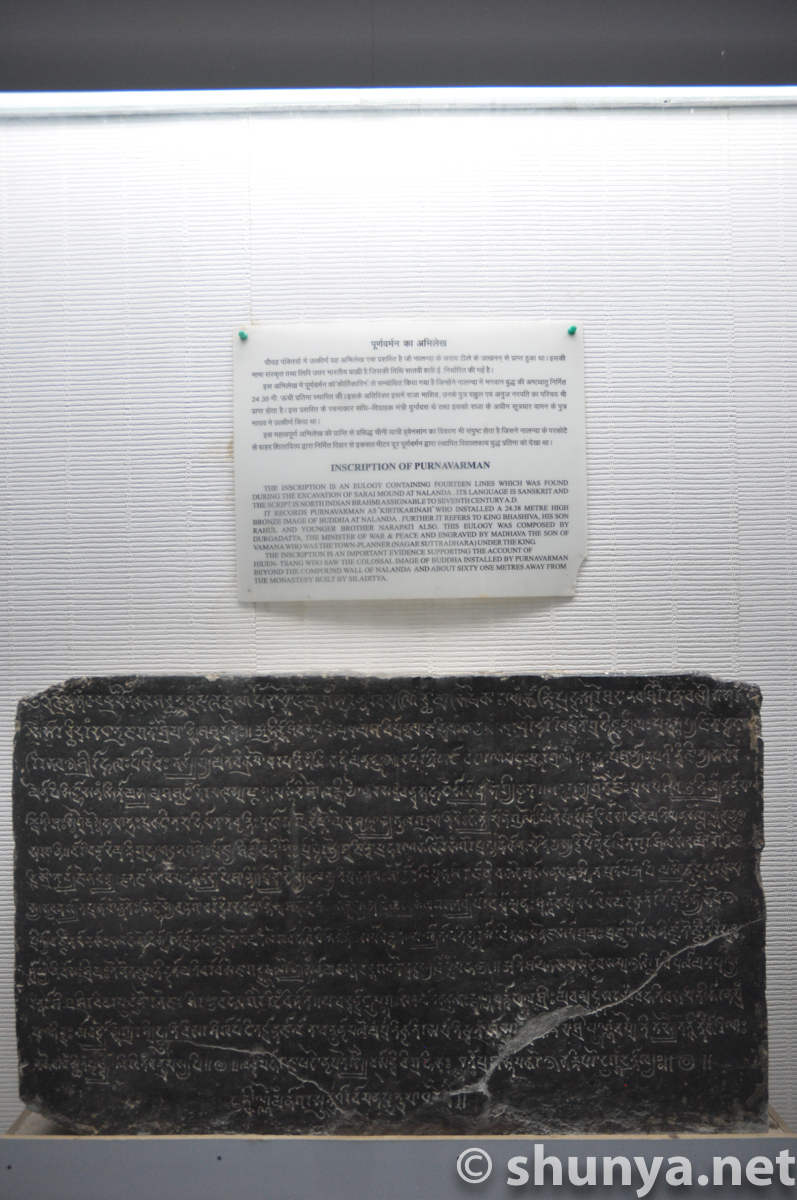
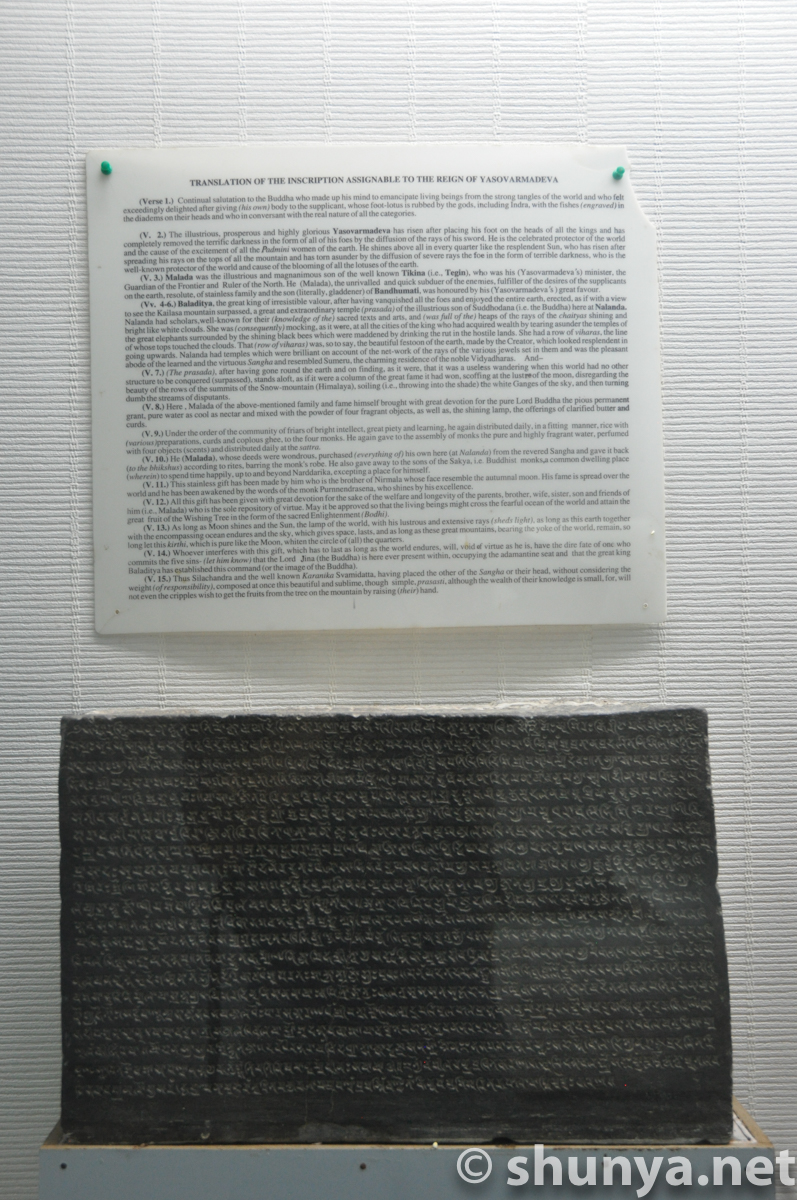
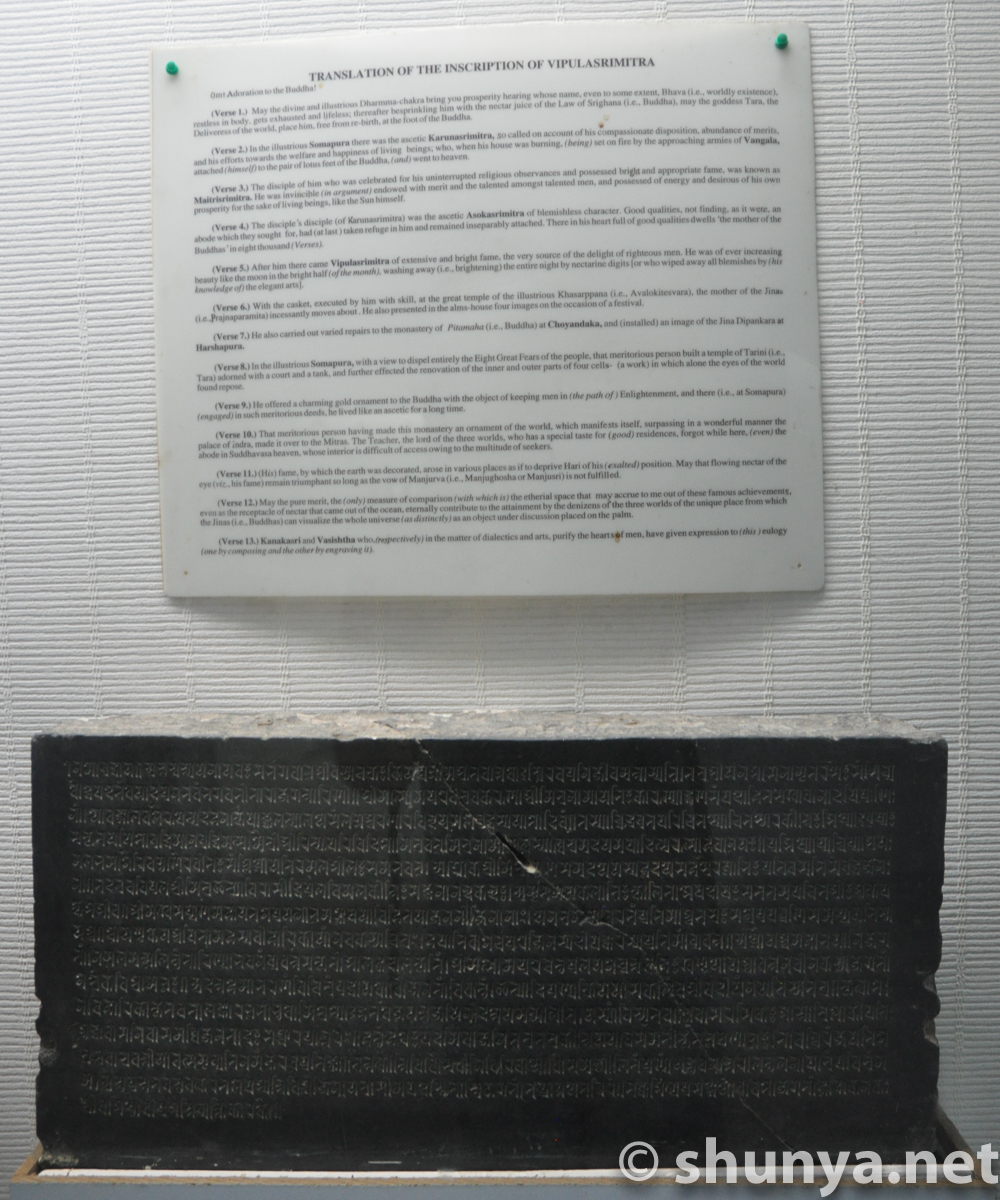
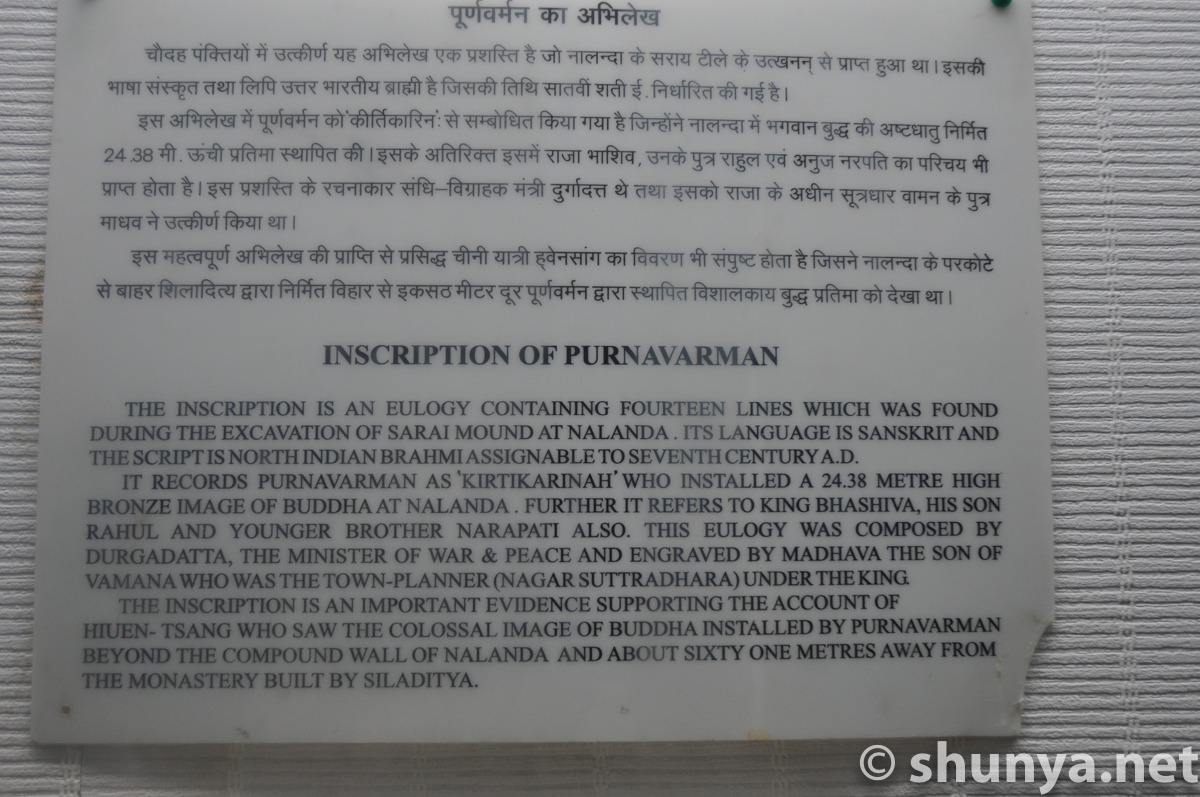
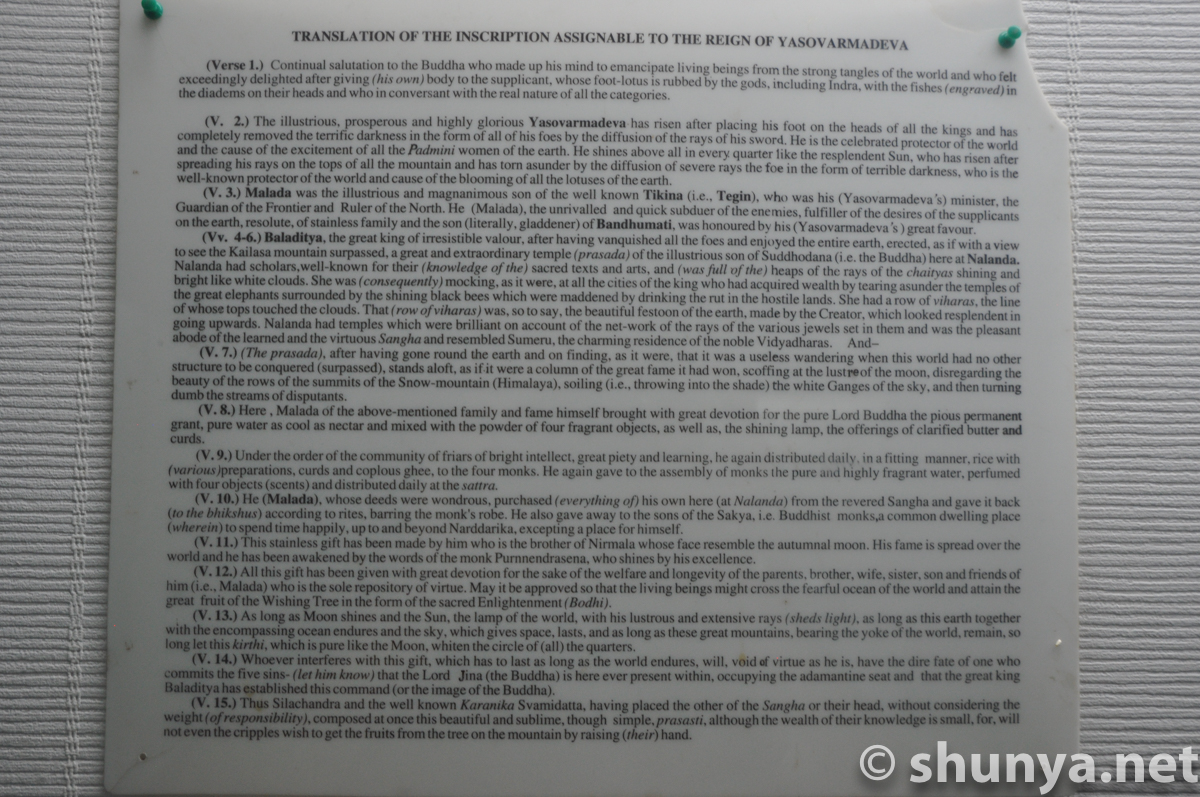
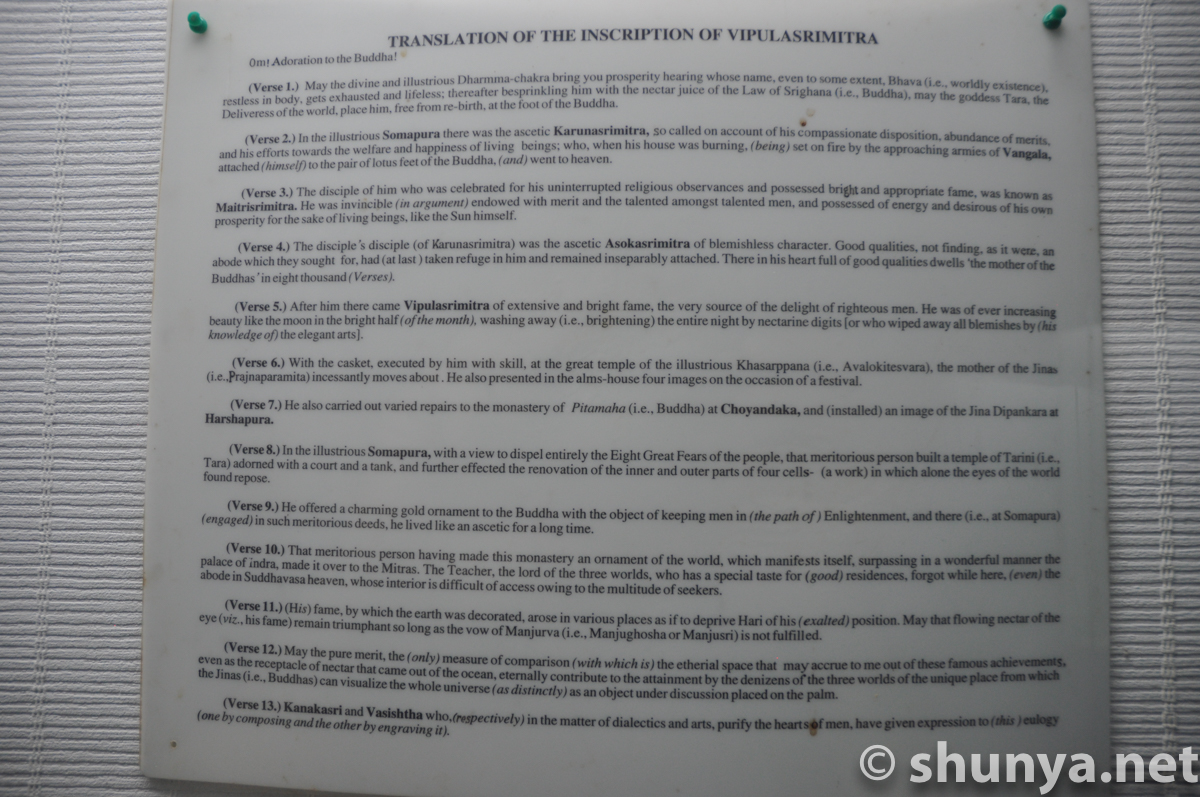
Inscription of
|
Inscription of
|
Inscription of
|
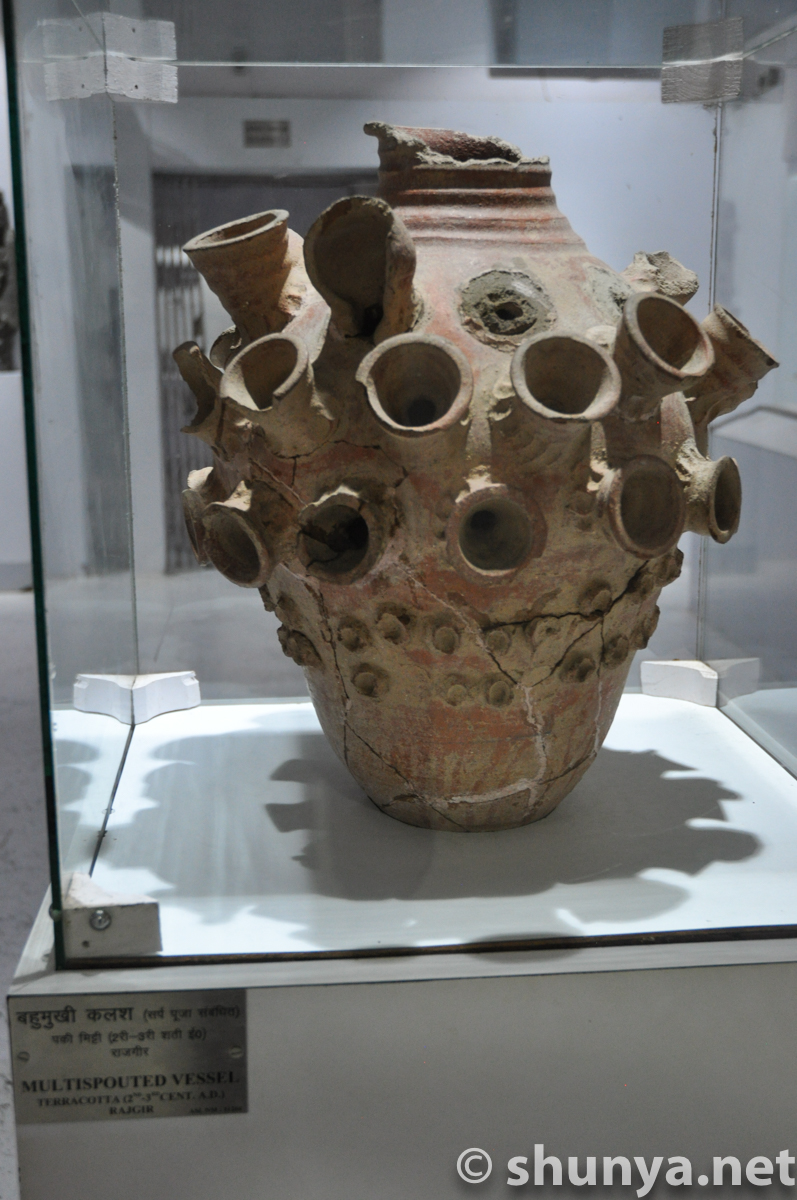
Multispouted vessel
|
|
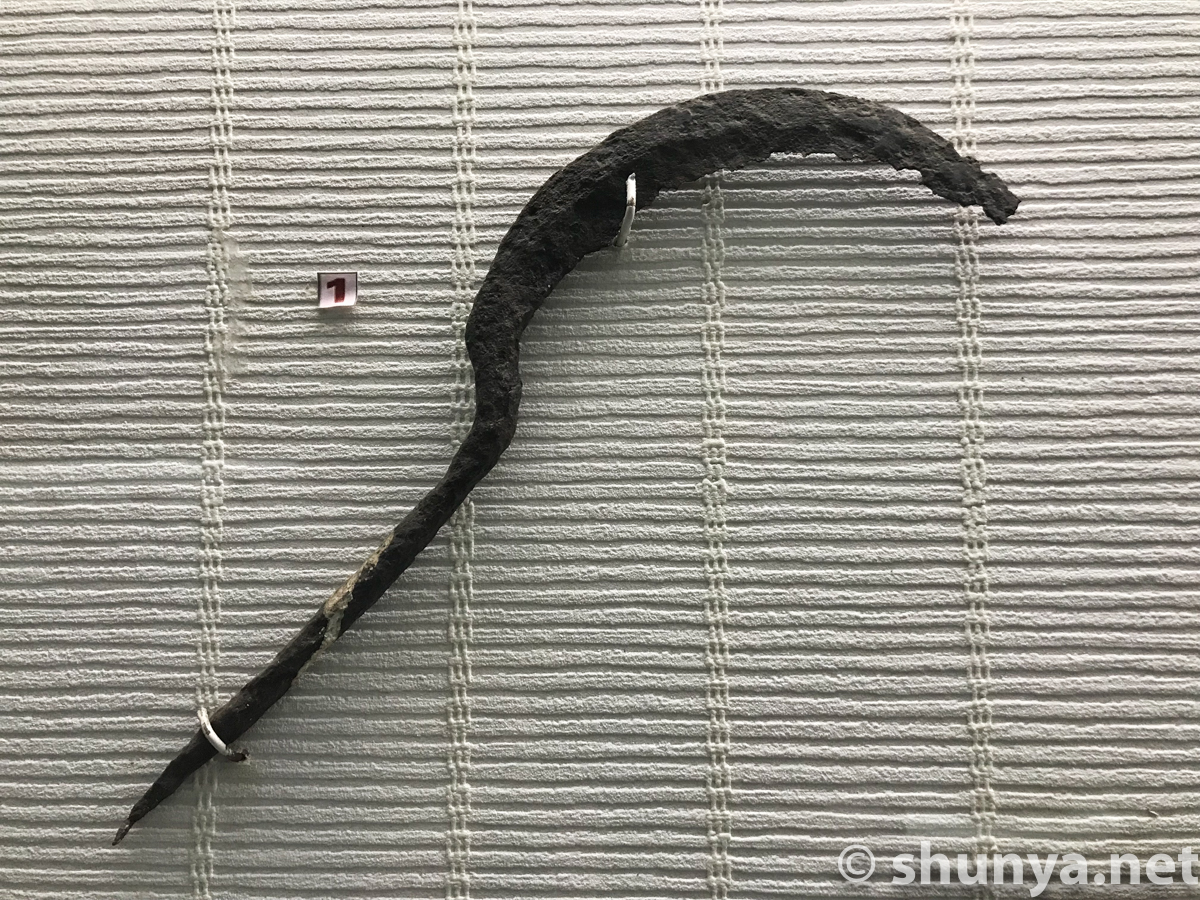
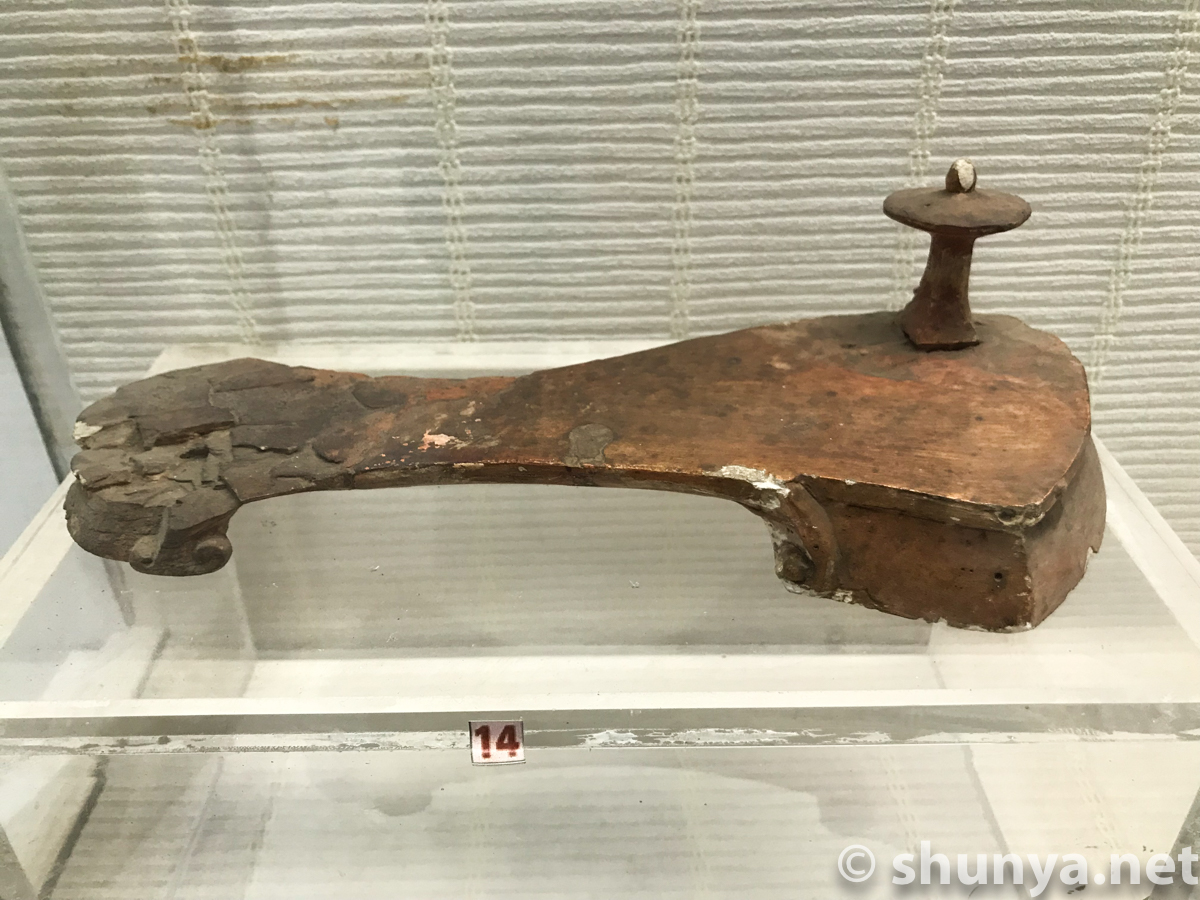
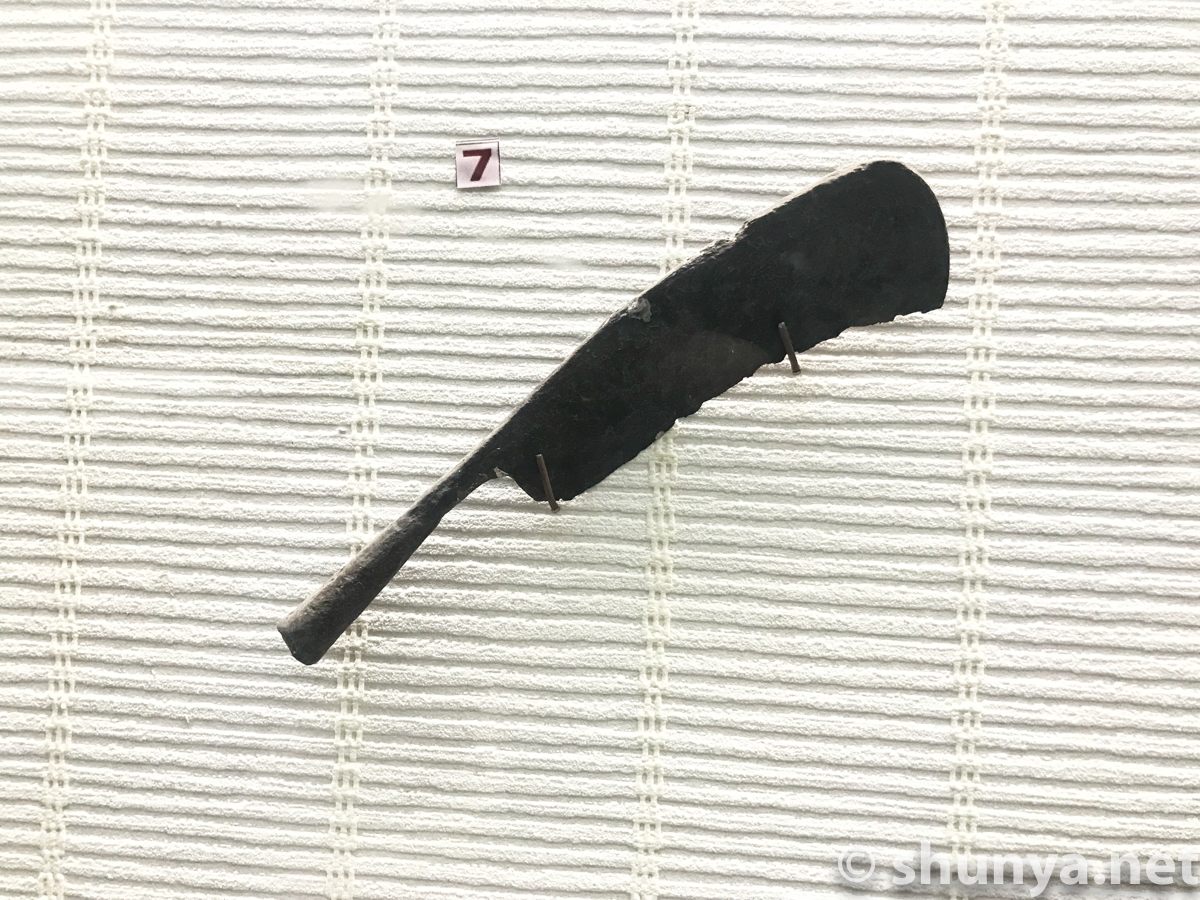
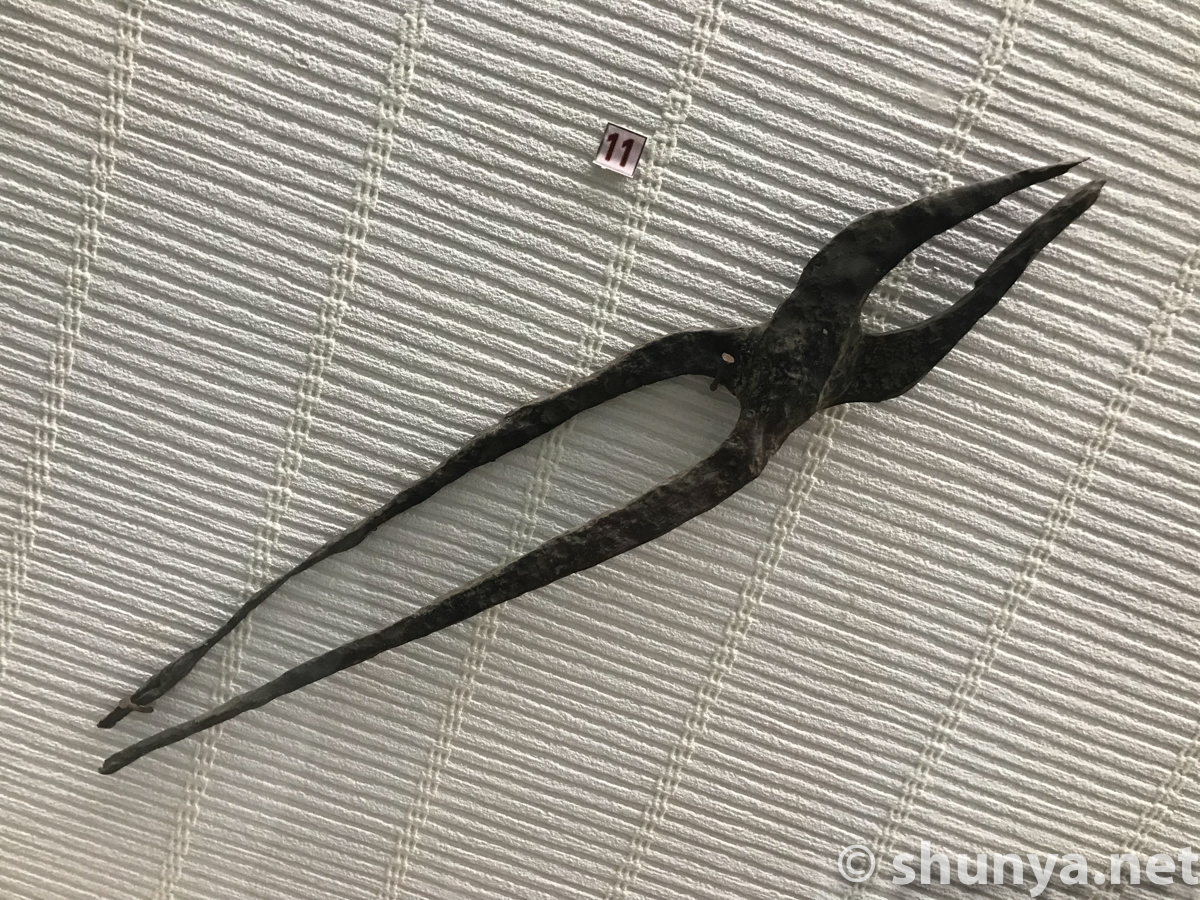
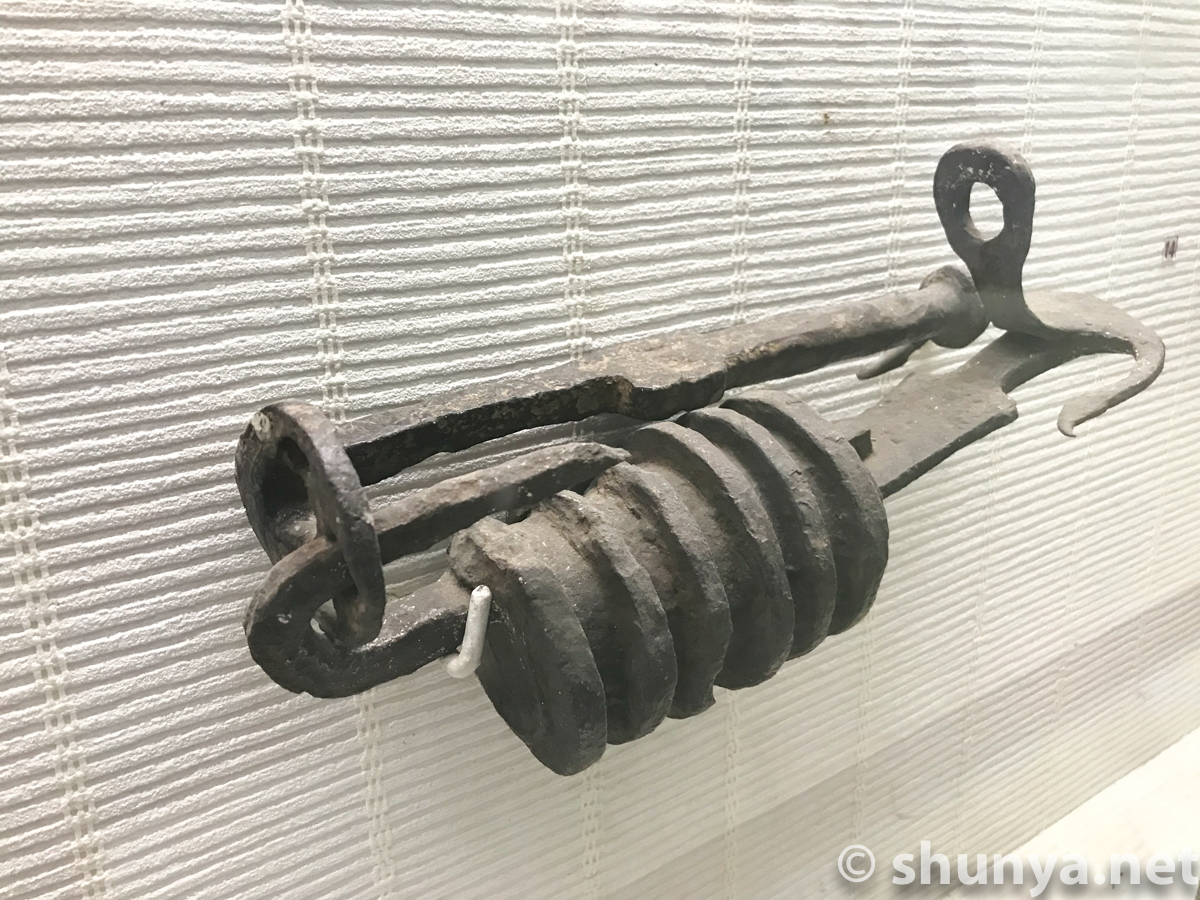
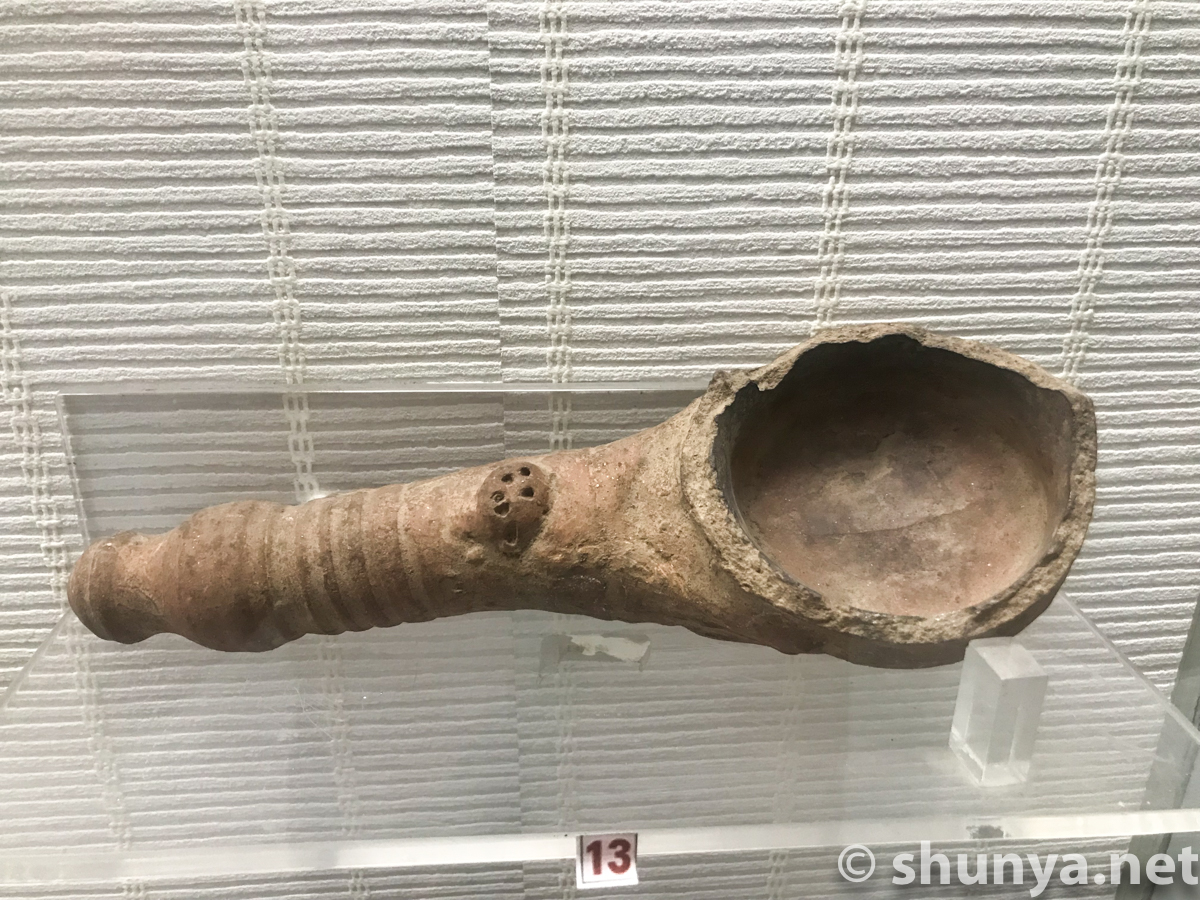
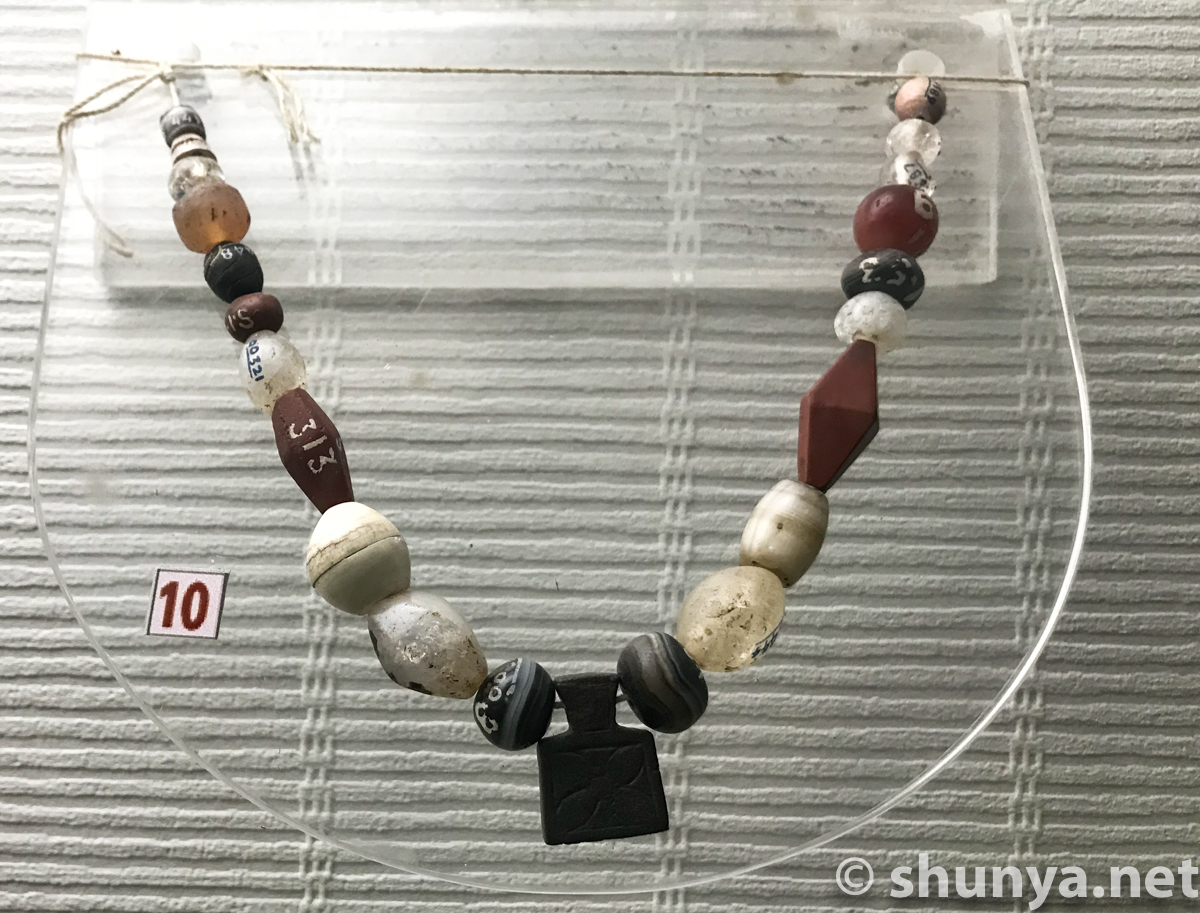
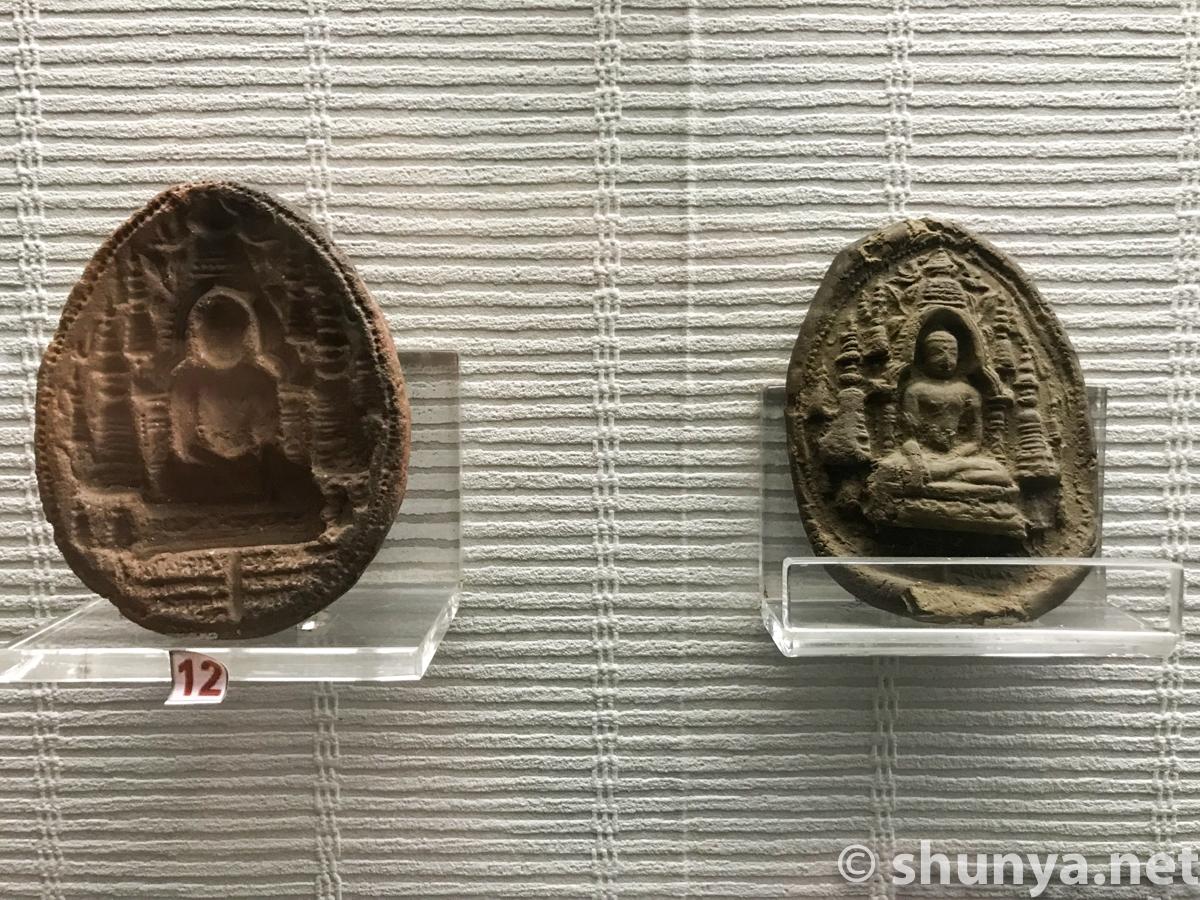
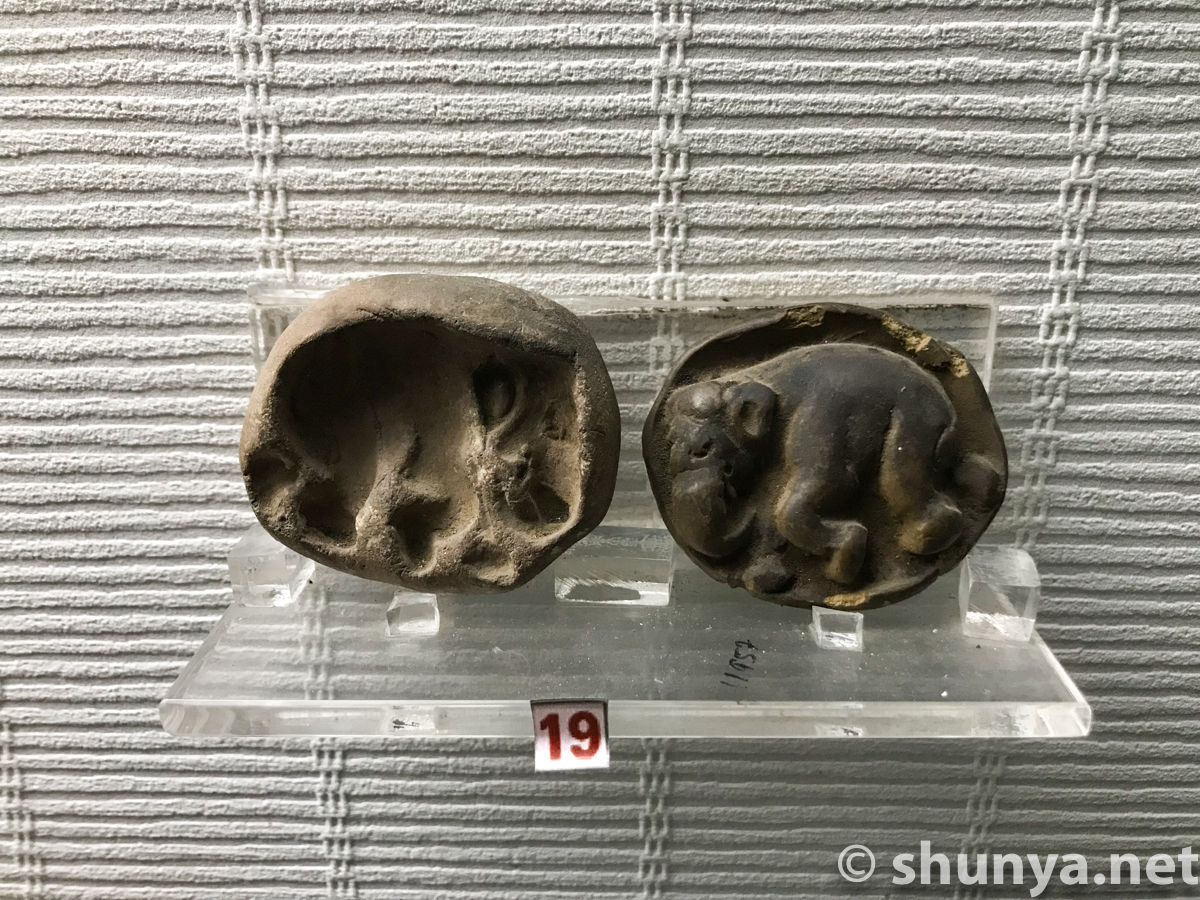
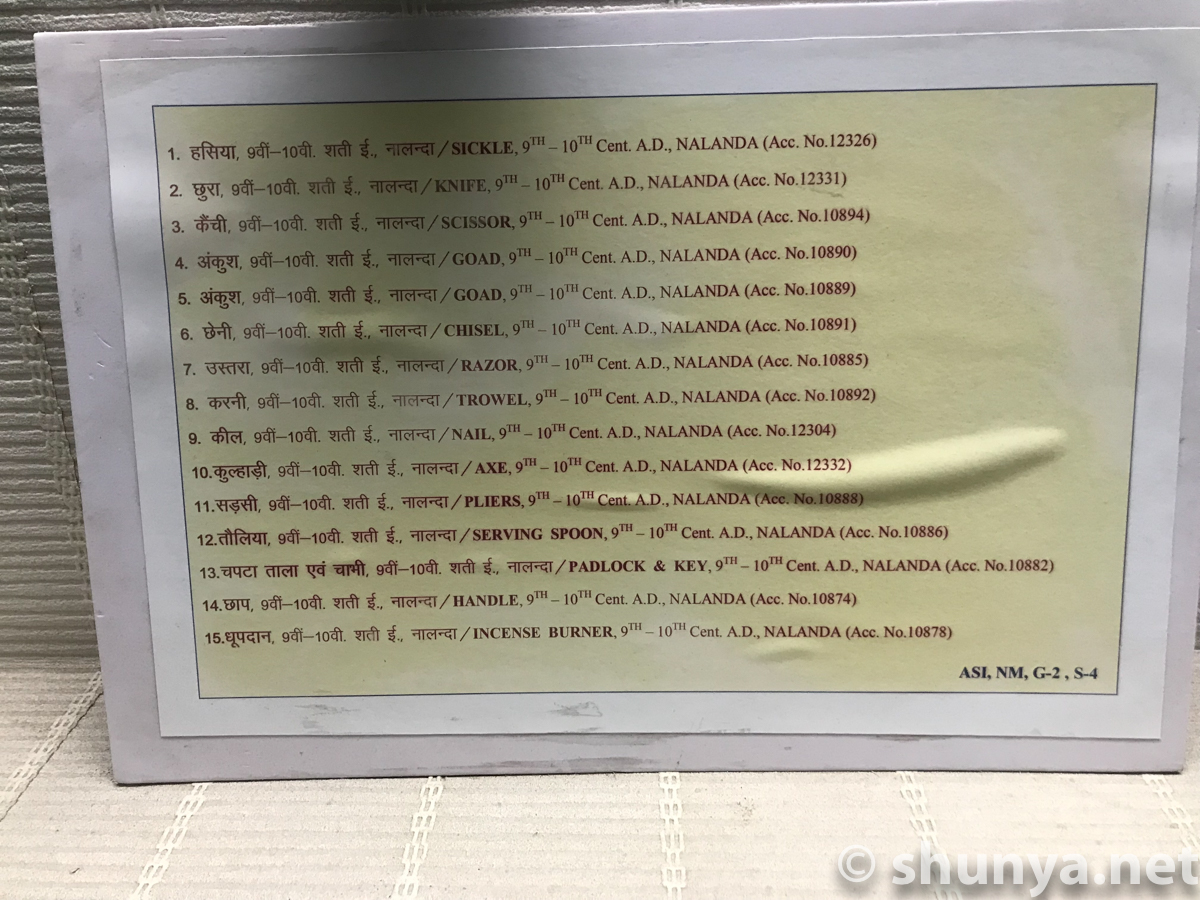
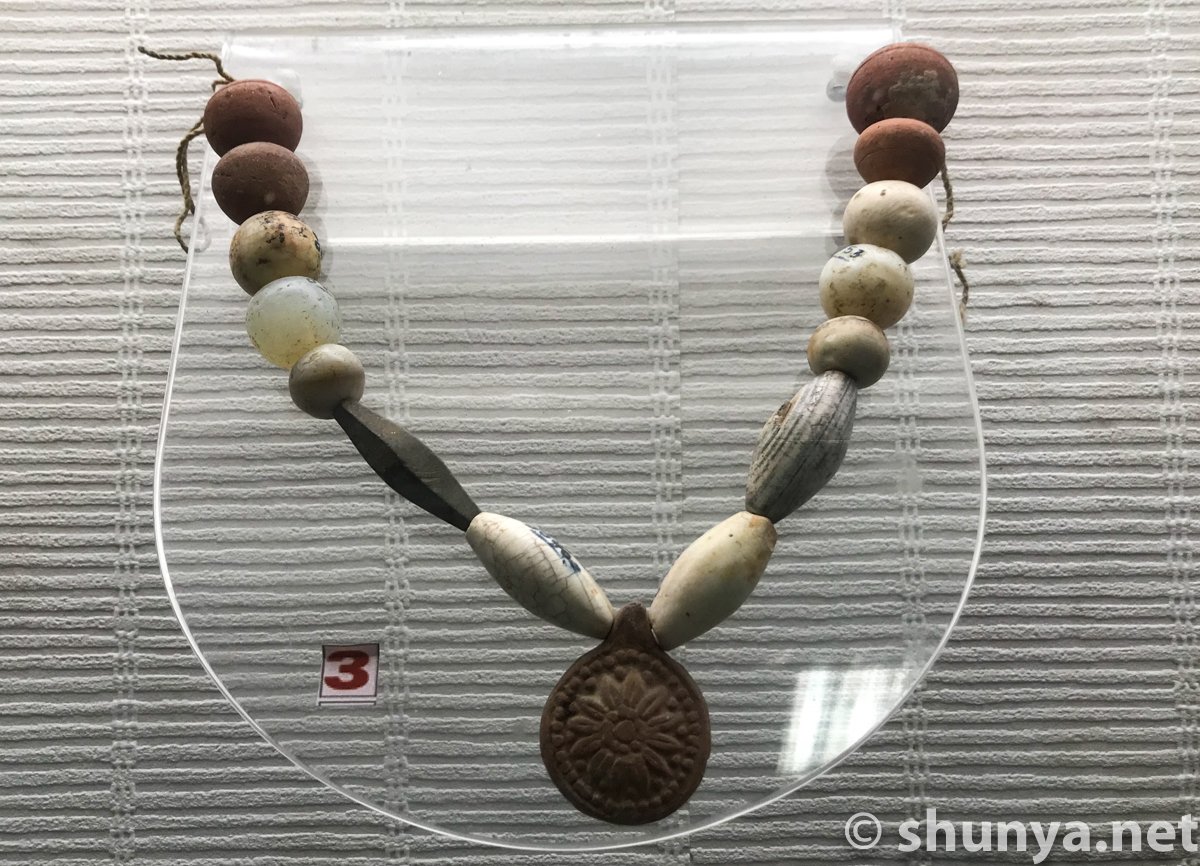
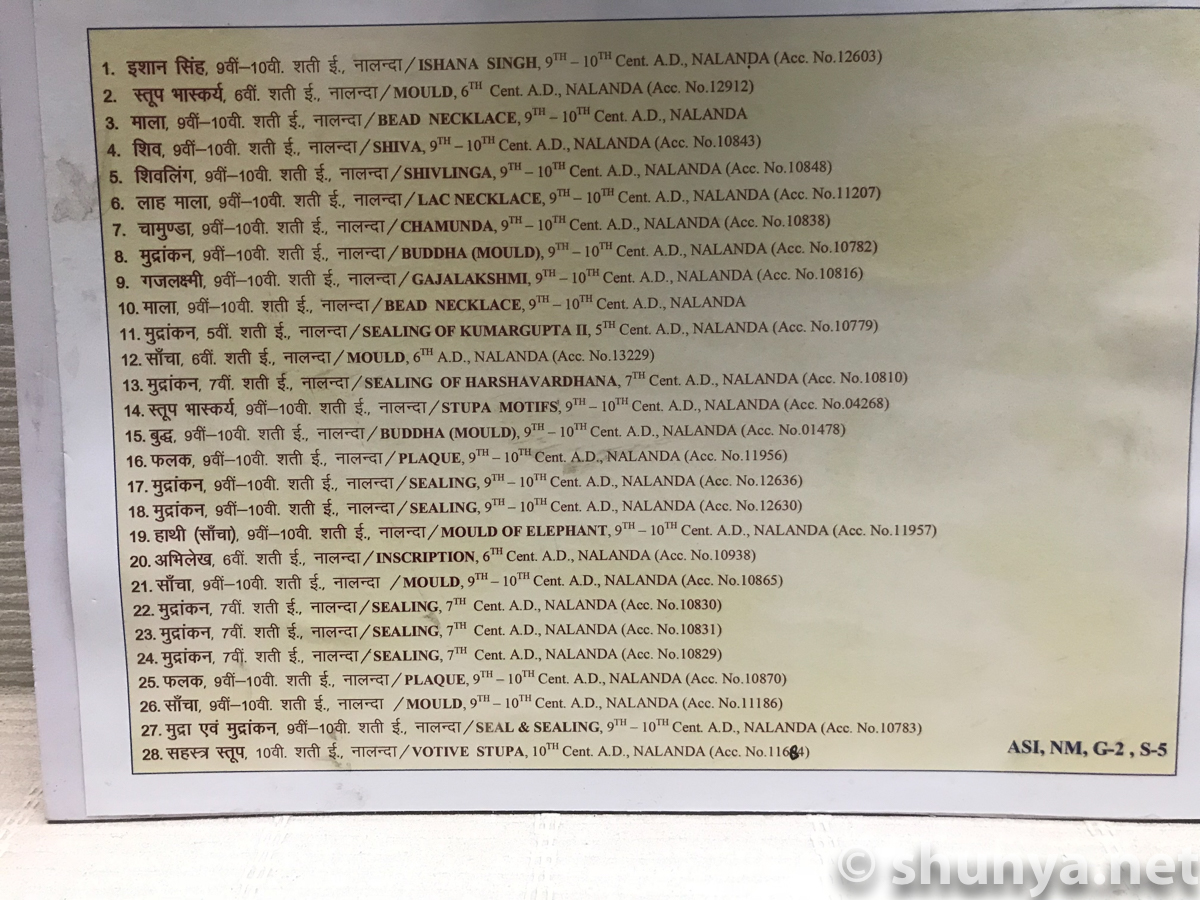
Miscellaneous objects in the museum, 9–10 century CE |
|||
Sickle (info)
|
Handle (info)
|
Razor (info)
|
Pliers (info)
|
Padlock key (info)
|
Ladle (info)
|
Dice (info)
|
|
Mould (info)
|
Mould of Elephant (info)
|
||


Designed in collaboration with Vitalect, Inc. All rights reserved. |